Absolutely can. Had well drilled in 2006, been capped till around 2014, with all the fights over water rights, told the wife, we need to get this in first. Good choice. Its 6" casing, 178 feet deep, 100 foot static water level, solar pump is about 20 feet off the bottom. under about 80 feet of water.
Its a "livestock well" set up. Farmers use this system to water their cattle. Got it from
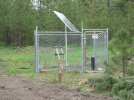
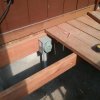
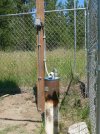
Advanced Power Inc Usually they sink a well, add a solar livestock set up, it fills a stock tank with a float switch to keep it full. No pressure tanks, nothing, no battery storage. The pipe to it is just 1/2" poly pipe. Pump is capable of delivering good pressure, but the end is never capped, its open. We pierce a small hole in the poly pipe about 4 feet below grade. The idea of this is to create a small internal leak so water can bleed down below frost line.
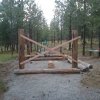
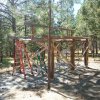
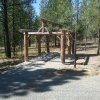
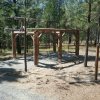
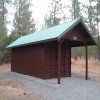
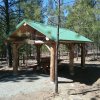
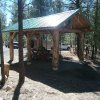
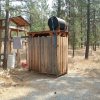
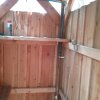
The 2 panels are 24V units, at 85 watts each, it was plug and play, but they appear to be parallel, so double the watts, voltage remains at 24. I can rotate the panels to follow the sun. I installed the enclosure to keep large wildlife away from it and unwanted visitors. In a farm scenario, the cows tend to scratch themselves on everything and will damage it.
I don't see my system on their site anymore, they have slightly different systems. Mine is 2 panels and the ranch pump, not the Merlin pump. But it was about $2300 for the set up, I opted for 200 feet of wire and no float switch. I was not feeding a stock tank.
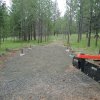
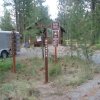
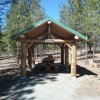
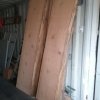
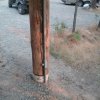
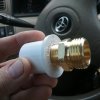
The pipe coming out of the well head was plastic, I replaced it with metal in case a fire, it wouldn't melt the pipe and drop the pump to the bottom. The end just has a 1" PVC glue fitting I never glue anything in it, I just press in a hose adapter or a spout made from blue PEX for filling water jugs.
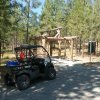
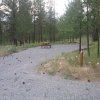
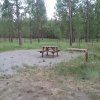
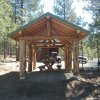
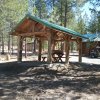
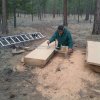
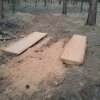
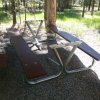
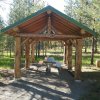
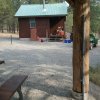
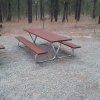
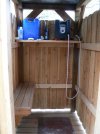
I go up to well, flip a switch, water runs out like a kitchen sink faucet. I fill a 55 gallon barrel, transfer it to my shower unit on the back of a Kawasaki Mule, them pump into shower barrel, it collects warm sun, I have a heated shower with good pressure, no pump involved. I do have a Mr Heater Aqua Cube I can use for warm shower water if needed. I can fill the blue jug from the overhead barrel now. I plumbed a spout to fill it. (picture was before plumbing in place) Added a shot of another pilot rock picnic table I dropped off, this was the smaller tubed unit, under 175 shipped, but the price jumped to 234, but its done it before and came back to 169. Comes down again, I will but 2 more. Super comfy and easy to get in and out of.
With the solar well, this makes it to where I do not have to leave, I have everything I need on site. Water is the key to life. I do have a back up transformer so if there is no sunlight, I can run well with generator.
When I am there and its sunny (most of the time) I let the well run, it was dark as first, then clear but tasted like minerals and now flows clear and taste clear.
.JPG")