Forum member knife build

tooln

5 year old buck +
A while back I was asked to build a set of knives for a forum member. These are to be gifts for his son's. When asked if he wanted update along the way he replied he wouldn't mind if I posted them here. At this time he will remain anonymous unless he wants to say otherwise. Through text messages and pictures we worked out the blade profile, finish, handle material etc... There was one concern about the handle size. I wanted everyone to be happy and make sure the knife was going to be comfortable for them. So I made a template from some HDPE that I use & mailed it to him. End result after getting the template was to make the handle 1/2" longer. Sine I had made 2 exact templates I used the spare to trace out the blade and sectioned in 1/2". With Dr., dentist appointment and a planned mini vacation, next week I'll start on the blades. 20240728_145030.jpg
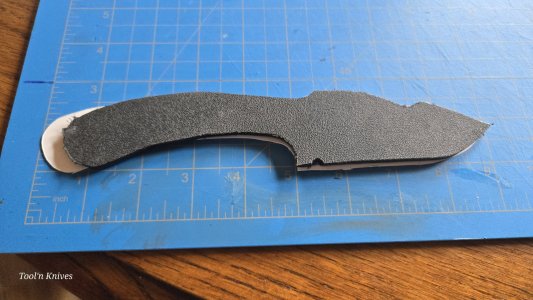
 
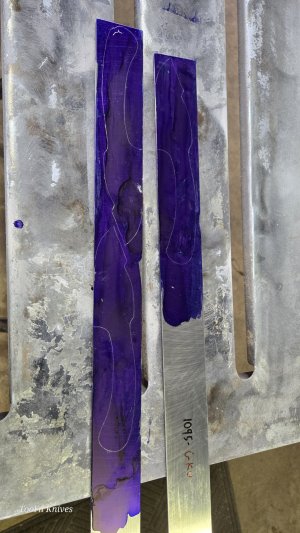
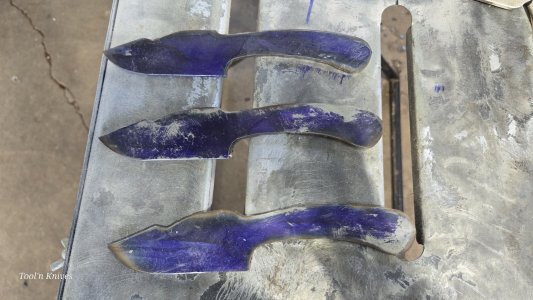
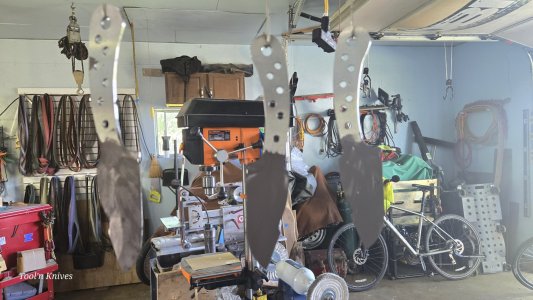
Putting it to steel. Pattern laid out then cut to rough profile. The steel is 1095 high carbon .125 thick.


20240804_110331.jpg20240804_122606.jpg
 
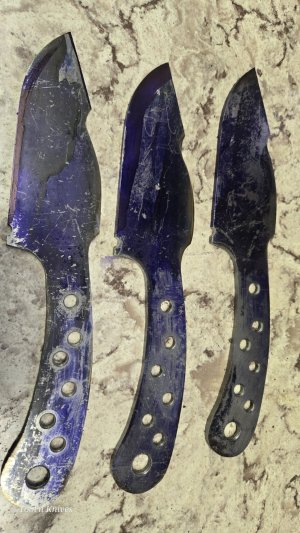
Did the final profiling on the blades. Holes drilled for lanyard & pin also some to lighten and balance out the blade. Choil is also in. Tomorrow is time to start grinding the bevels.

20240805_154141.jpg
 
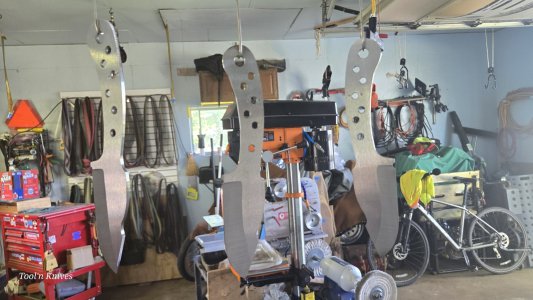
Bevels are ground in, blades cleaned with acetone hanging to dry. Anti scale coating put on. To late today to heat-treat, that will be tomorrow. Will spend some time getting handle material ready.

20240806_151730.jpg
20240806_152736.jpg
 
Heat-treat is done, they are now in the tempering oven. They get tempered at 425 for 2 hours. Then taken out and brought to ambient temp. They then go back in still at 425 for another 2 hours. Then the tempering oven is turned off and they stay until cooled. I built my tempering oven from a old toaster oven. I removed all the stock controls, added a solid state relay and pid controller, and insulated it. I can hold 450 or above for as long as I like with plus or minus 2 degrees. The blade in the video is the last of the 3. When pulled from the oven it's been at 1475 for 5 minutes. I check to make sure it's non magnetic, oil quench, file check for hardness and in tempering it goes. Enjoy the video.

 
Heat-treat is done, they are now in the tempering oven. They get tempered at 425 for 2 hours. Then taken out and brought to ambient temp. They then go back in still at 425 for another 2 hours. Then the tempering oven is turned off and they stay until cooled. I built my tempering oven from a old toaster oven. I removed all the stock controls, added a solid state relay and pid controller, and insulated it. I can hold 450 or above for as long as I like with plus or minus 2 degrees. The blade in the video is the last of the 3. When pulled from the oven it's been at 1475 for 5 minutes. I check to make sure it's non magnetic, oil quench, file check for hardness and in tempering it goes. Enjoy the video.

Love your shirt by the way!!! 😂 🤣 😂
 
Enjoy the video.

 
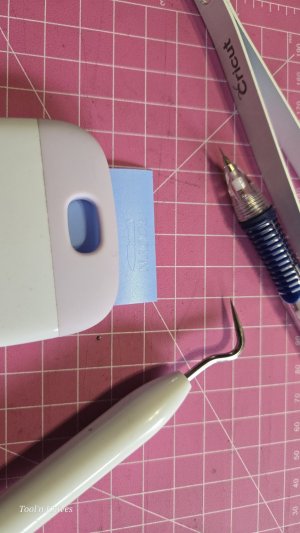
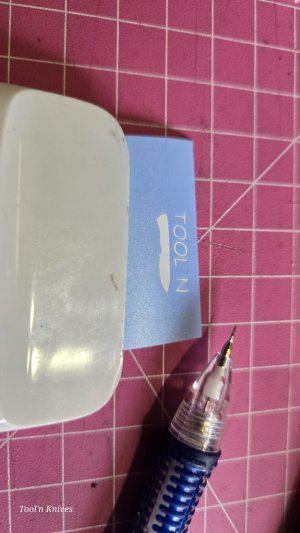
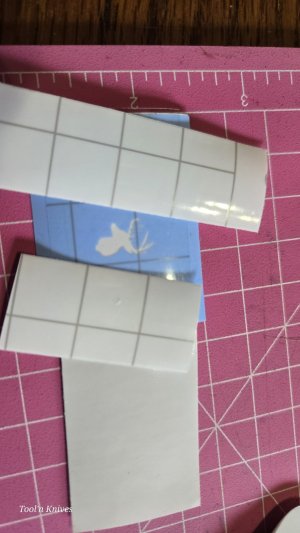
Today I'm getting ready to etch. I'll etch my logo on one side of the blade and the other side will have deer head with the boy's initials on each side. I have a program and machine that cuts a vinyl stencil. Once cut I need to separate them. The letters are 2/10's of an inch, so there is some fine material to remove. The exposed metal will etch once the power and chemical are put to it. I'll do a short video of this when I get to it. To respect privace I covered the initials.

20240809_114621.jpg20240809_115421.jpg20240809_115503.jpg
 
Here's a short video of the etching process.

 
Prepping handle scales.

 
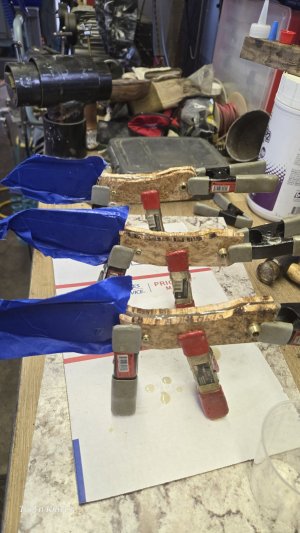
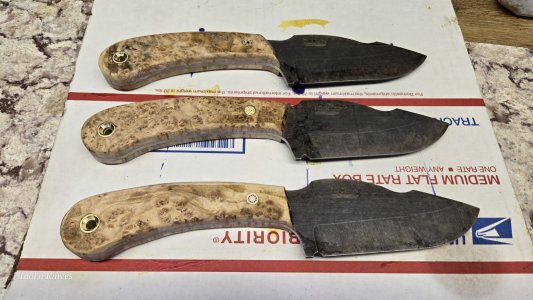
Handle scales countersunk & lanyard pin pre-fit. Each knife has it own unique mosaic pin. Epoxied up and clamped, now for at least a 14 hour cure. Not much to look at now but the black ash burl handles will pop.
20240815_142247.jpg
 
Last edited:
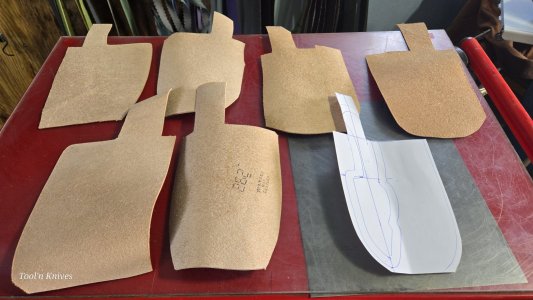
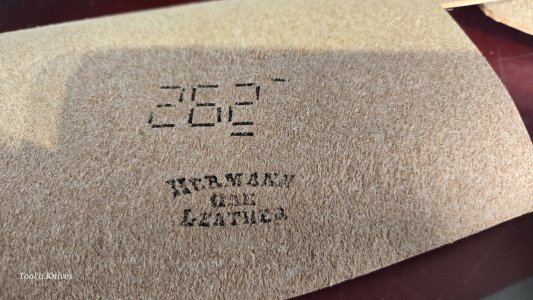
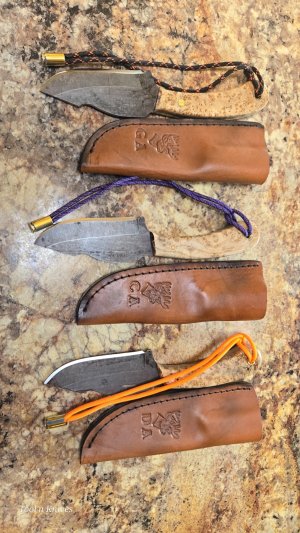
The only thing left to do on the knives is final polishing and sharpening. Sharpening will be very last. Time to work on the sheaths. I do it differently than most for most of my sheaths. Instead of one piece of leather, I use 2 thinner pieces. These are glued together and you will tear the leather before the 2 pieces will separate. This gives a finished leather on both sides. I use the best materials for everything, the leather from Herman Oak, one of, if not the best supplier out there.

20240818_114802.jpg

20240818_114811.jpg
 
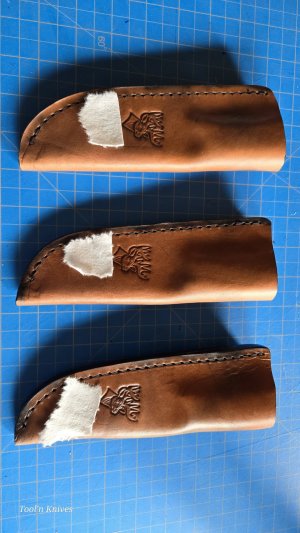
I finished the sheaths today. Only thing left is to sharpen and do the edge retention test. My policy is no one sees the finished product until they are holding it in their hand. Once the owner gets them I'll post the edge video and pics. Again to protect privacy I blocked the boy's initials that are under the bucks head.

20240819_151449.jpg
 
The knives have been delivered. These were built to be Christmas gift for his son's. Will he wait that long or will they be given earlier. Here the last pic and edge retention test video. A big thanks goes out for allowing me to build these for you.

20240820_155529.jpg
 
Those handles that Tooln used on those knives came from a tree I cut down on my grandparents place 20+ years ago after I bought the place from my uncle and logged the black ash swamp and basswood winter of 2000. I have since sold that place to my brother who still lives there. My middle boy has seen the knives and very much likes them particularly the family history of where the black ash burl handles came from adds a little something special to some already very nice knives. Thanks for the knives.
 
Top