Small cabin for the farm

Weasel

5 year old buck +
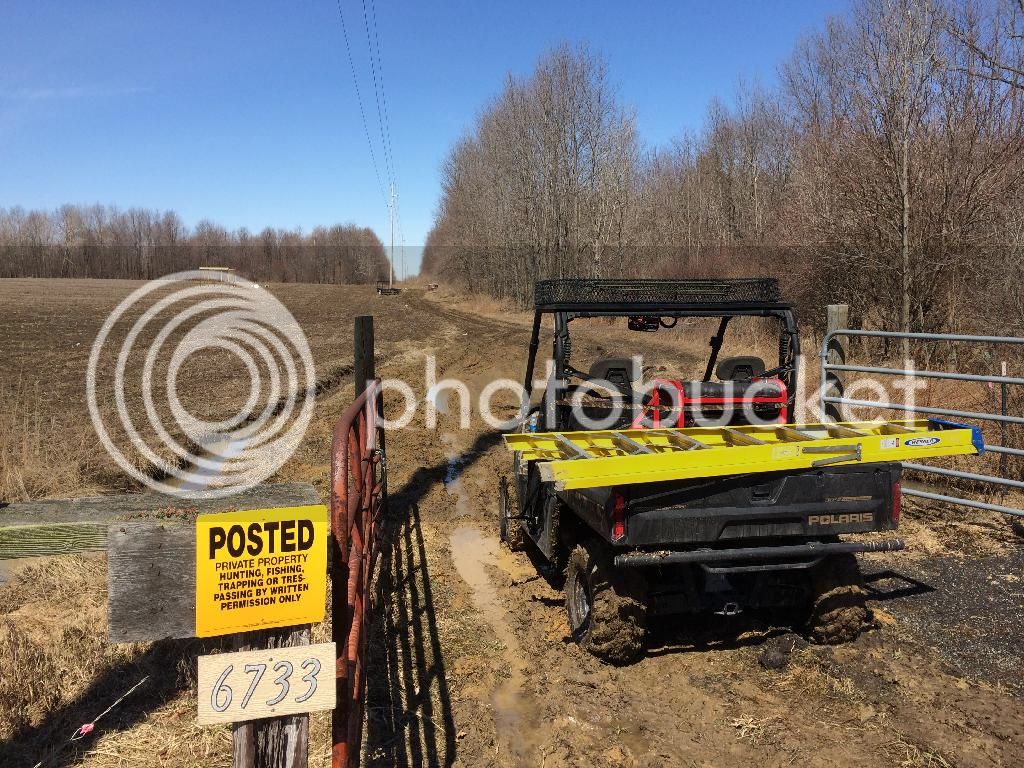
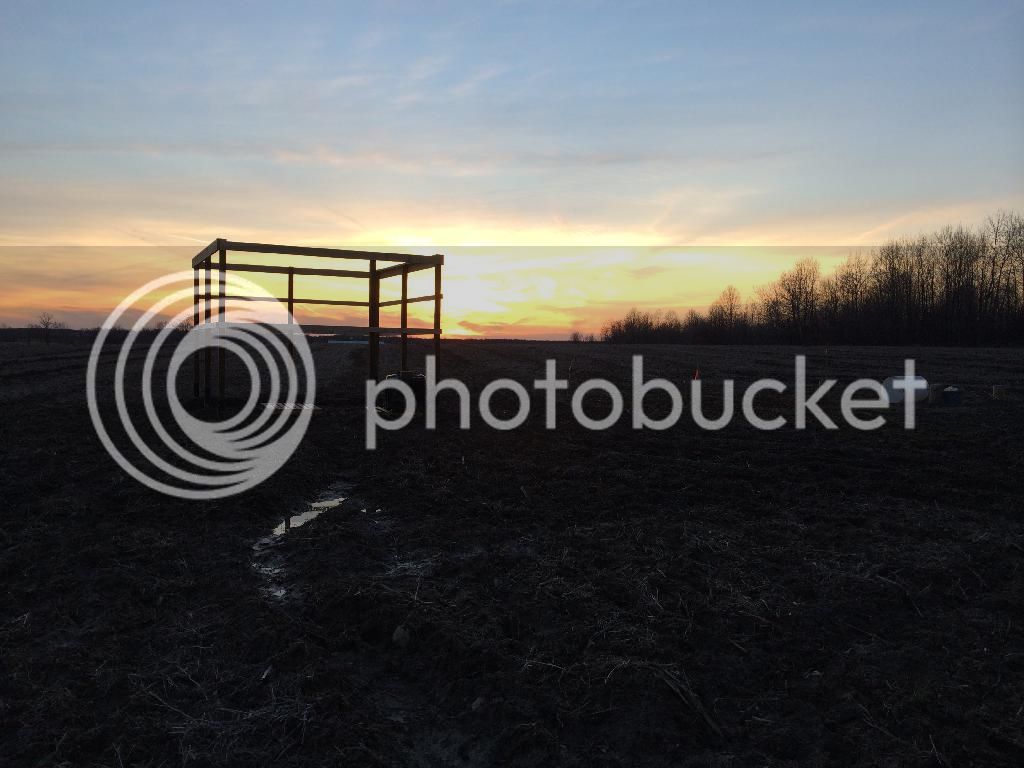
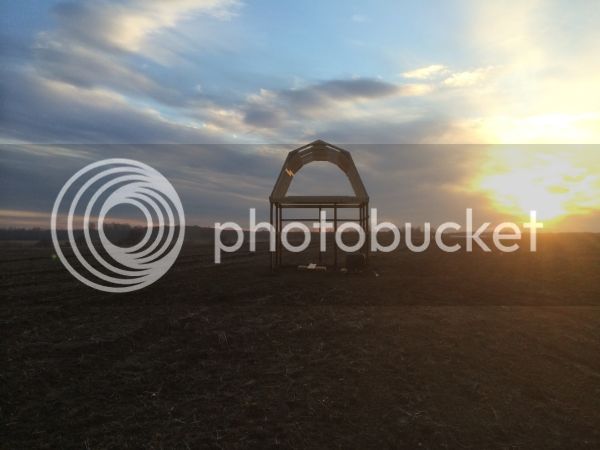
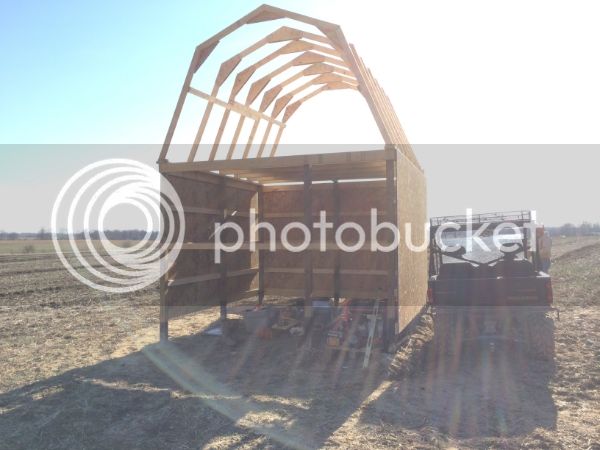
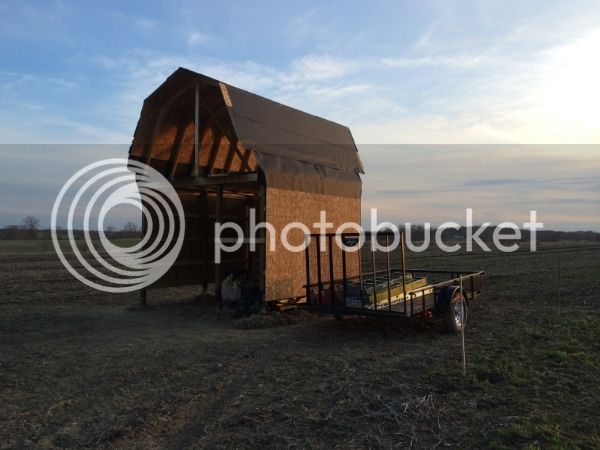
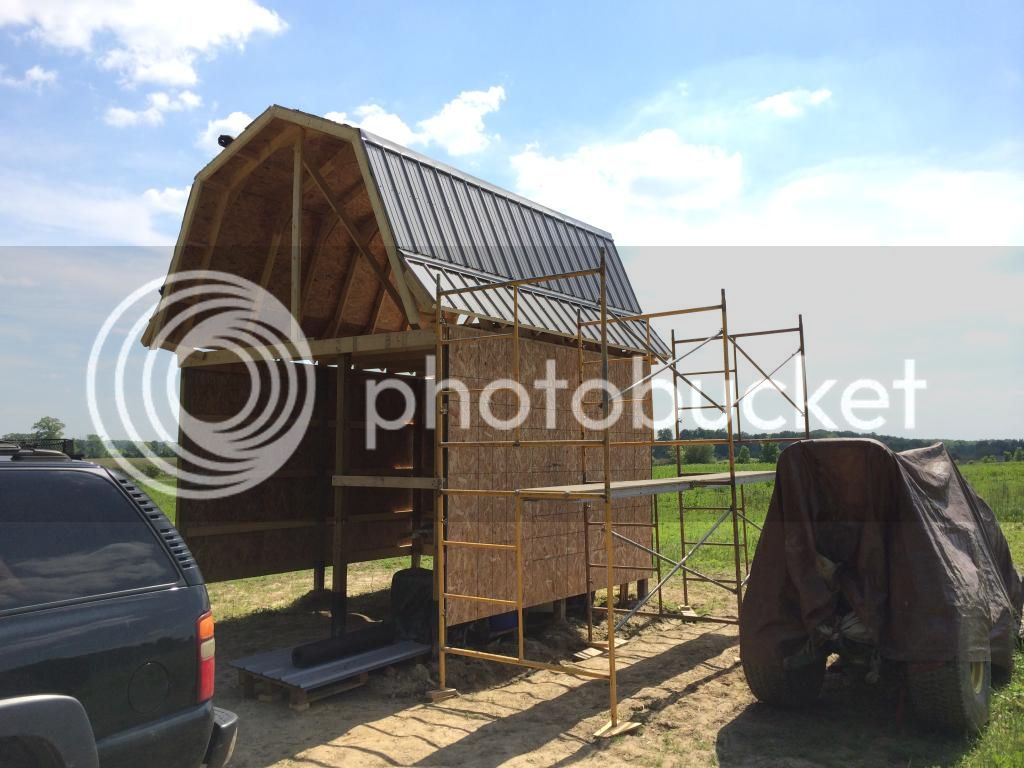
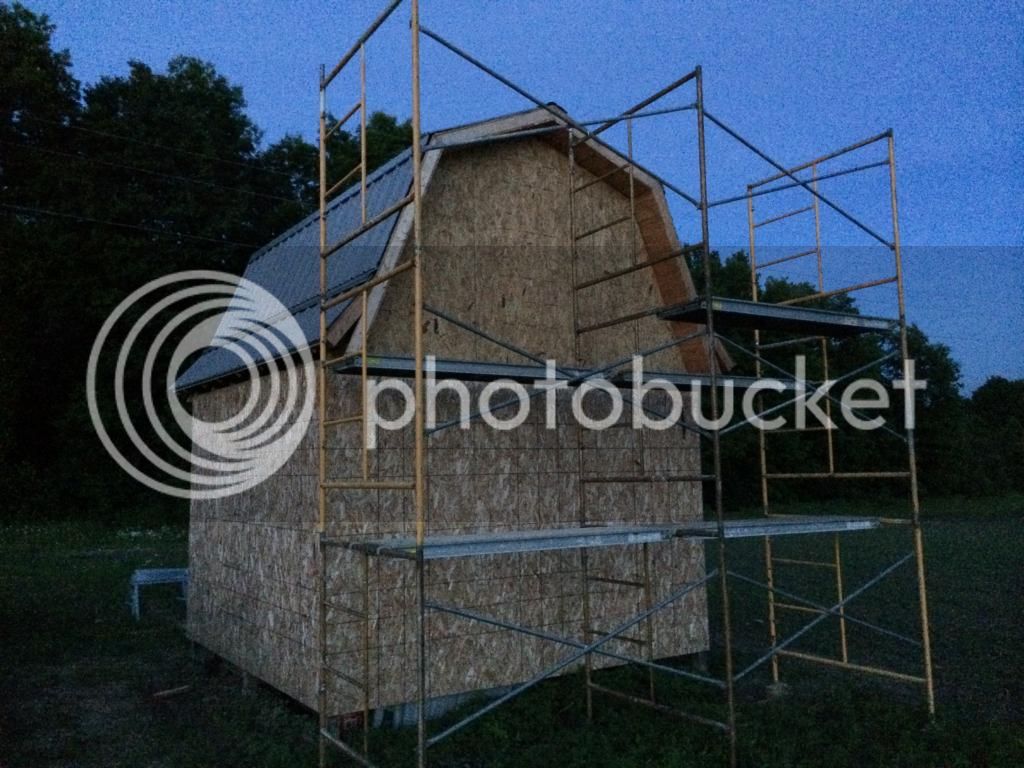
My land purchase was just that...land. No buildings, sheds, nowhere to store anything and nothing to sleep under. Just under 90 miles isn't a terrible drive at all, especially for an open road lover like me. However, the land is so beautiful & relaxing, it needed a shelter for extended trips for farming, hunting or just hanging with the family around the campfire.

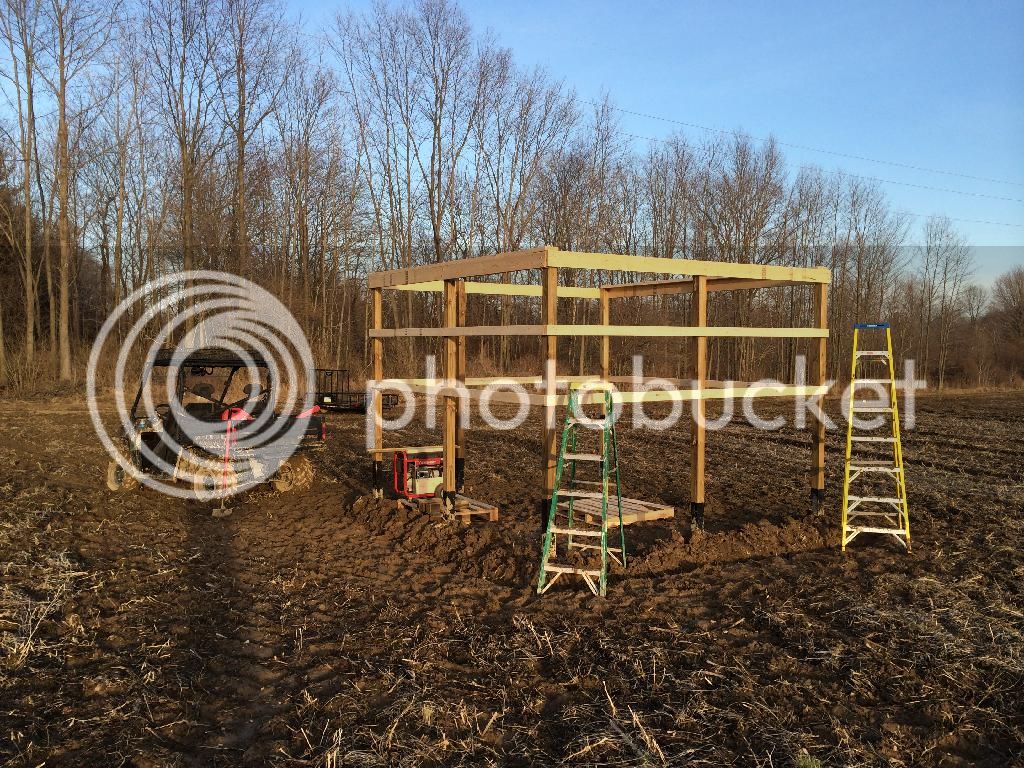
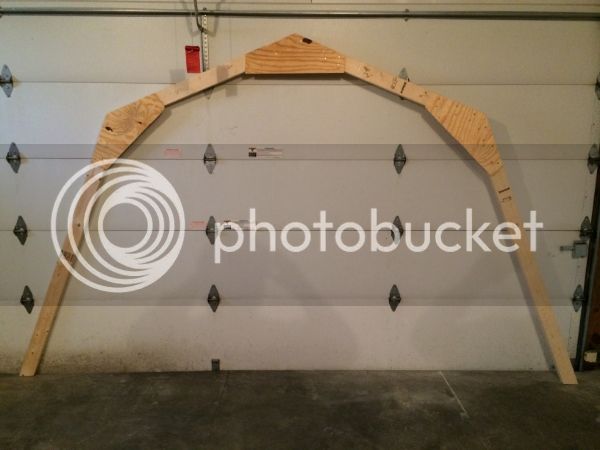
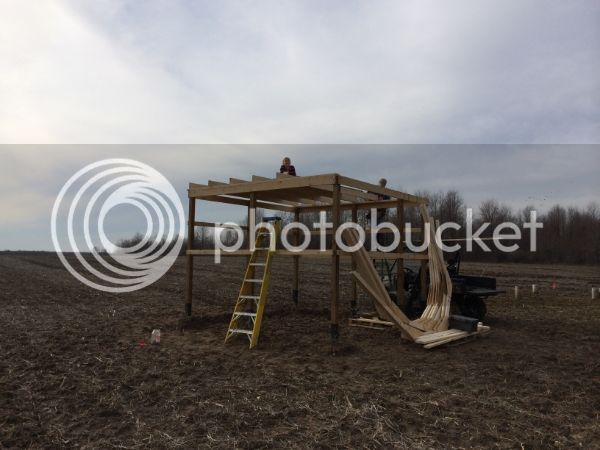
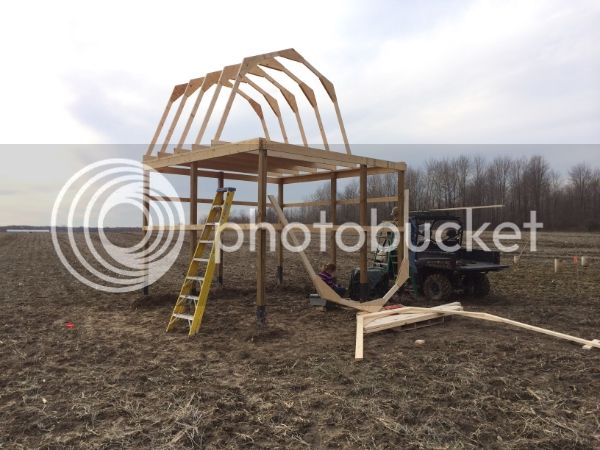
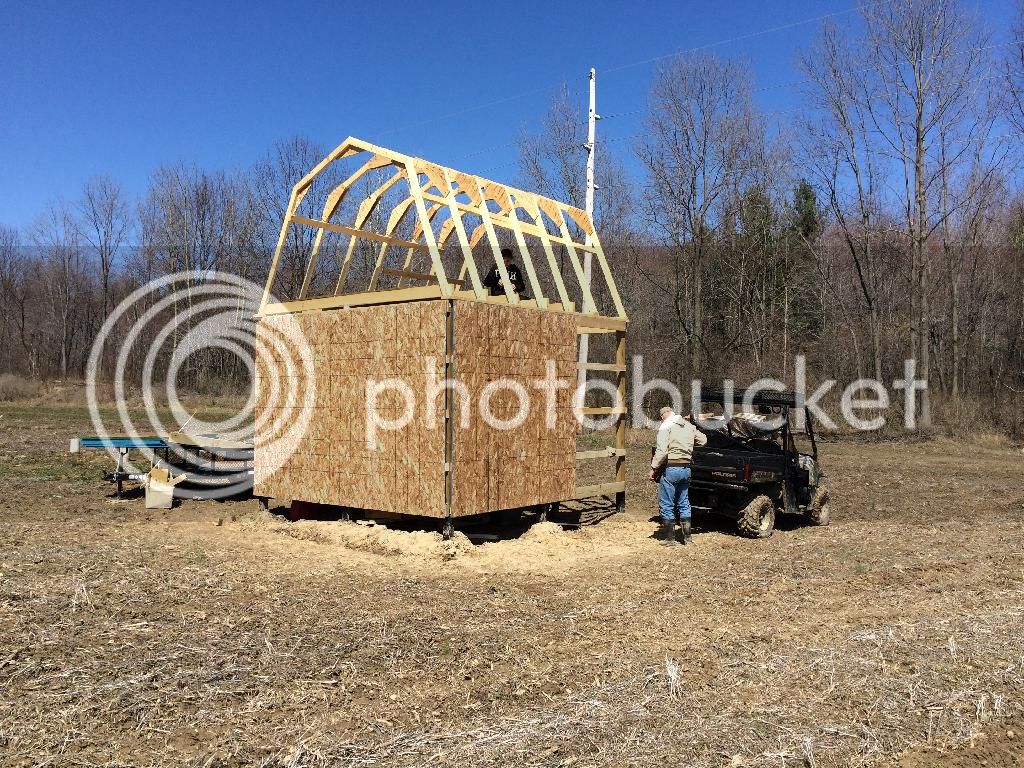
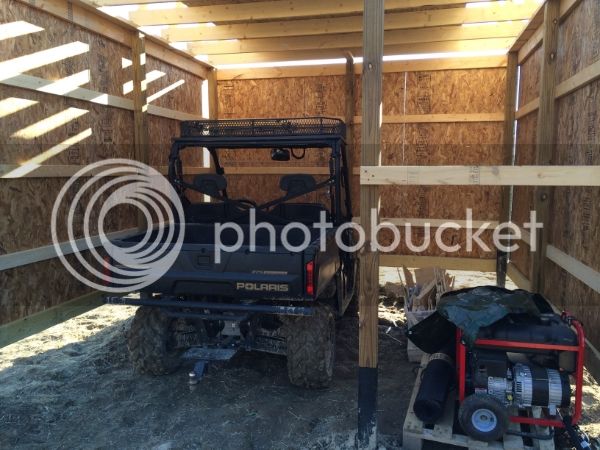
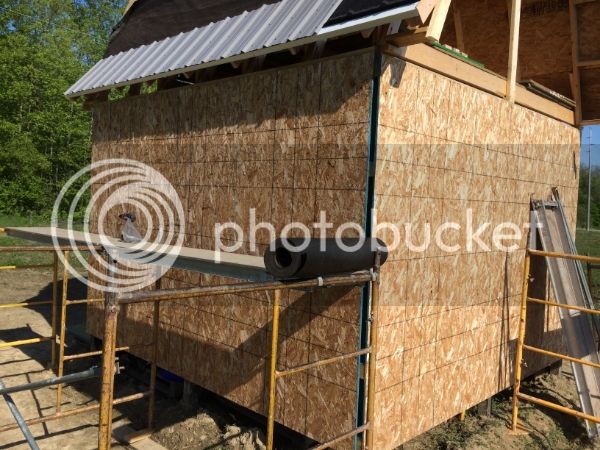
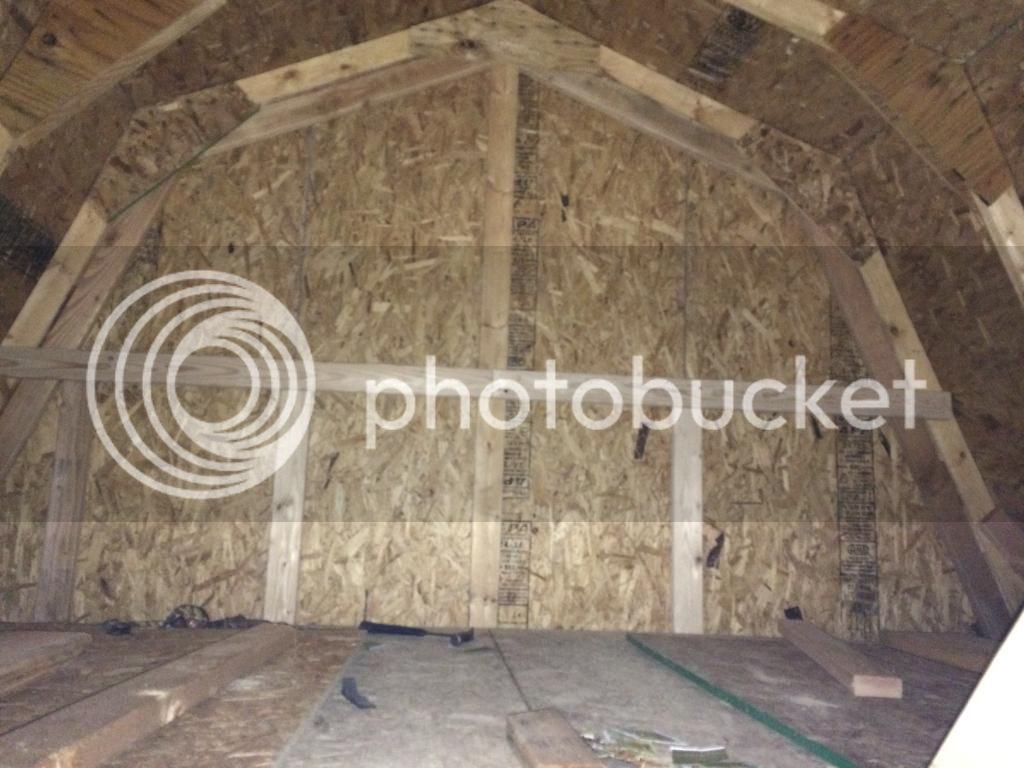
I sold my first 25 acre farm and rolled that into my new 40 acre piece so I had a few pieces of equipment. It got old hauling equipment back & forth or hiding it in the woods with a tarp & chain on it. Pre-built sheds and installed pole buildings just weren't in the budget. Fortunately, I am a 3rd generation builder, living in a house I built with the help of my dad, brother, father-in-law and friends in the trades. So my plan was to stick build a small barn to store things with a loft above for sleeping and pay cash along the way to avoid putting out large expenses at one time.

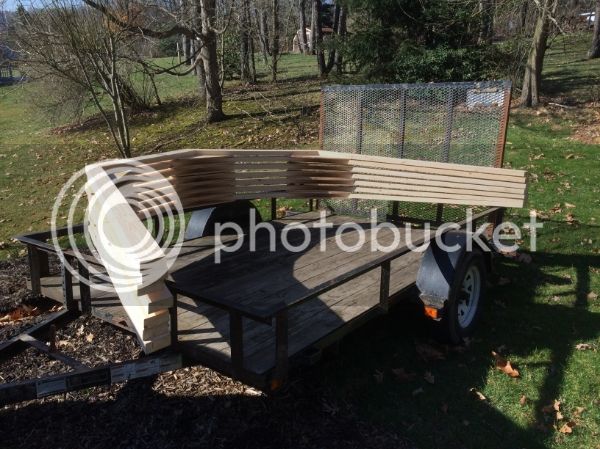
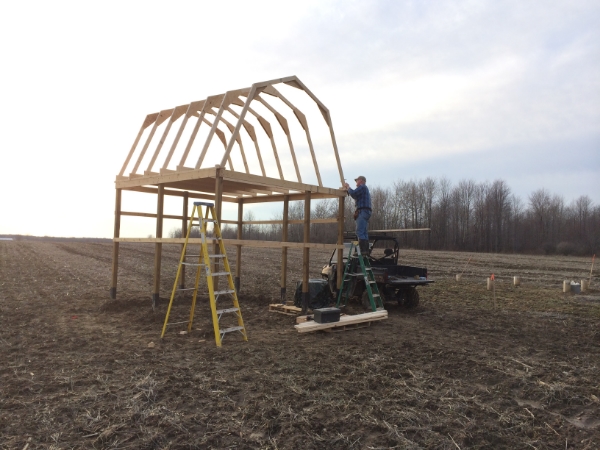
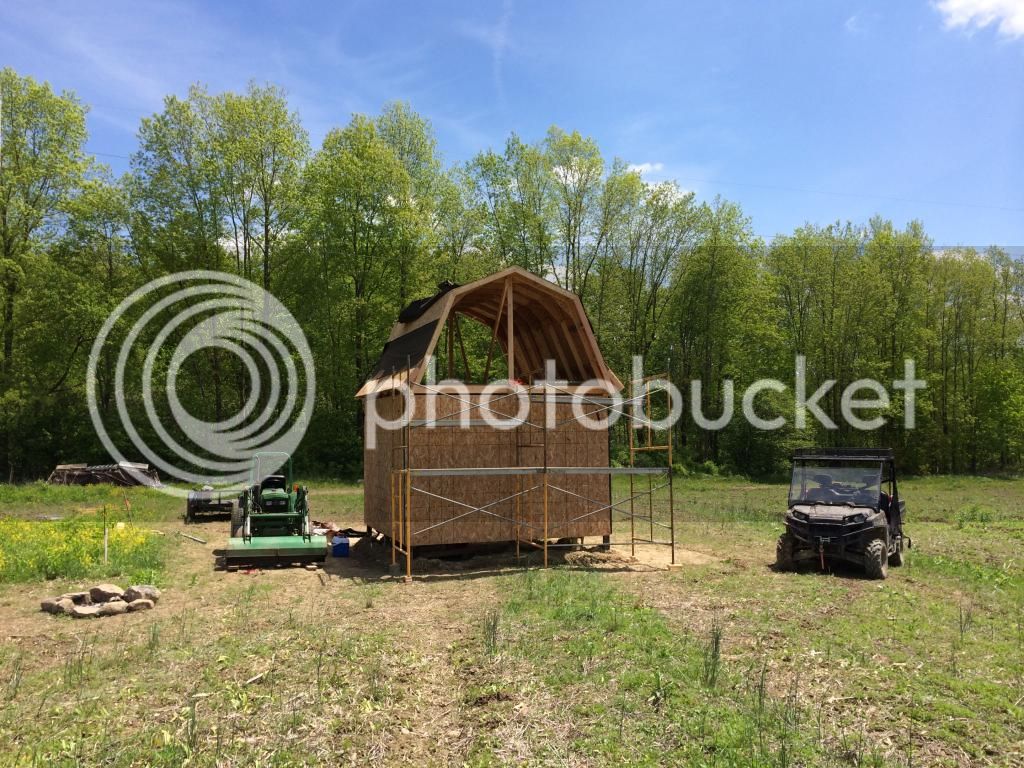
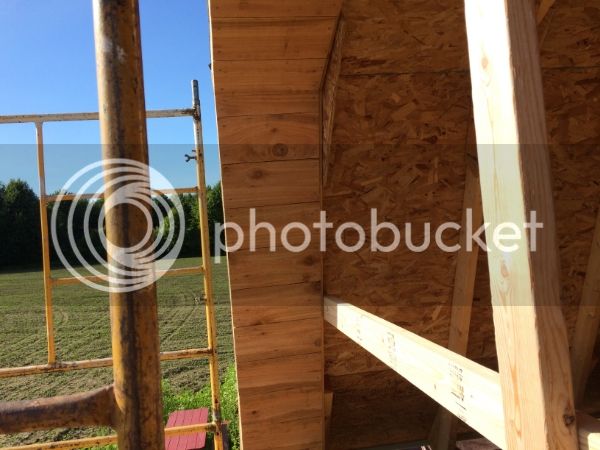
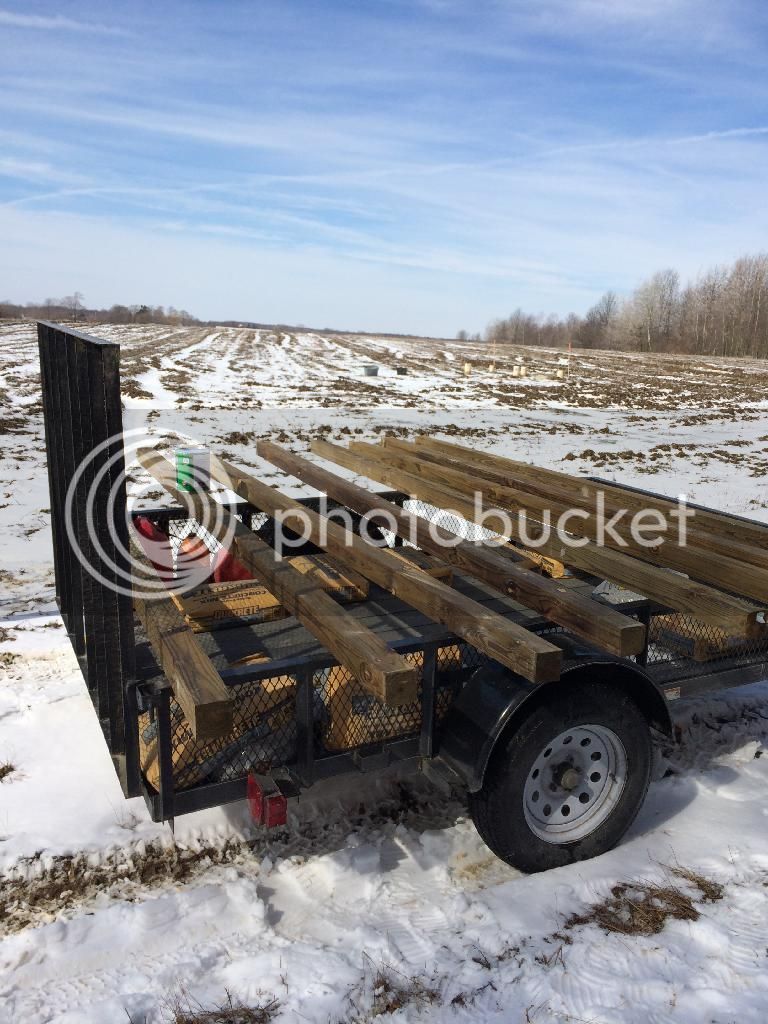
With a trailer full of treated posts & quickcrete, the project was underway.

D7F93898-456B-444E-8AF8-AD30794C7ECF.jpg


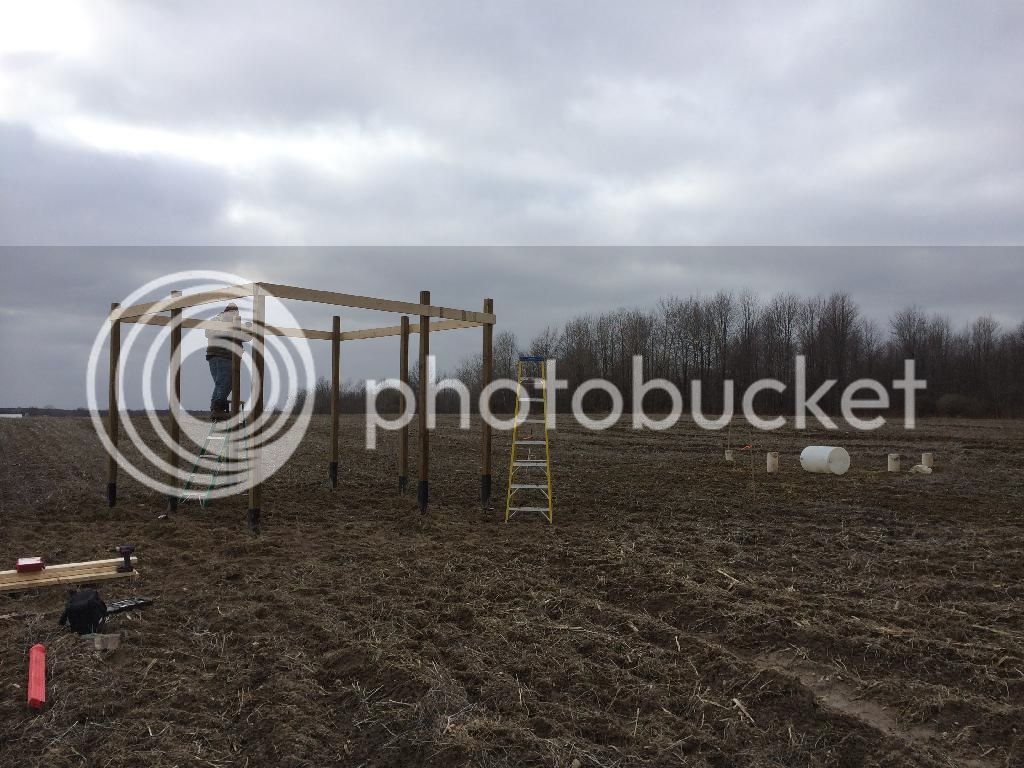
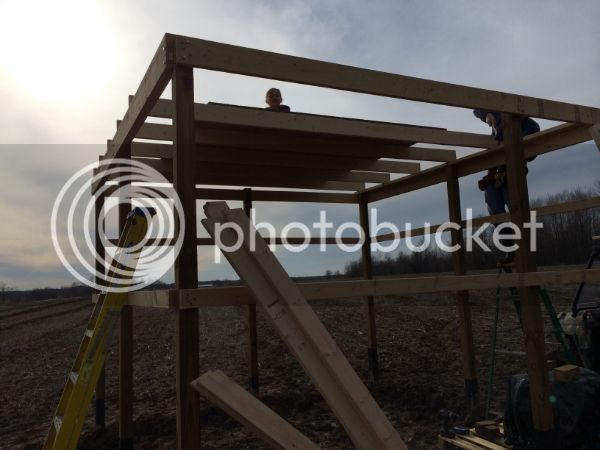
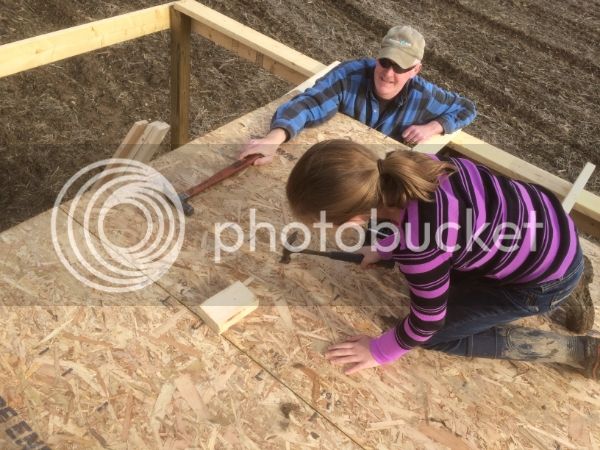
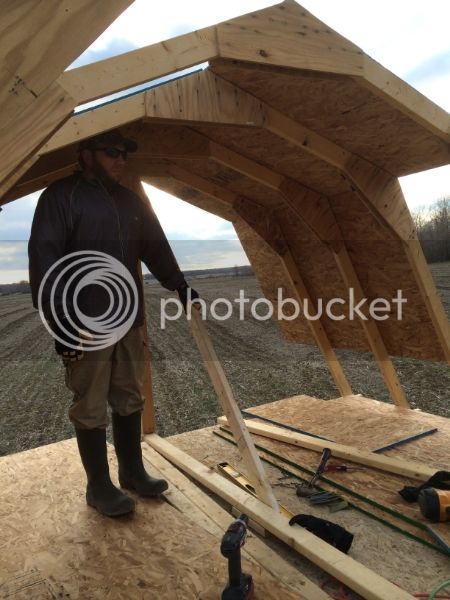
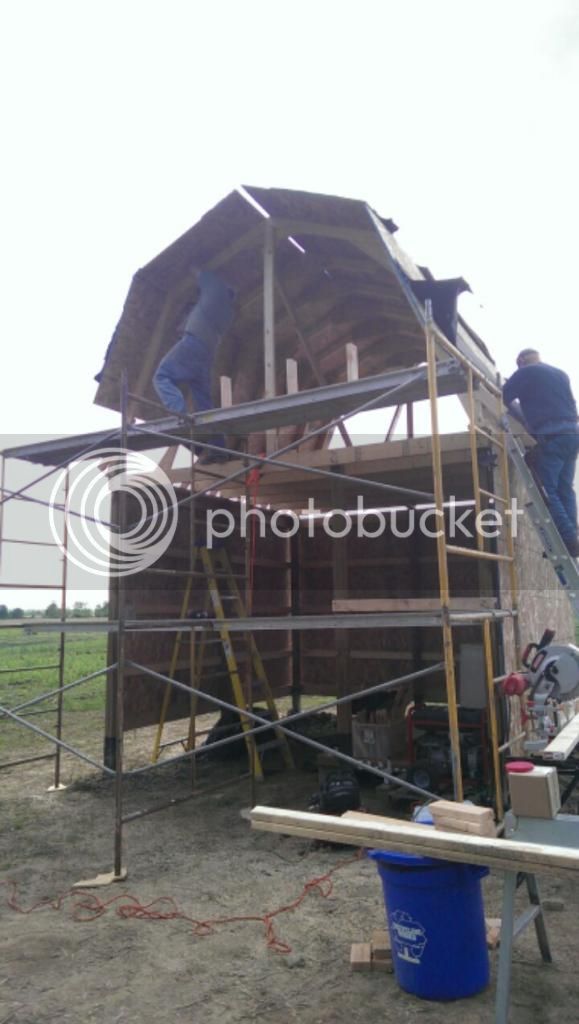
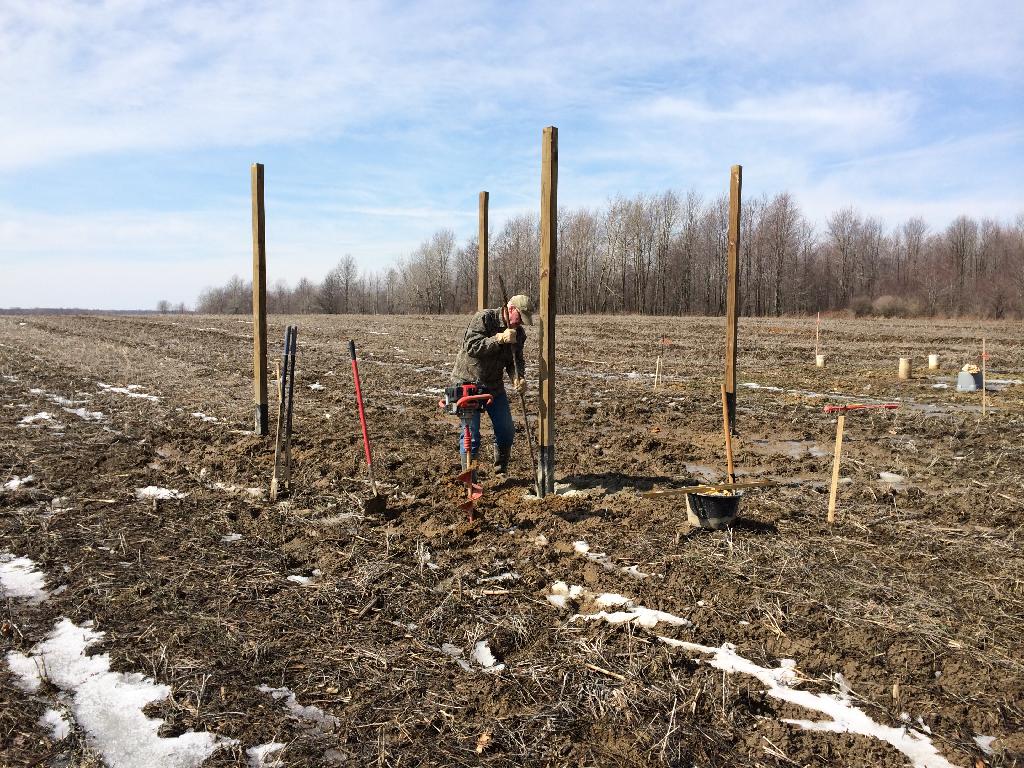
Unfortunately, the majority of the work at the farm is a one man show. However, I was fortunate to have enough help from my good friends Roger, Mike, Chris & Jeff along the way who showed up on days when 2 hands just couldn't get the job done. Here's my buddy Roger helping set posts.

F17B700B-159B-43C0-B81D-5B479EBE068A.jpg


7AFC2AD8-32F8-4709-9B40-5757BBFAD3A4.jpg
 
The following weekend after the quickcrete dried, construction was resumed.

E752A4D1-E477-4D61-A5AA-7FFAB5A91309.jpg


F7E2A009-F393-4998-B2A4-C153B55D26F5.jpg


We faced more challenges as spring thaw came and the lone access road turned to soup. The 4x4 buggy was the only thing that could get materials to the building site.

3DBD6790-03C1-42EA-B943-21B449F3630F.jpg


6473170B-98AB-4263-A93B-DAF0B5727B61.jpg


B47A50E6-A64E-4E23-88D9-AF46F875F223.jpg


3BFD9049-1EB9-454D-99AF-79BCDF2779D9.jpg
 
I built some gambrel trusses in my garage at home and loaded them on the trailer to take to the farm.

ef8693db-f689-4acf-8051-2467d4eb5712.jpg


4ca4493a-6ad7-4b30-a827-4bdcb76c71d7.jpg


Floor joists & sheathing went down with help from Roger and my youngest daughter.

d98a4c1d-1c6e-40fd-8719-9f32f32fe593.jpg


bfd6c340-1528-4565-a550-e181c35ac4ef.jpg


de1c08a0-2a31-4d67-ba01-e4db317a7578.jpg
 
Once part of the floor was down, we could work safely getting the trusses in place.

d9194e10-db6d-40f9-b75d-749c3ae4cee3.jpg


463195ad-ca85-4a14-b526-3dbfc7156822.jpg


45a615cc-2edc-4f21-8f67-43a8afc28271.jpg


7a0e4c0a-fb5c-4665-8ef5-9bf2d5c19e52.jpg
 
Keep the pics coming would like to see the finished product, thanks for sharing.
 
Sometimes the best ones are the simplest. Great project, keep us updated.

-John
 
Some really great pictures... hope to see the finished cabin soon.

Sent from my Nexus 7 using Tapatalk
 
I'm in the same boat with my place. Need something for over night stays. I look forward to watching yours progress.

I think it would be cool to use some solar panels to charge a car battery for LED lighting. eBay has some pretty reasonable prices on panels


Sent from my iPhone using Tapatalk
 
I'm in the same boat with my place. Need something for over night stays. I look forward to watching yours progress.

I think it would be cool to use some solar panels to charge a car battery for LED lighting. eBay has some pretty reasonable prices on panels


Sent from my iPhone using Tapatalk

That is what my Amish neighbor does for inside lighting and tool batteries. He's got a bank of batteries and a couple of solar panels on his shop roof. Works slick.
 
Thanks everyone. I'll be losing my cabin build thread on the soon-to-be eliminated food plot forum. I'll keep updating this as time allows to get you all up to speed where I am currently on the cabin.

Sheathing went on the exterior and the home made trusses were braced up.

522BEE84-5DEF-420B-9B01-23B2875E9144.jpg


The buggy fits!

d10af451-2bca-464d-b295-fc59f56e263e.jpg


000b695a-ddaa-4857-8229-92064f936e66.jpg
 
Time for a roof! Thank goodness my buddy Mike was here to help with these 5/8 sheets.

C6F8F4E9-3E4C-4800-AAC8-69D44F00CEE8.jpg


D9A3F661-A1BA-4545-B8E1-F882C386E3A0.jpg


75B26625-3075-403A-B230-7032836D2632.jpg
 
Great looking building.
 
IMO things mean so much more to you when you build them yourself, whether it is something small or large. Maybe thats why "I built this type threads" are so popular, because that is a key to our make up overall as a group. We enjoy the process of turning the pieces into something so much more.
 
Thanks Strawhead.

IMO things mean so much more to you when you build them yourself, whether it is something small or large. Maybe thats why "I built this type threads" are so popular, because that is a key to our make up overall as a group. We enjoy the process of turning the pieces into something so much more.

Don't think anyone could have said it better.
 
Roof sheathing complete, framing and sheathing for side overhangs still needs done. Put down some felt paper to keep things dry. Had to nail 2x4 "rungs" on the roof to get on top. That was fun :eek:

4eb2d798-20fe-4bc0-9607-5e1639bdbeac.jpg


feaec327-05f3-48ab-9b56-0729c441ae7e.jpg


Was fortunate to borrow some scaffolding which made life so much easier. We got all the overhangs built in no time.

BF2C39CA-0333-4EE1-B825-ED9F221D52C4.jpg


470BEE5C-930F-4A7C-B13B-136DA5B3F3FC.jpg
 
Tin roof time. I've done a bunch of shingle roofs but this was my first metal roof. Surprisingly it was pretty straightforward & easier than expected. One again, the scaffolding was worth it's weight in gold.

f47f4a29-9082-4045-908b-ee84af27f8f2.jpg


6BA15FE9-7EC8-4F65-946C-2CC8BD482AC9.jpg


EF69BC33-5CEF-4F33-9E39-EE32EF0363FE.jpg


13E53E6C-90DE-470C-8C7E-C5298A1DD44F.jpg
 
The overhangs got clad in cedar and it was time to start closing up the ends.

888a81c5-391f-470f-905b-d64eed590080.jpg


0D330DDE-F7BC-4884-8A82-74438FE99D4B.jpg


5A24F7AF-EFDE-4DD9-9D25-C51C5166CE31.jpg


C73D0333-F556-480F-9ADA-80EE77838A41.jpg
 
are you using any of those foam Closure Strips to keep bugs out of the ridges of your steel?
 
are you using any of those foam Closure Strips to keep bugs out of the ridges of your steel?

Yes, I put them on every outside edge.
 
Mine started kind of like that - it grew and grew !
 
Top