Just realized I never updated this…
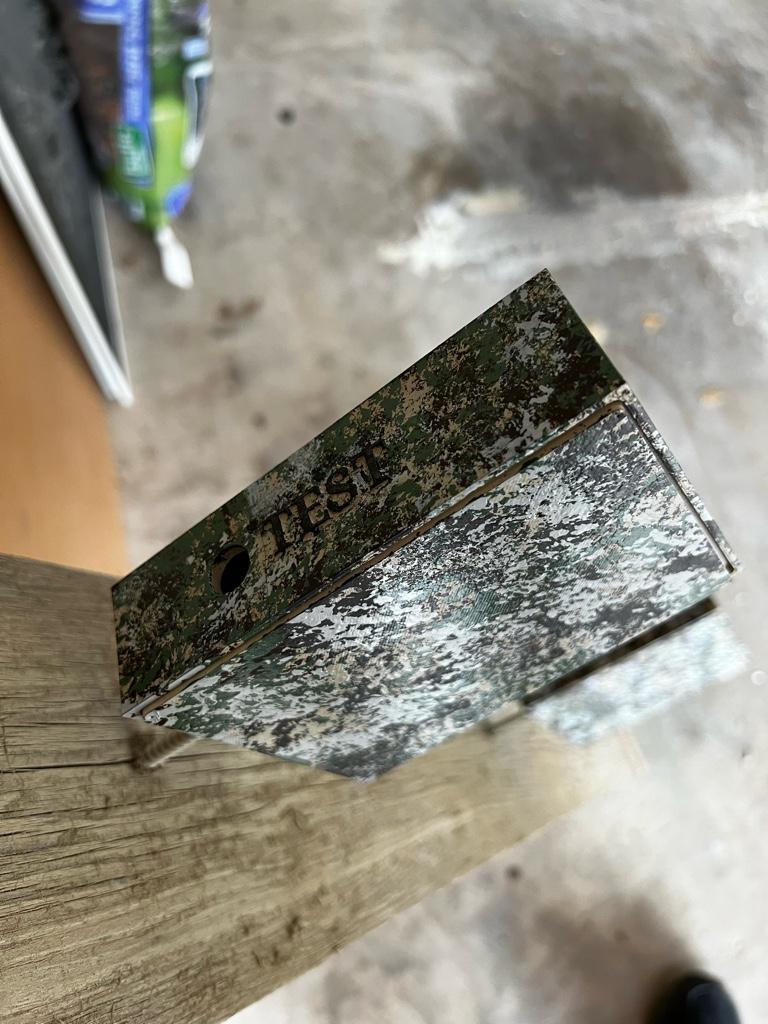
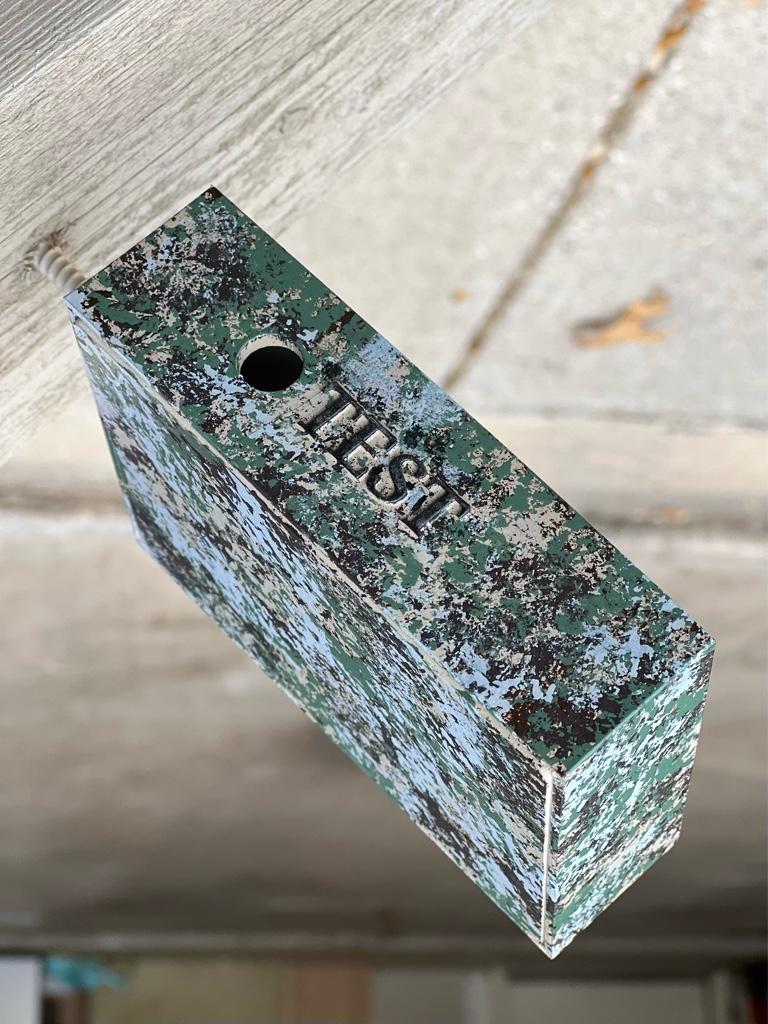
The first round of boxes had too much warping from temperature changes during the print cycle. Life got pretty busy, so the project got out on hold for a while until a few weeks ago when I decided to get everything ordered to complete the project. All components are ordered, most have arrived already, and I ordered a pair of newly designed boxes to house it.
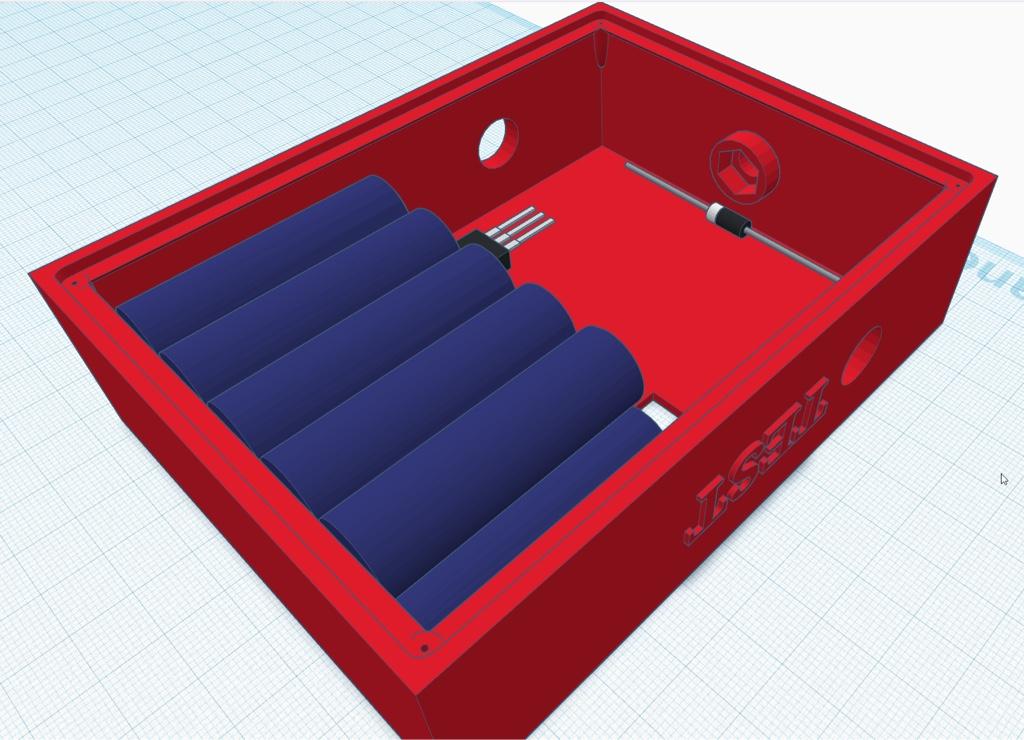
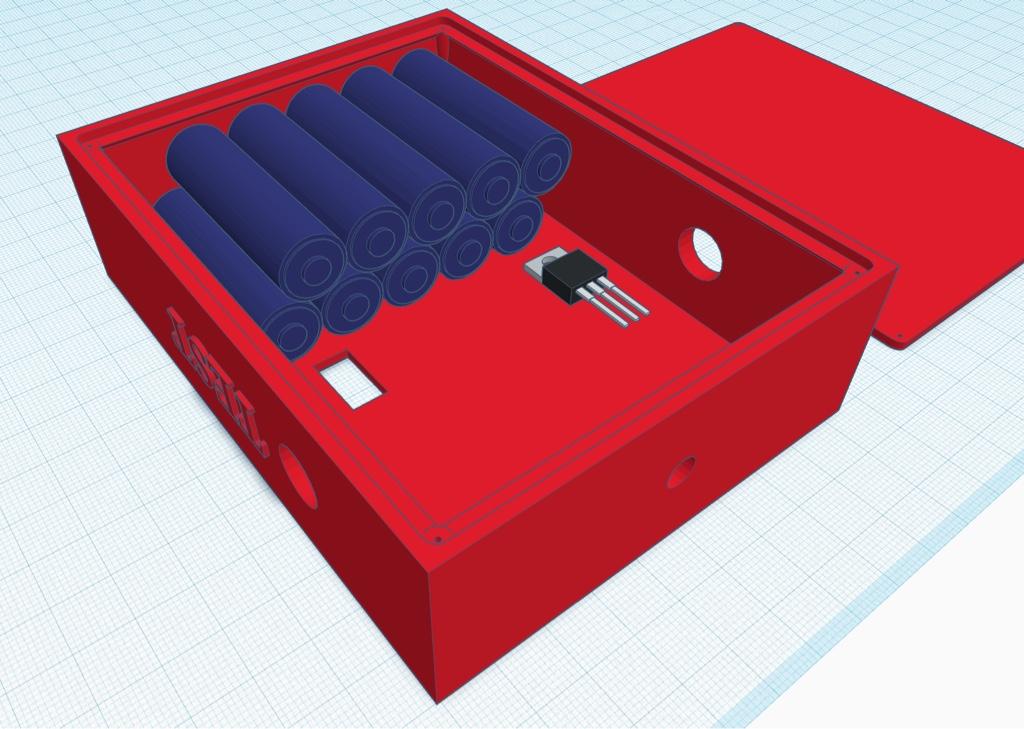
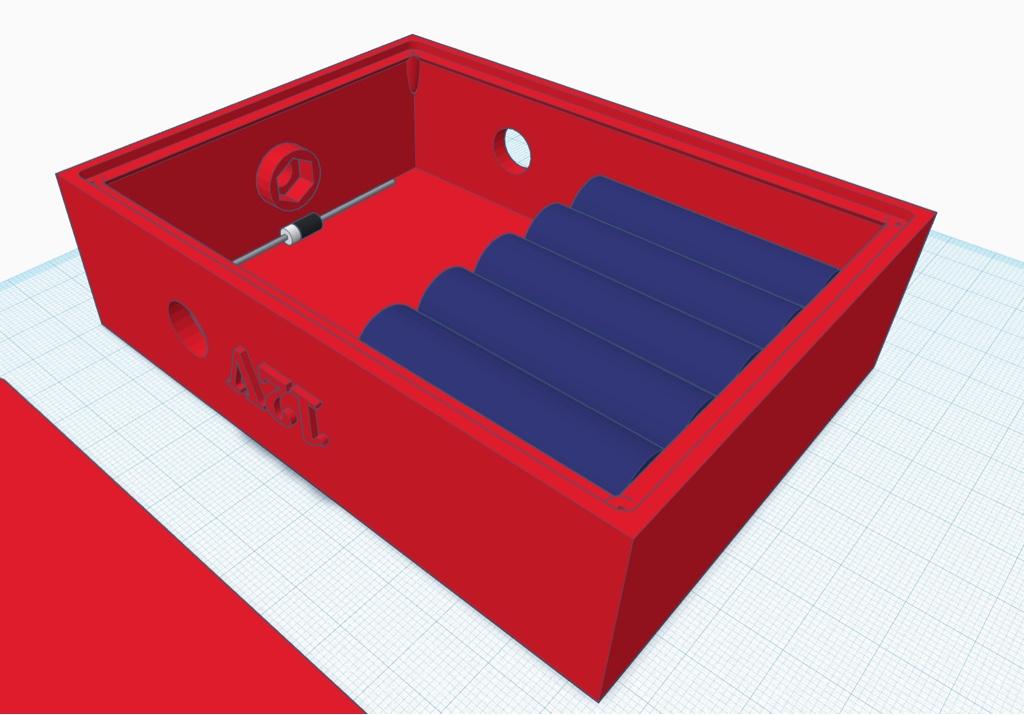
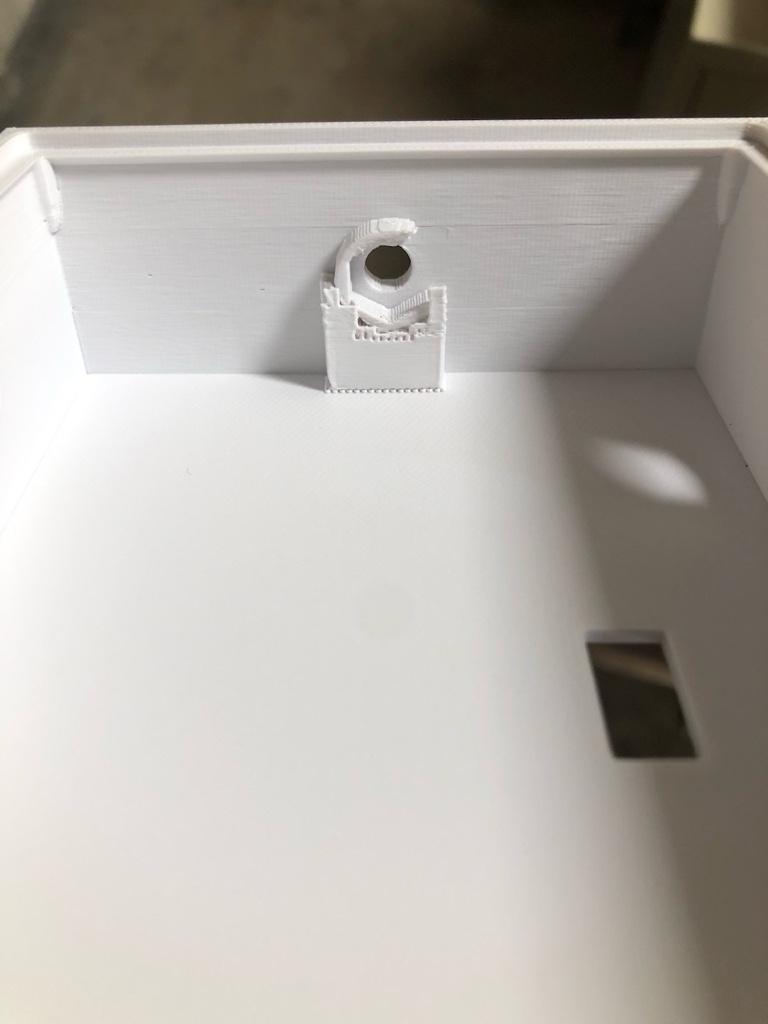
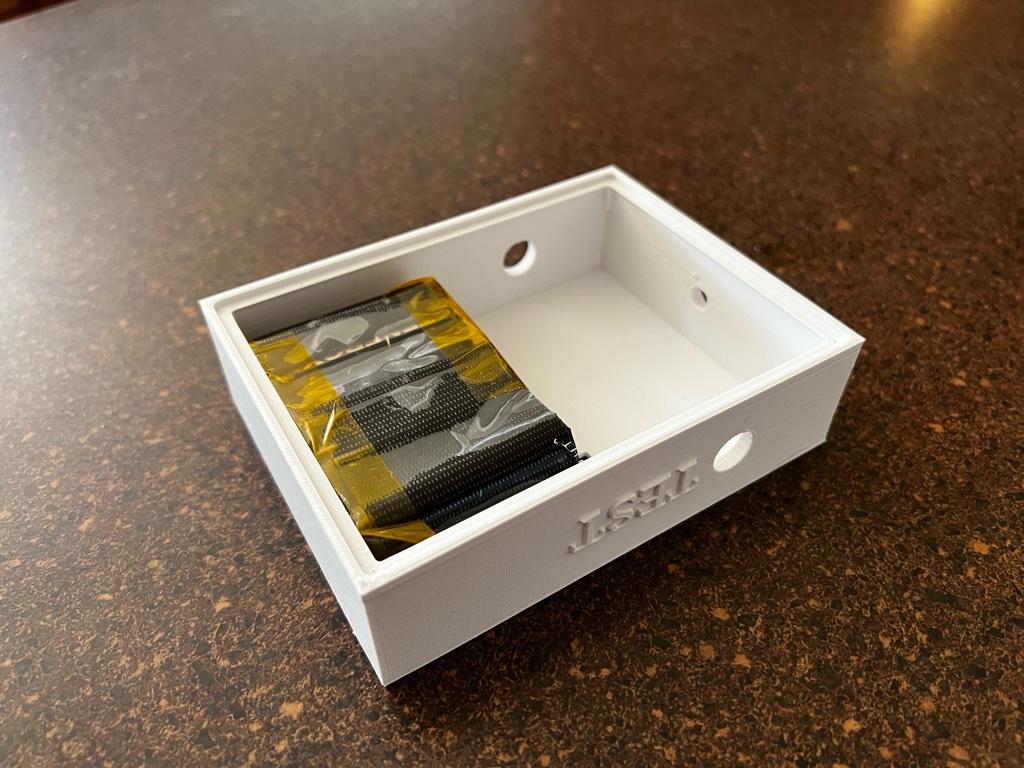
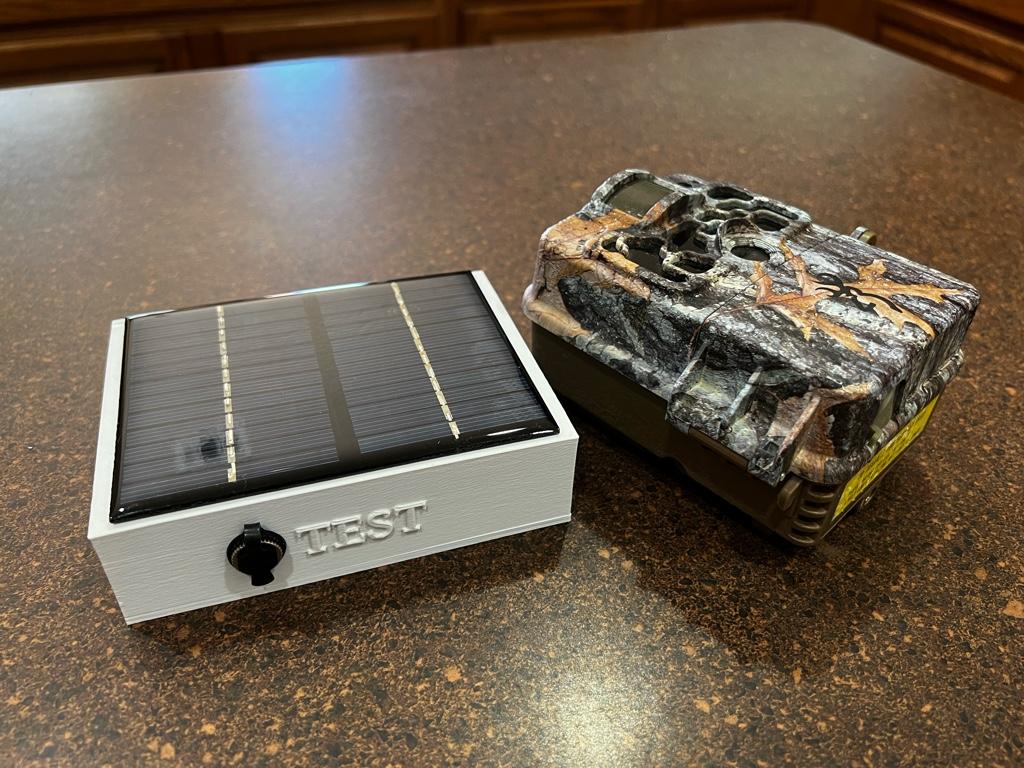
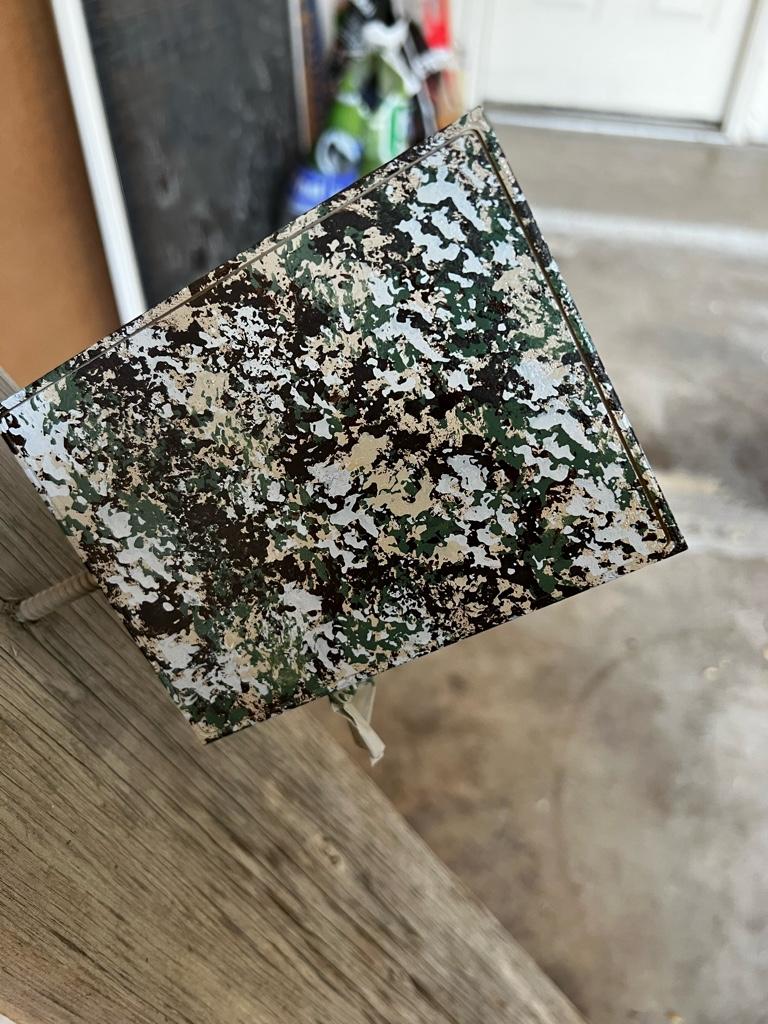
Total size is 125mm X 95mm X 35mm tall.
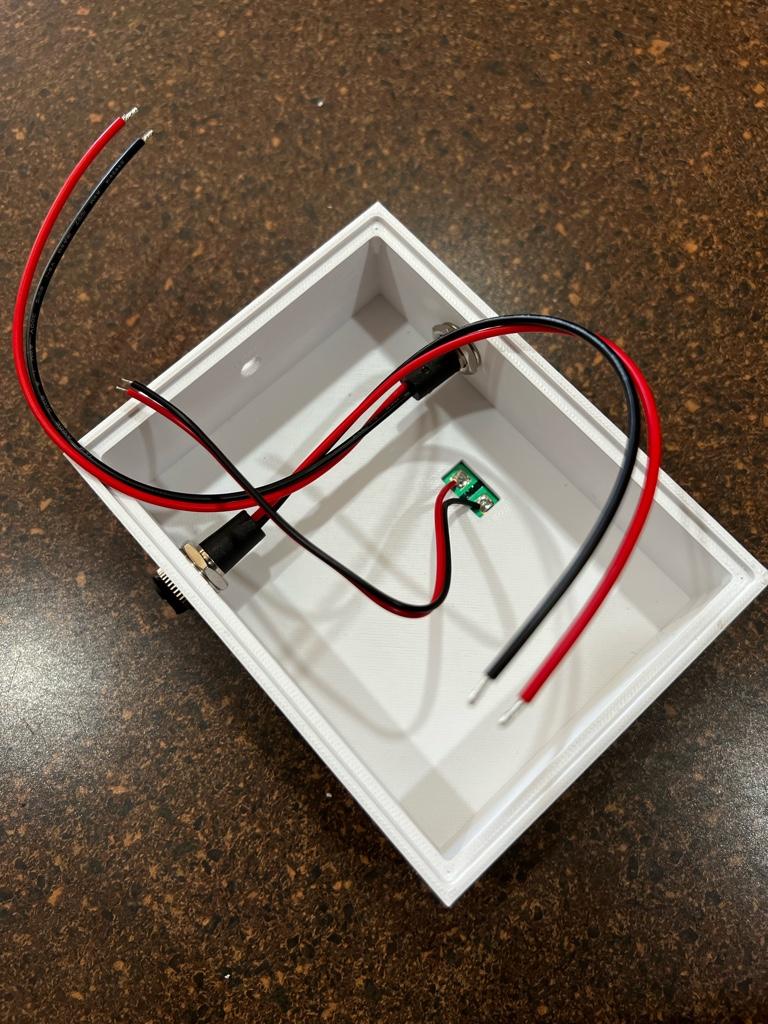
The internal batteries are 2,800 mAh Nickel-metal-hydride rechargeable batteries connected in series (positive-negative-positive-negative) to make a 12V pack.
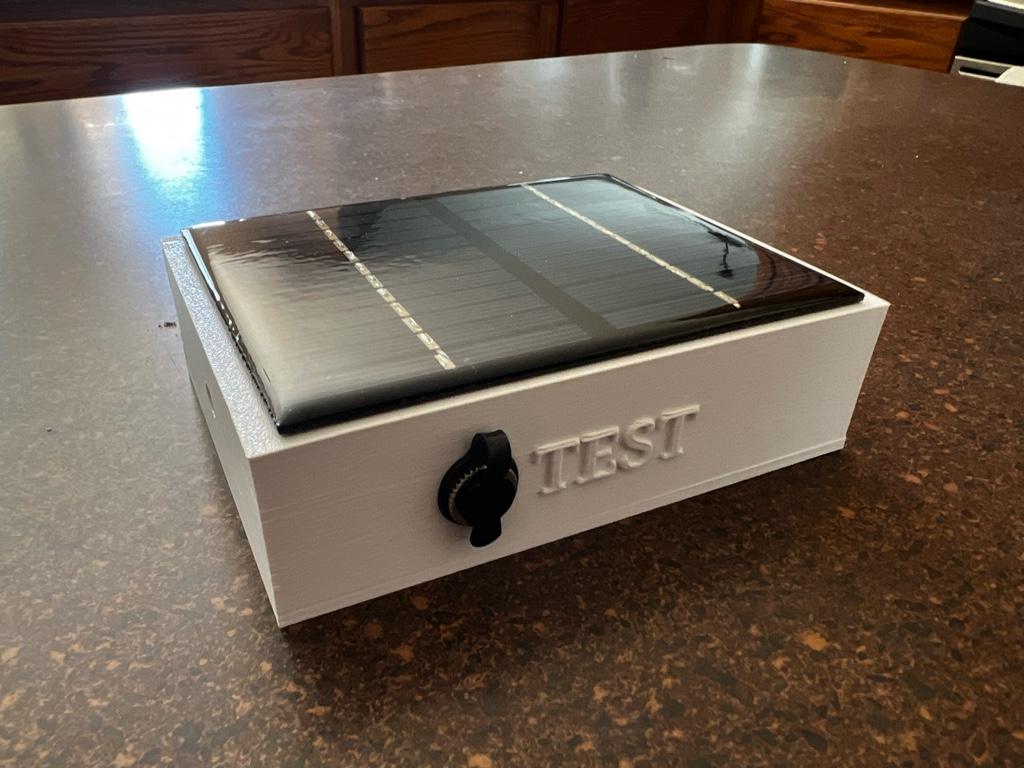
I found some small, flat, 12v solar panels that will perfectly cover the back of the box. I made it 5mm wider length and width wise to protect the edges of the panel.
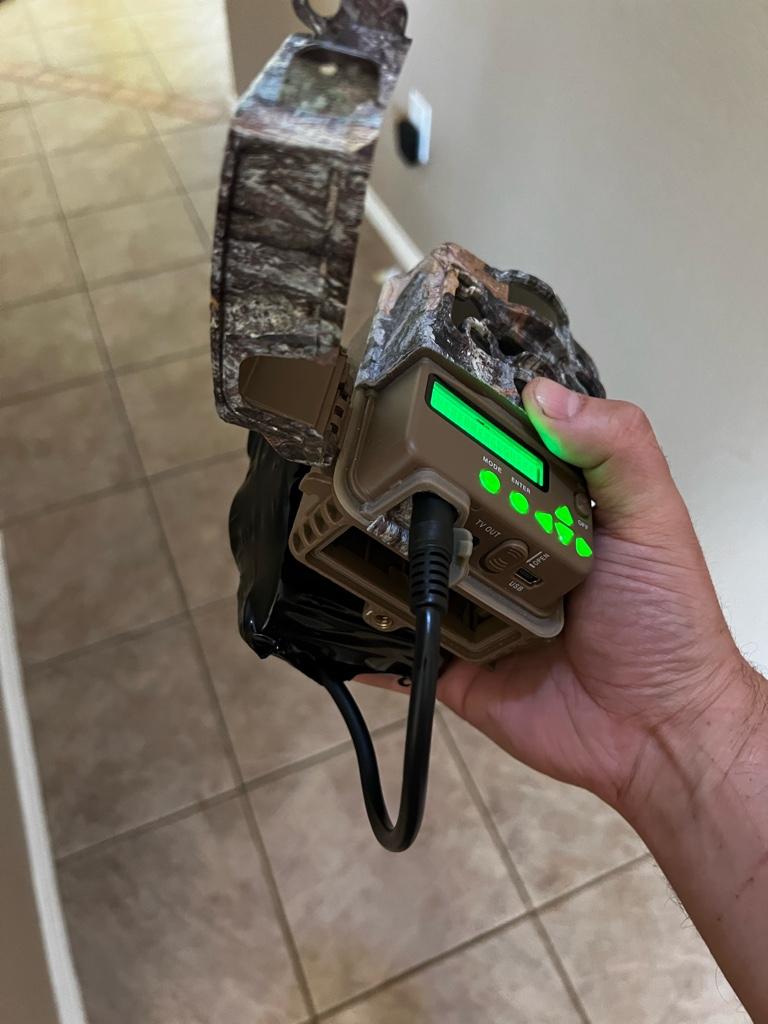
With the files sent out today, I should have the final high quality boxes in hand in the next 2 weeks. I rendered the 12v regulator and directional diode into the box just for size reference. The main empty space in the compartment will be taken up mostly by wires, and the holes on opposite sides will be waterproof bulkhead DC wire plugs.
I also added some lithium battery only setups to the DIY task list and will provide more info for those when the final components arrive.
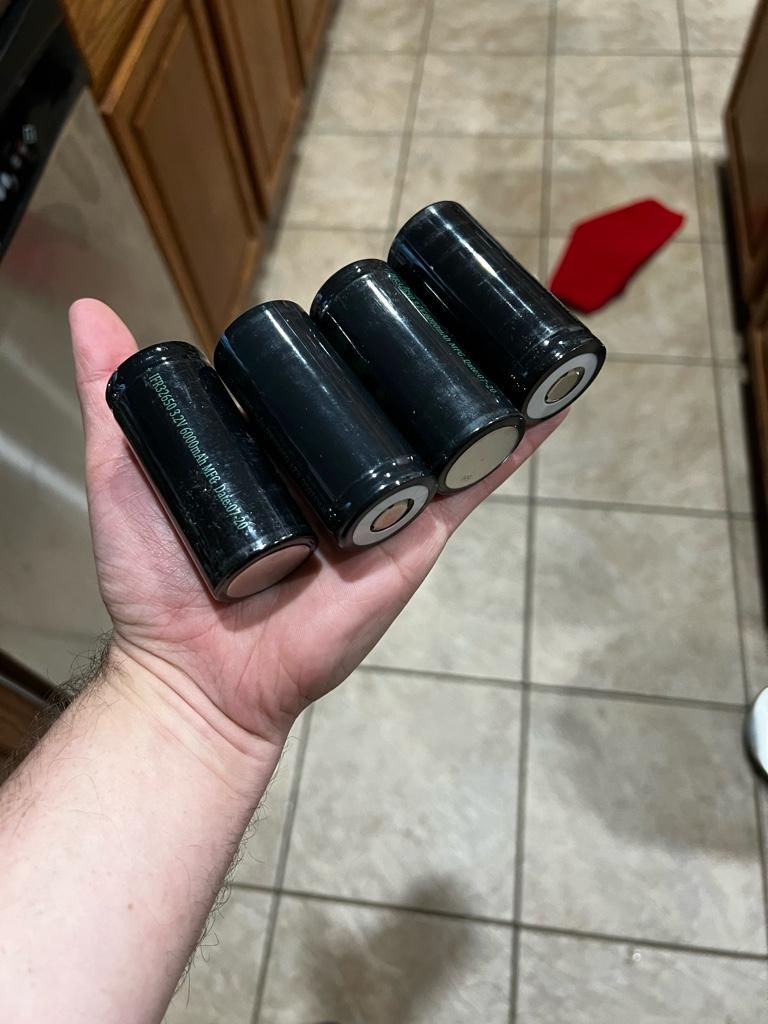
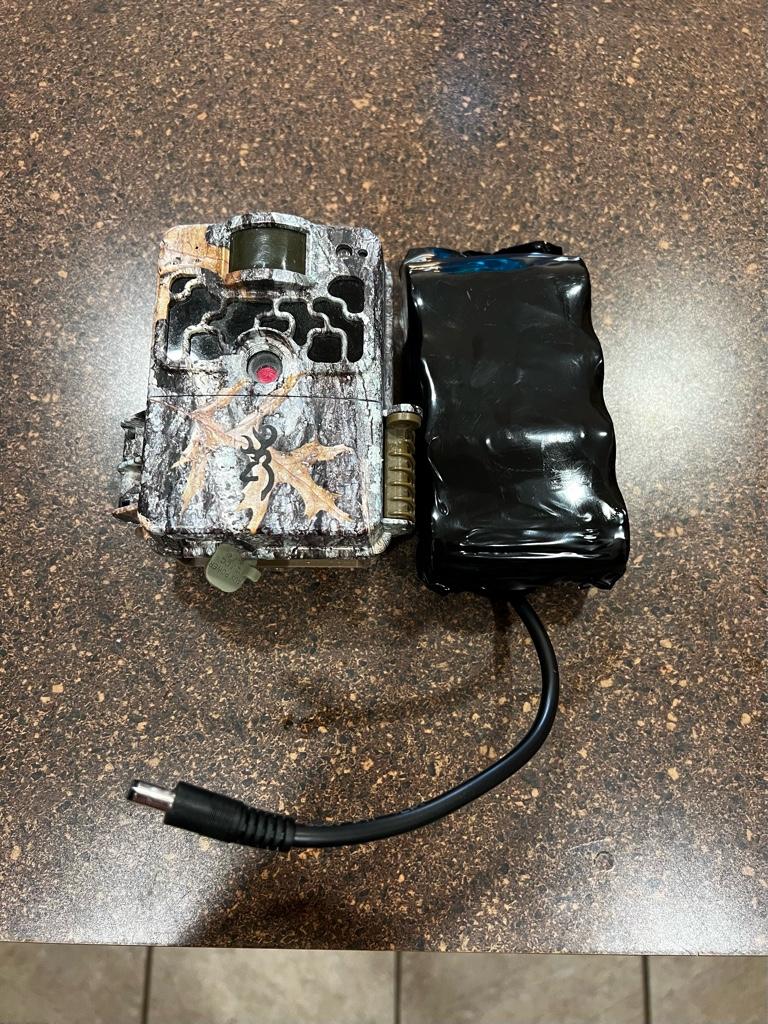
I am building those out of LifePo4 32700 cells that have 6,000 mAh. So, the external pack is the equivalent of 2 full sets of Energizer Extreme Lithium batteries. They should provide 16-18 months worth of power even on video mode at the ultra setting.
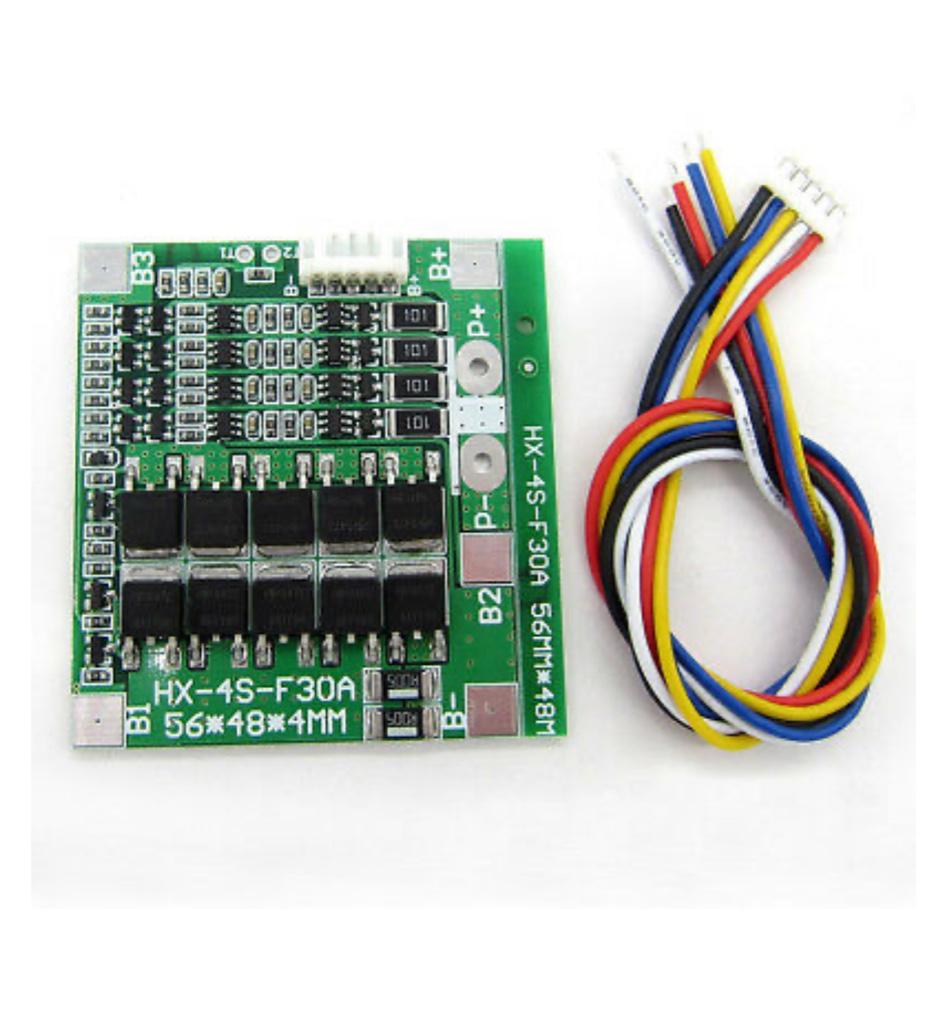
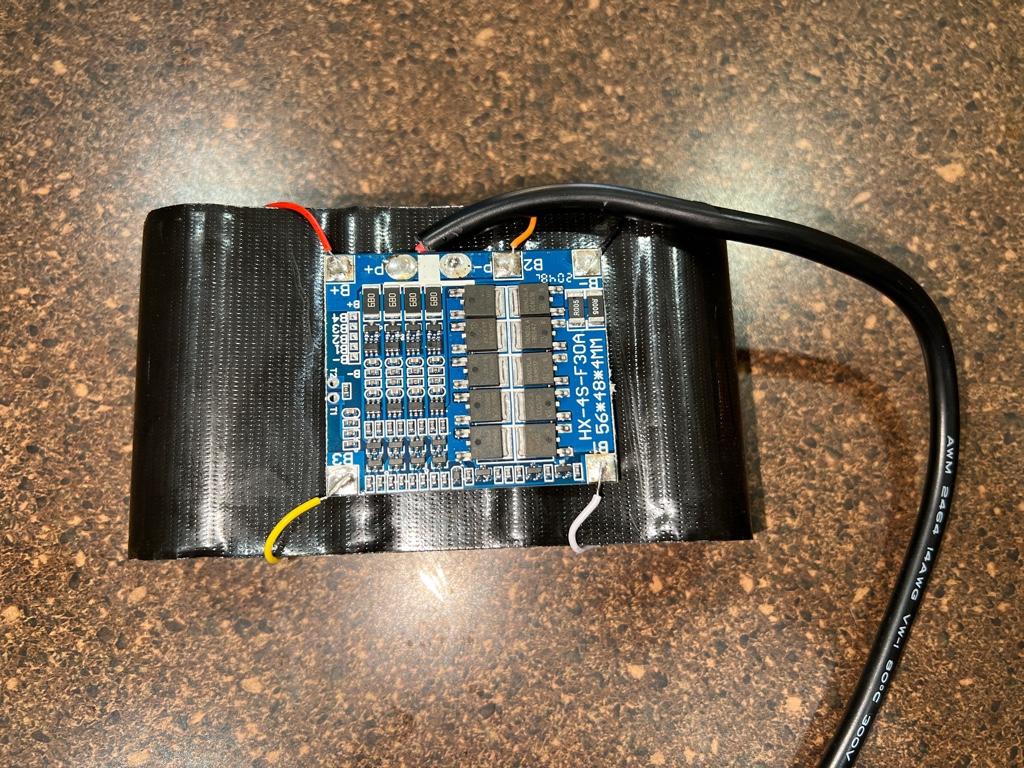
Now to order several 256gb cards so the cameras don’t fill up. 4 of those makes a 12v pack, and i will be using a Battery Management Board with active balanced charging to keep the batteries in good shape.
All said and done, between the Gen 1 solar batteries, the Gen 2 ones, and the battery only packs, i will have external power for 10 cameras with a minimum of 18 months on video mode.
Sent from my iPhone using Tapatalk