Converting from Fluorescent Shop Light bulbs to LED bulbs for growing trees indoors

yoderjac

5 year old buck +
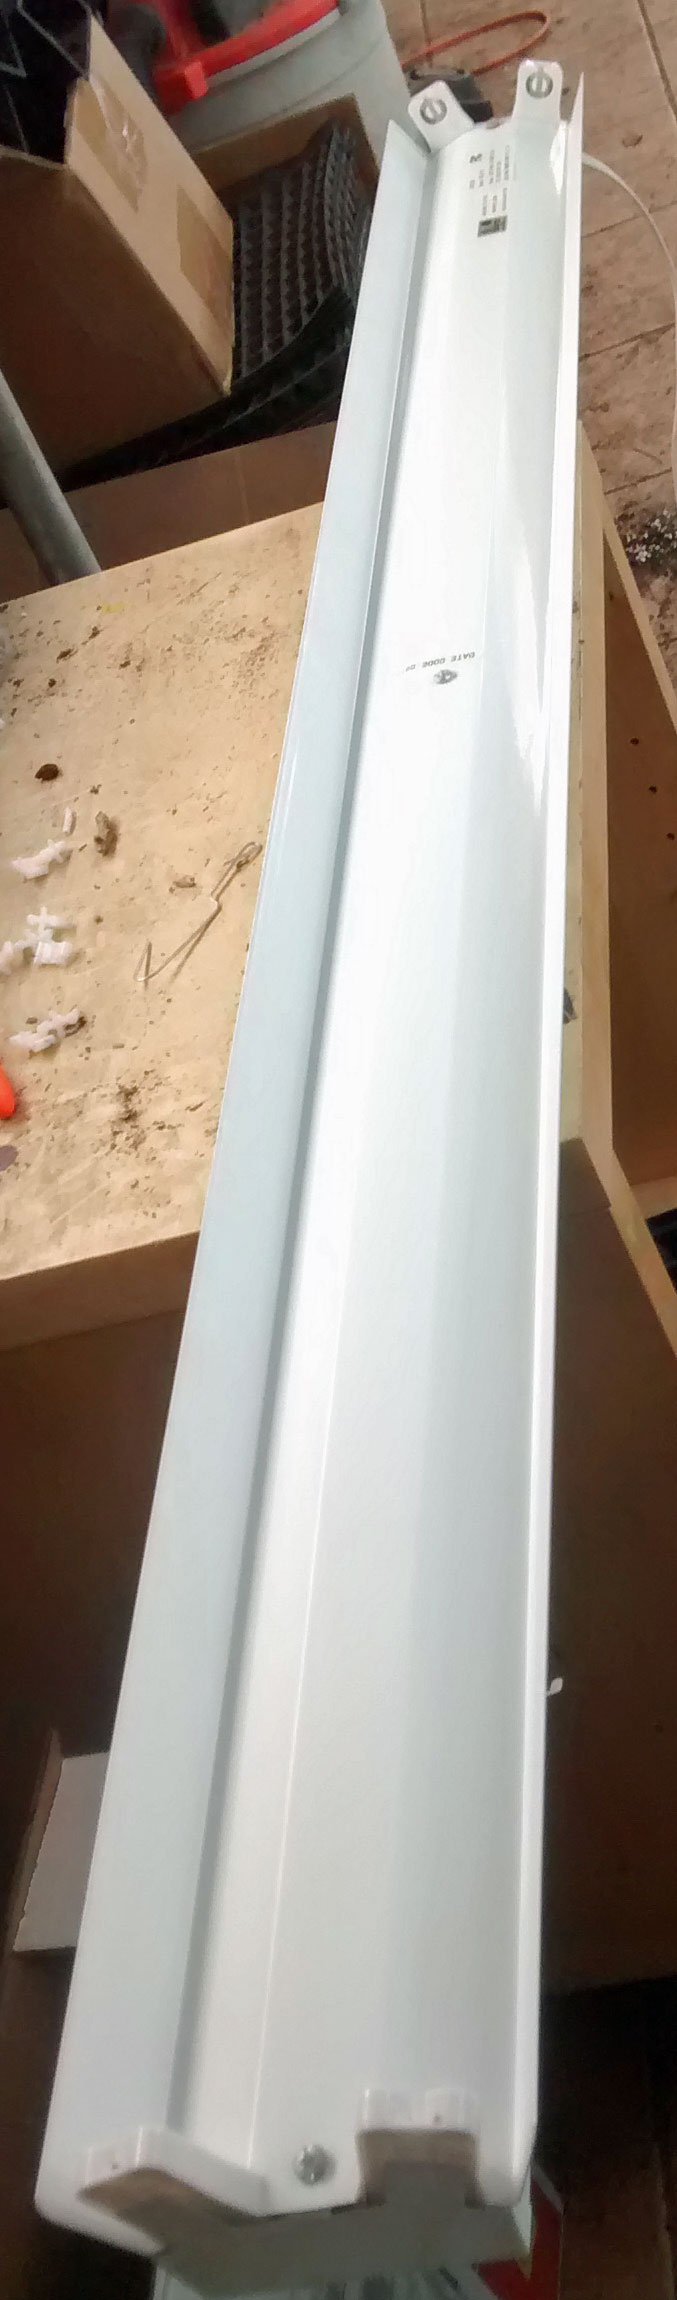
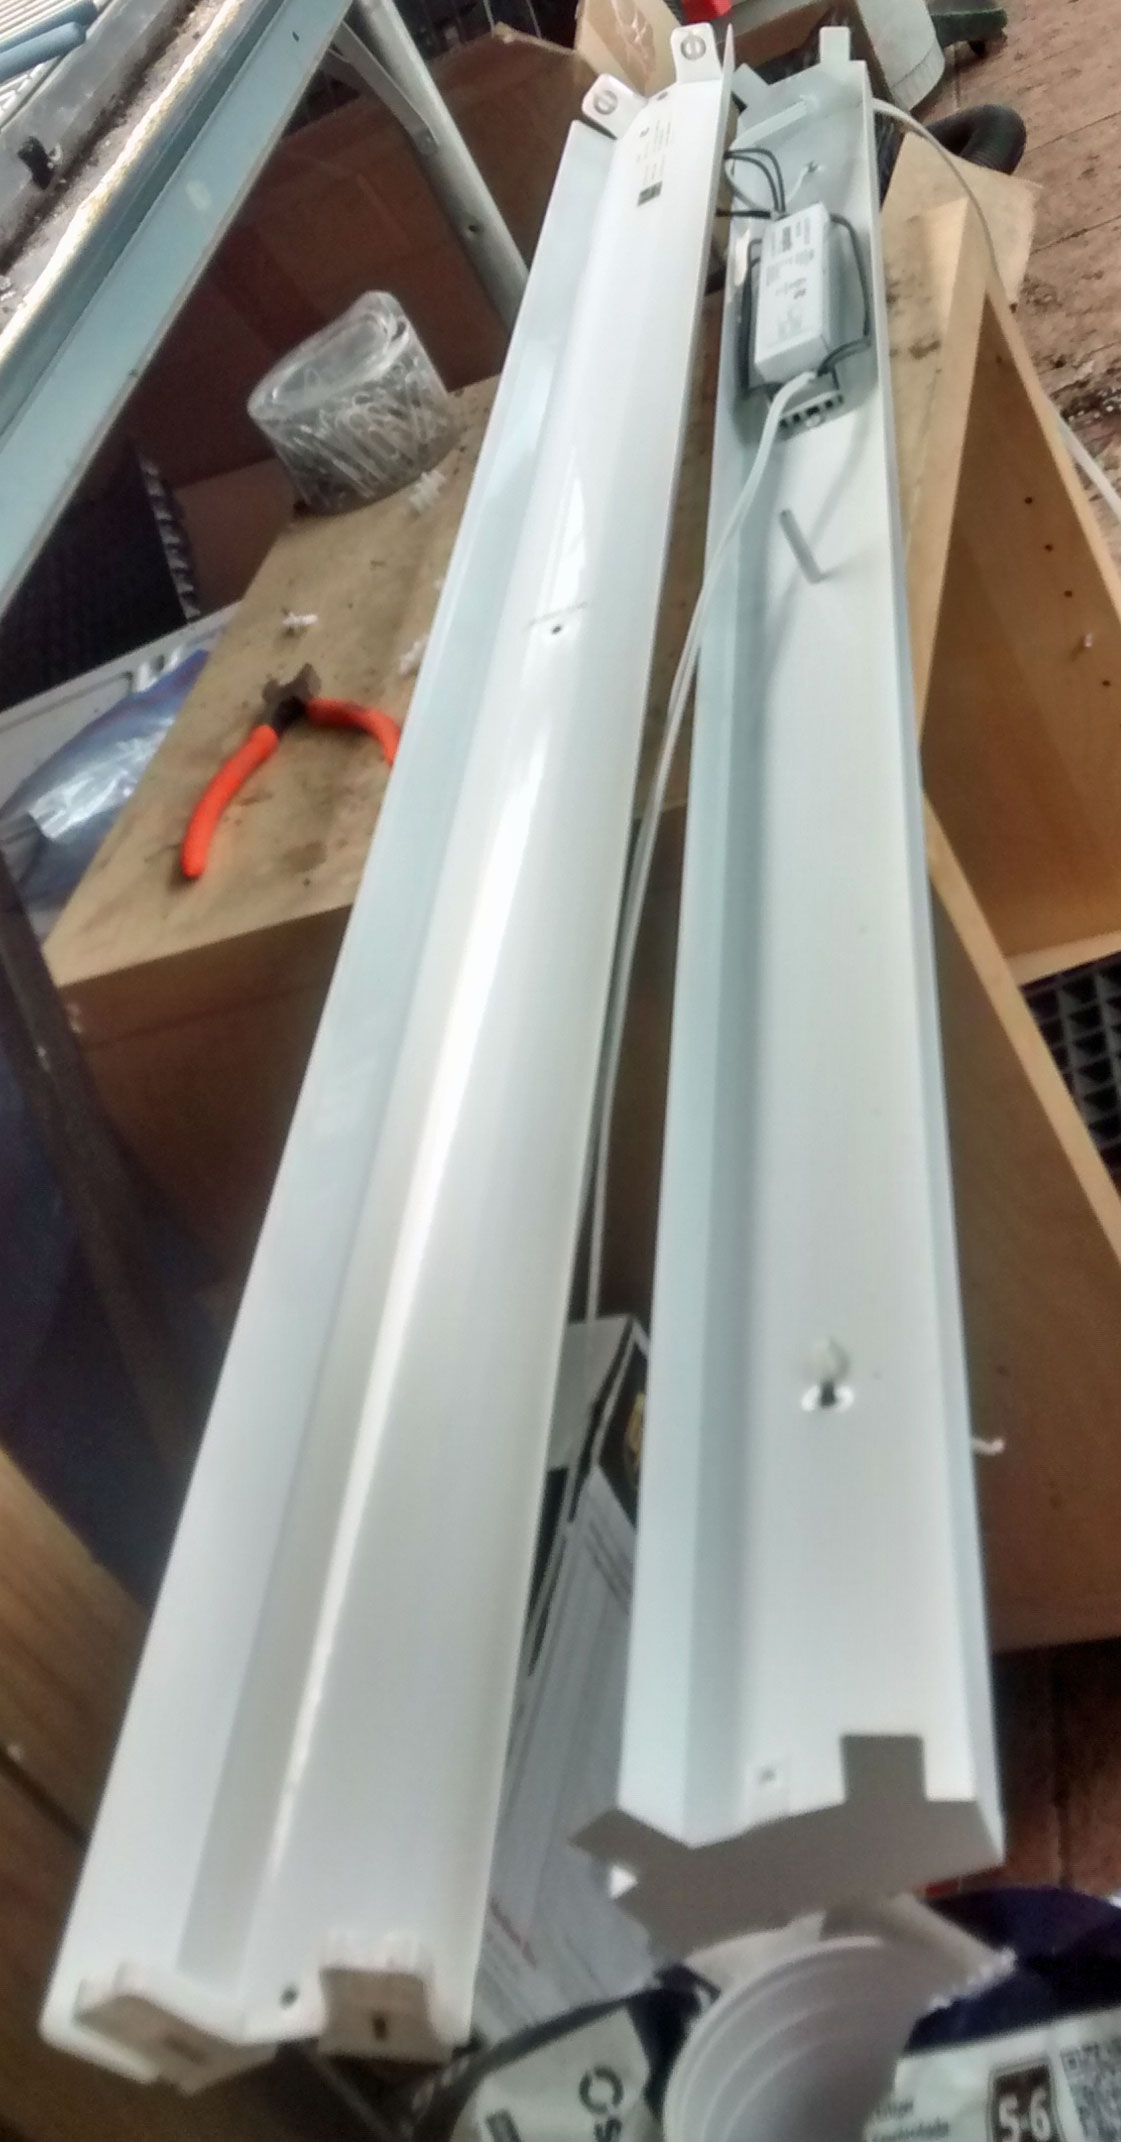
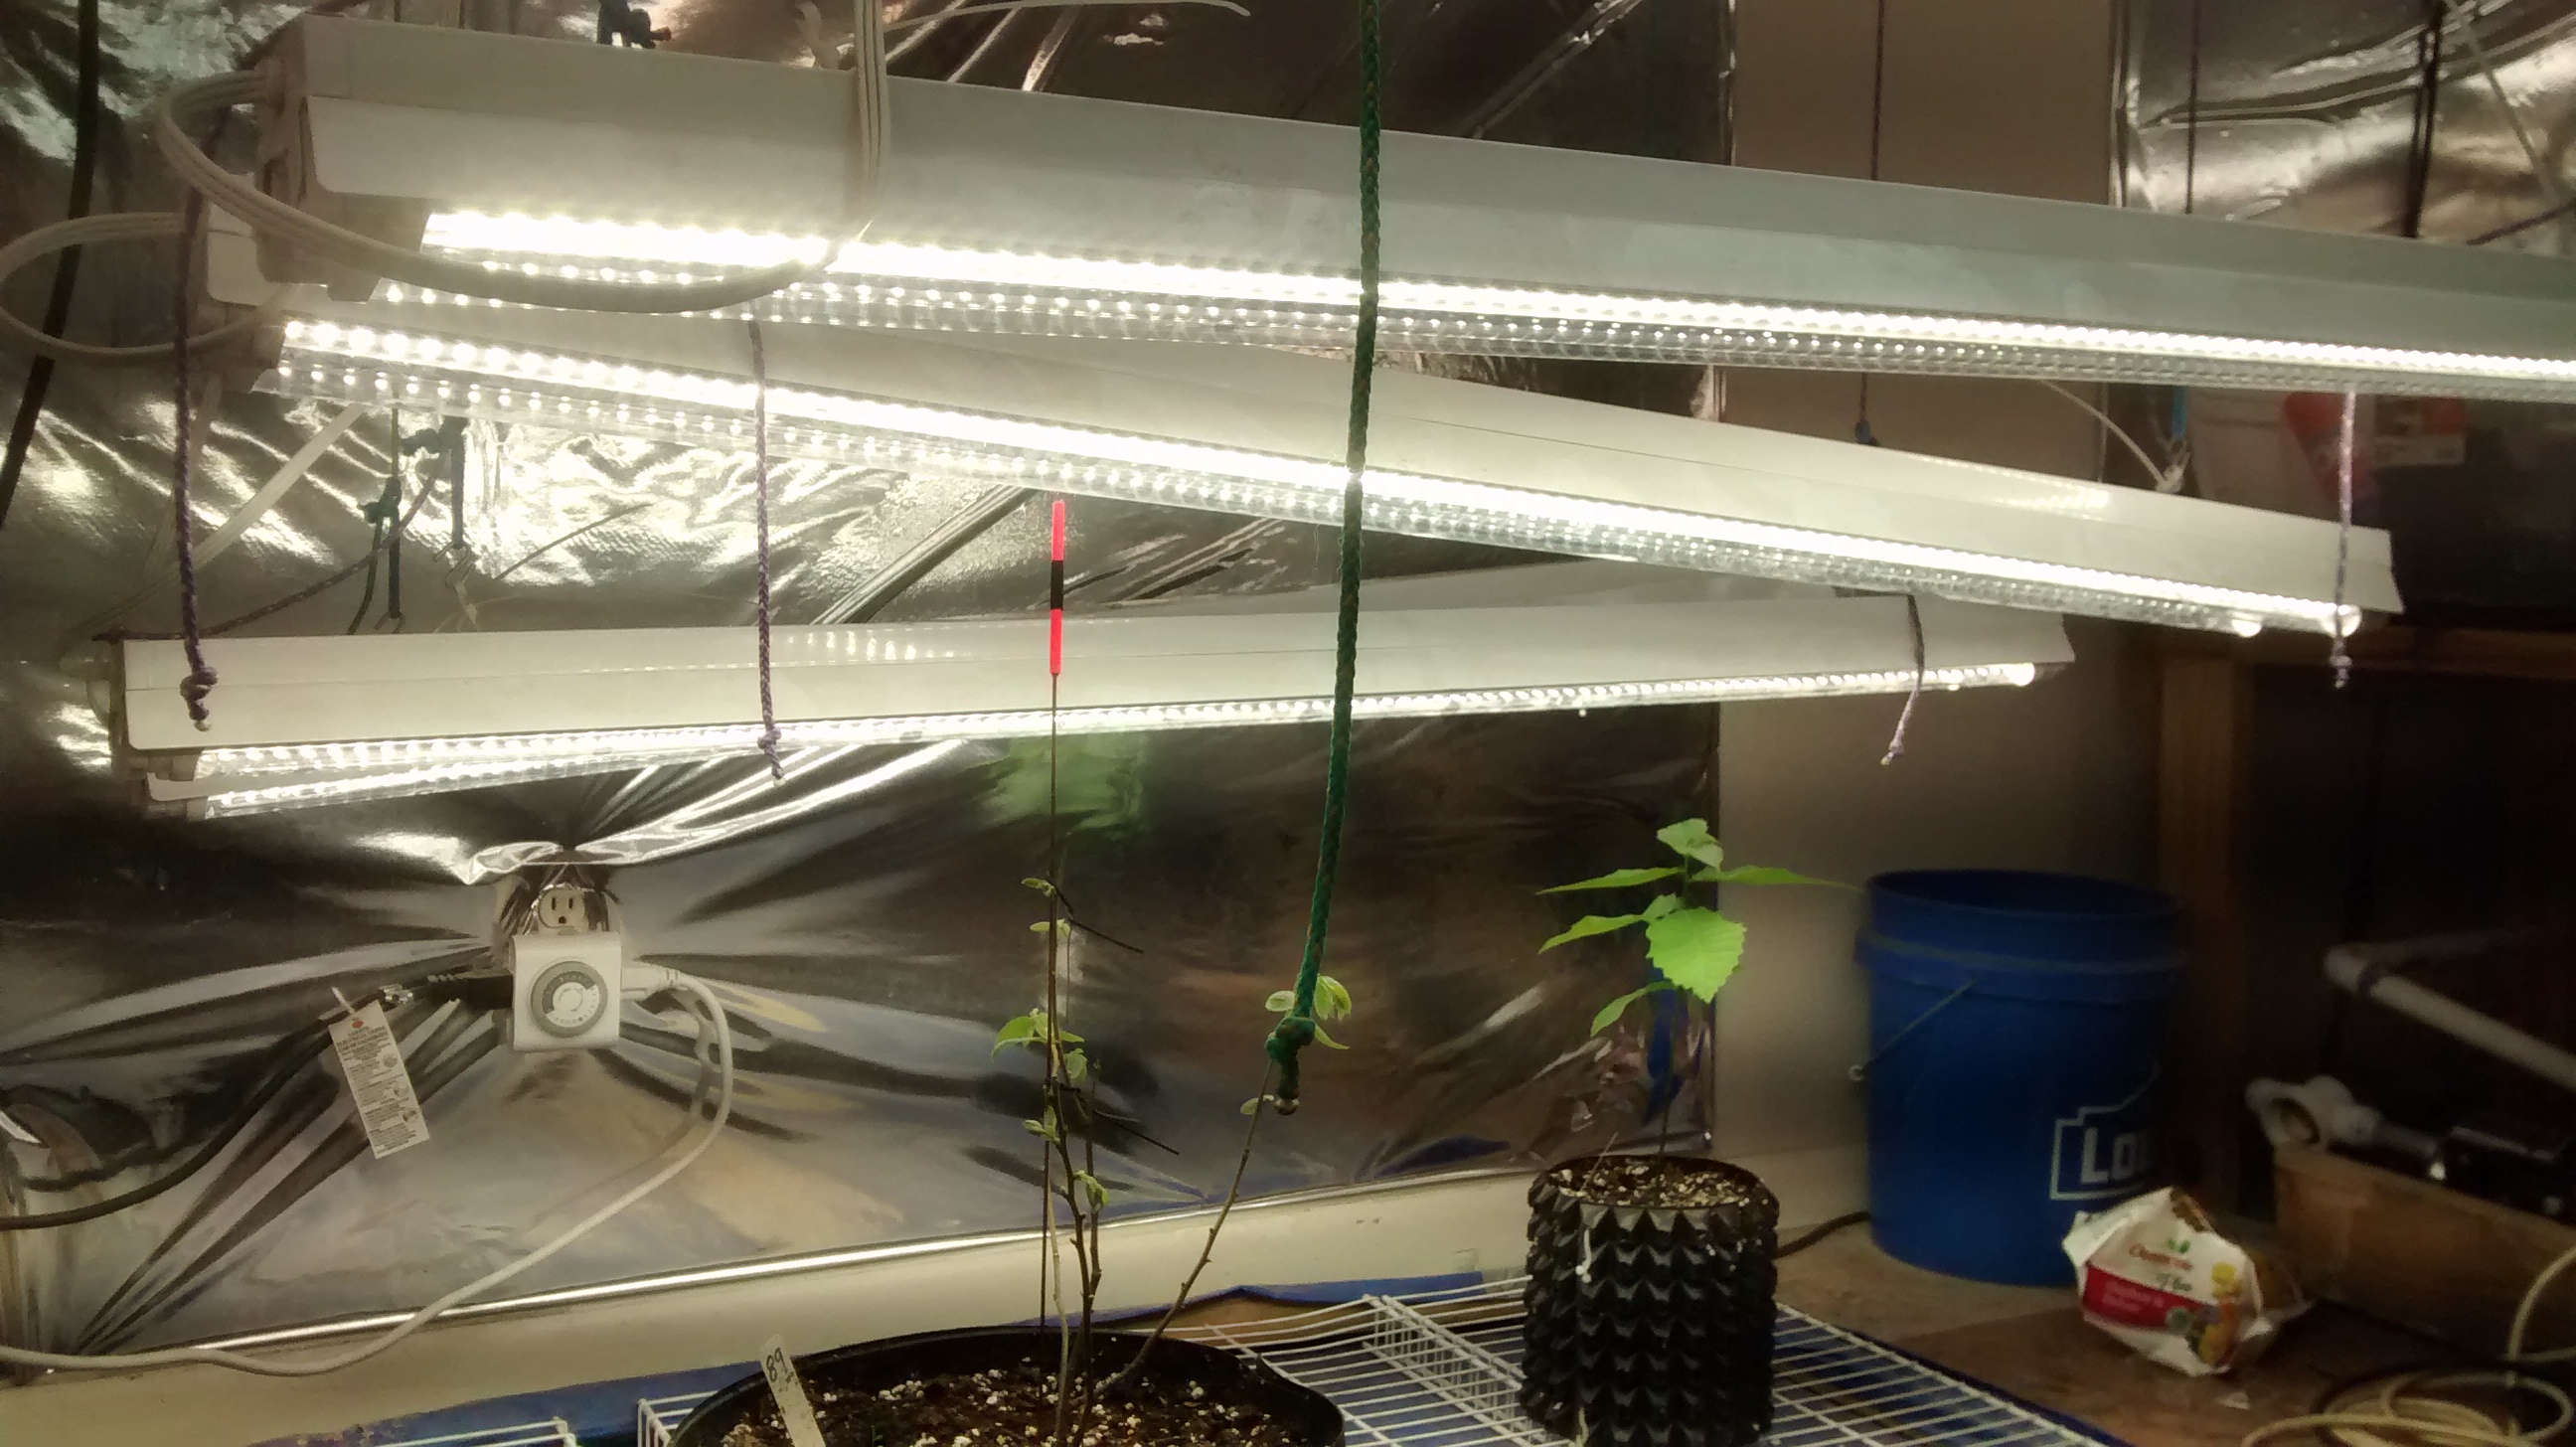
I like the form factor that shop lights provide for growing my trees from seeds and nuts indoors. I can organize my trees by height in 18s and hang the shop lights at an angle so they are close and roughly equidistant from all my trees. Light energy diminishes with the distance squared, so I like cool lights so I can hang them close to the seedlings without the heat from the bulb being an issue. I rigged all my shop lights with prussic knots so I can slide each side up and down to any height. When I started, LED lights were not cost effective and did not come in the shop light 4' bulb format. Since trees are only spending a tiny fraction of their lives indoors, light color (Kelvin measurement) is really not that important. Except for the very expensive grow bulbs that come with a spectrogram, the color specified is just an average anyway. I have 4 different grow areas and lots of fixtures already setup. I have been buying fluorescent bulbs in bulk to get the cheap. I just ran out of bulbs tonight. With so much invested in fixtures that I like, I decided not to buy LED fixtures.

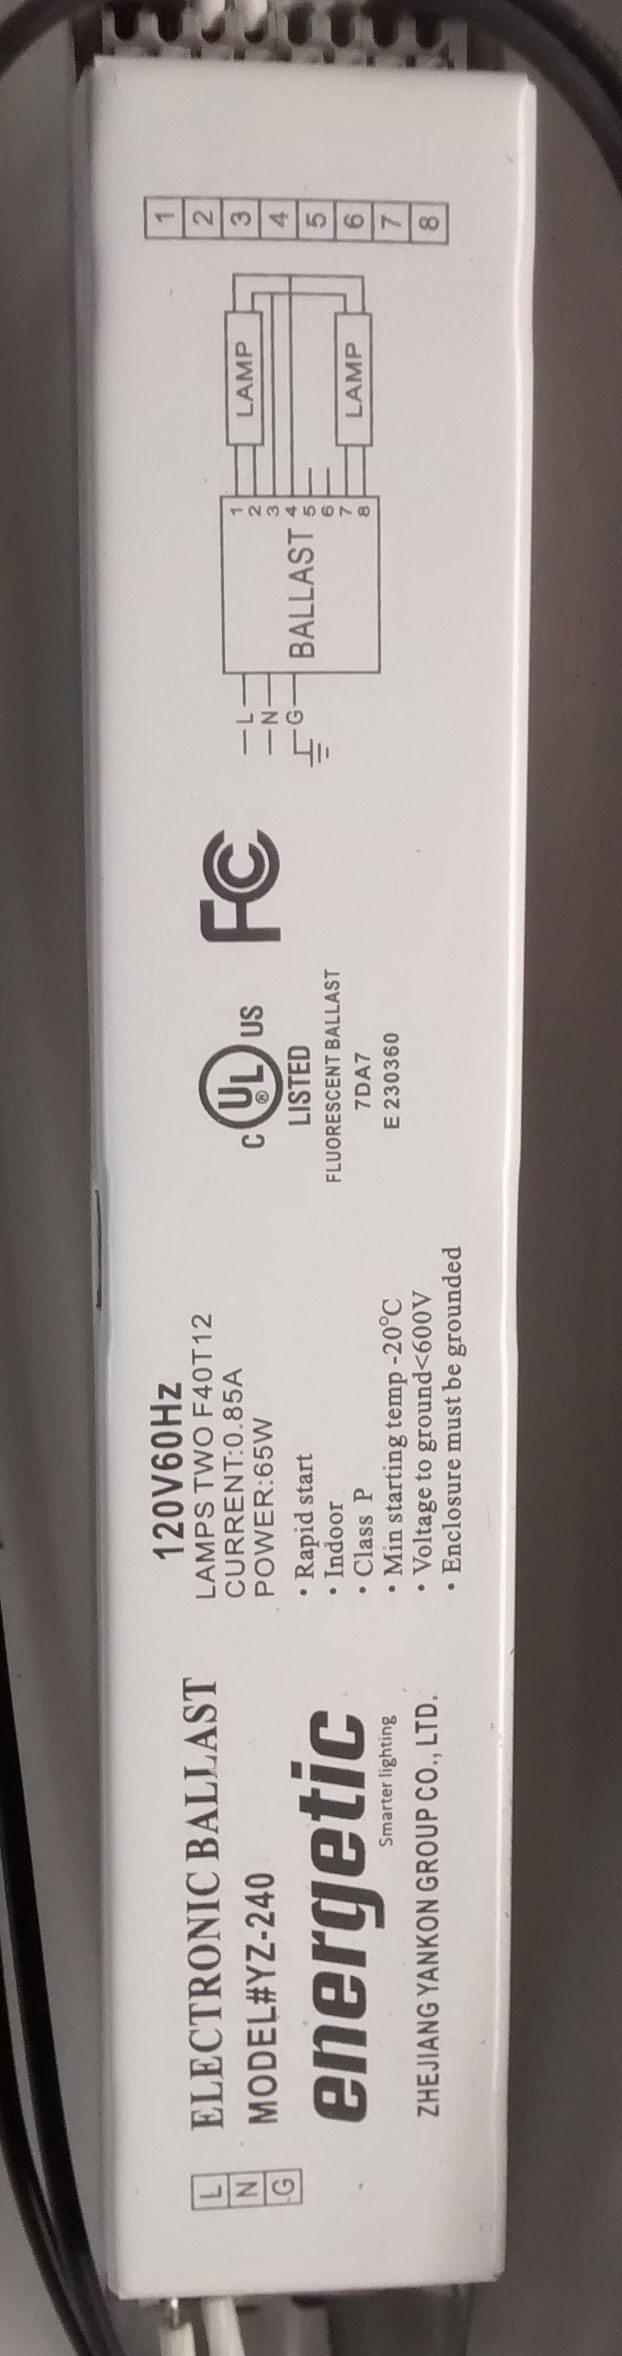
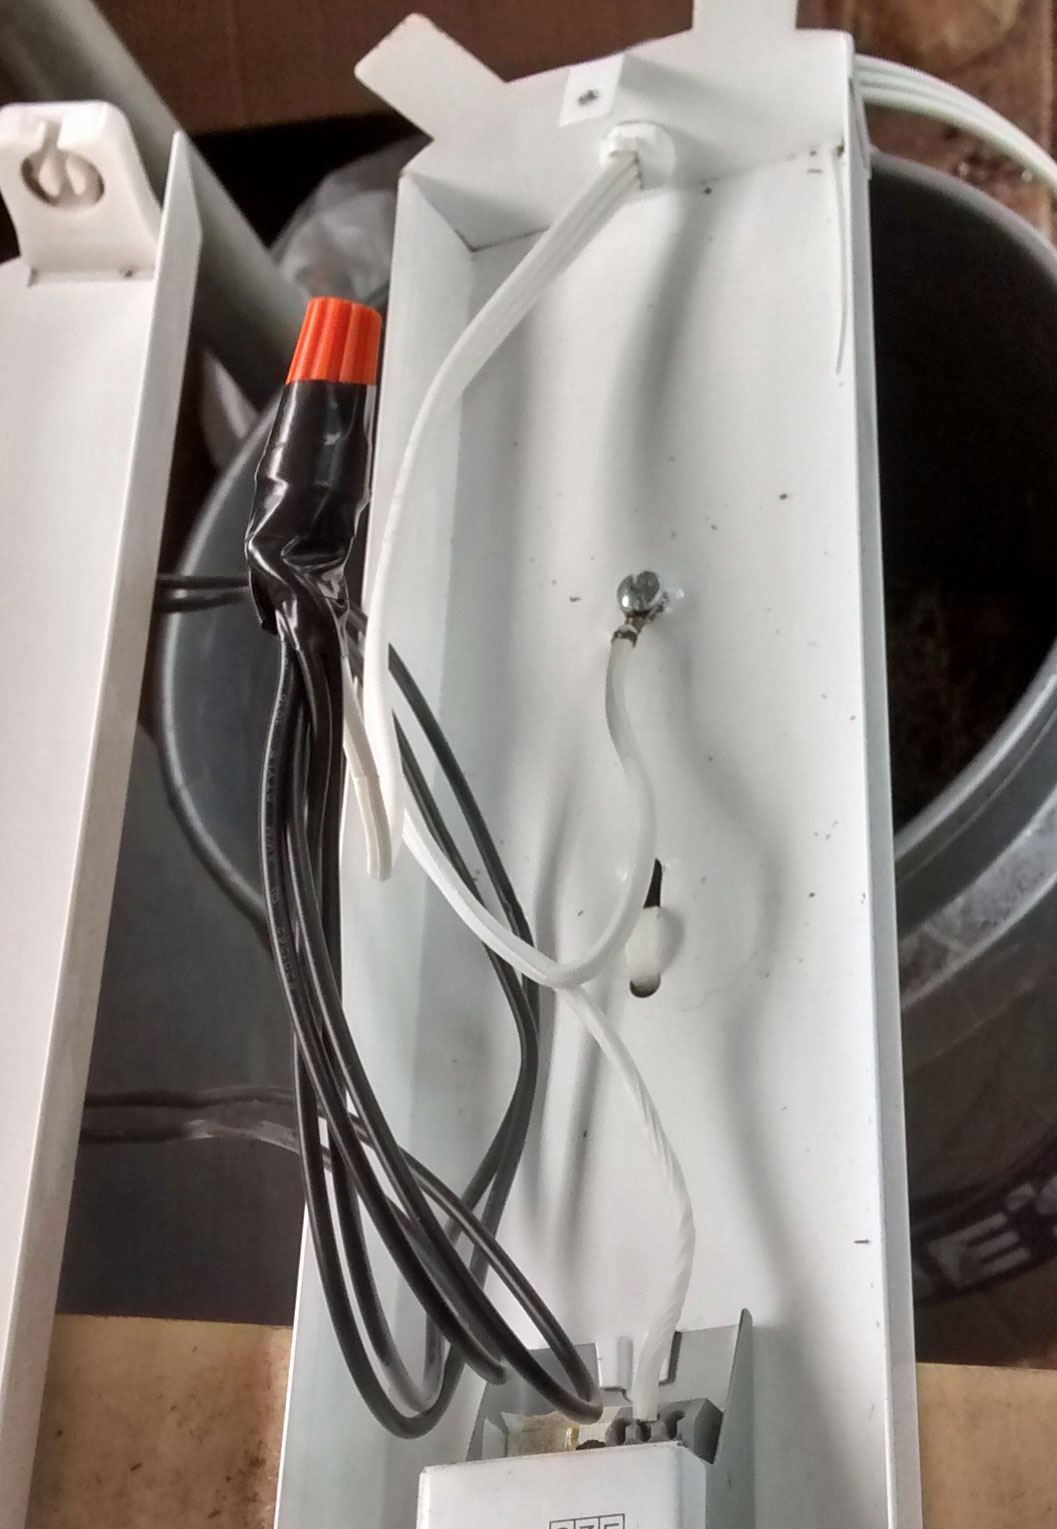
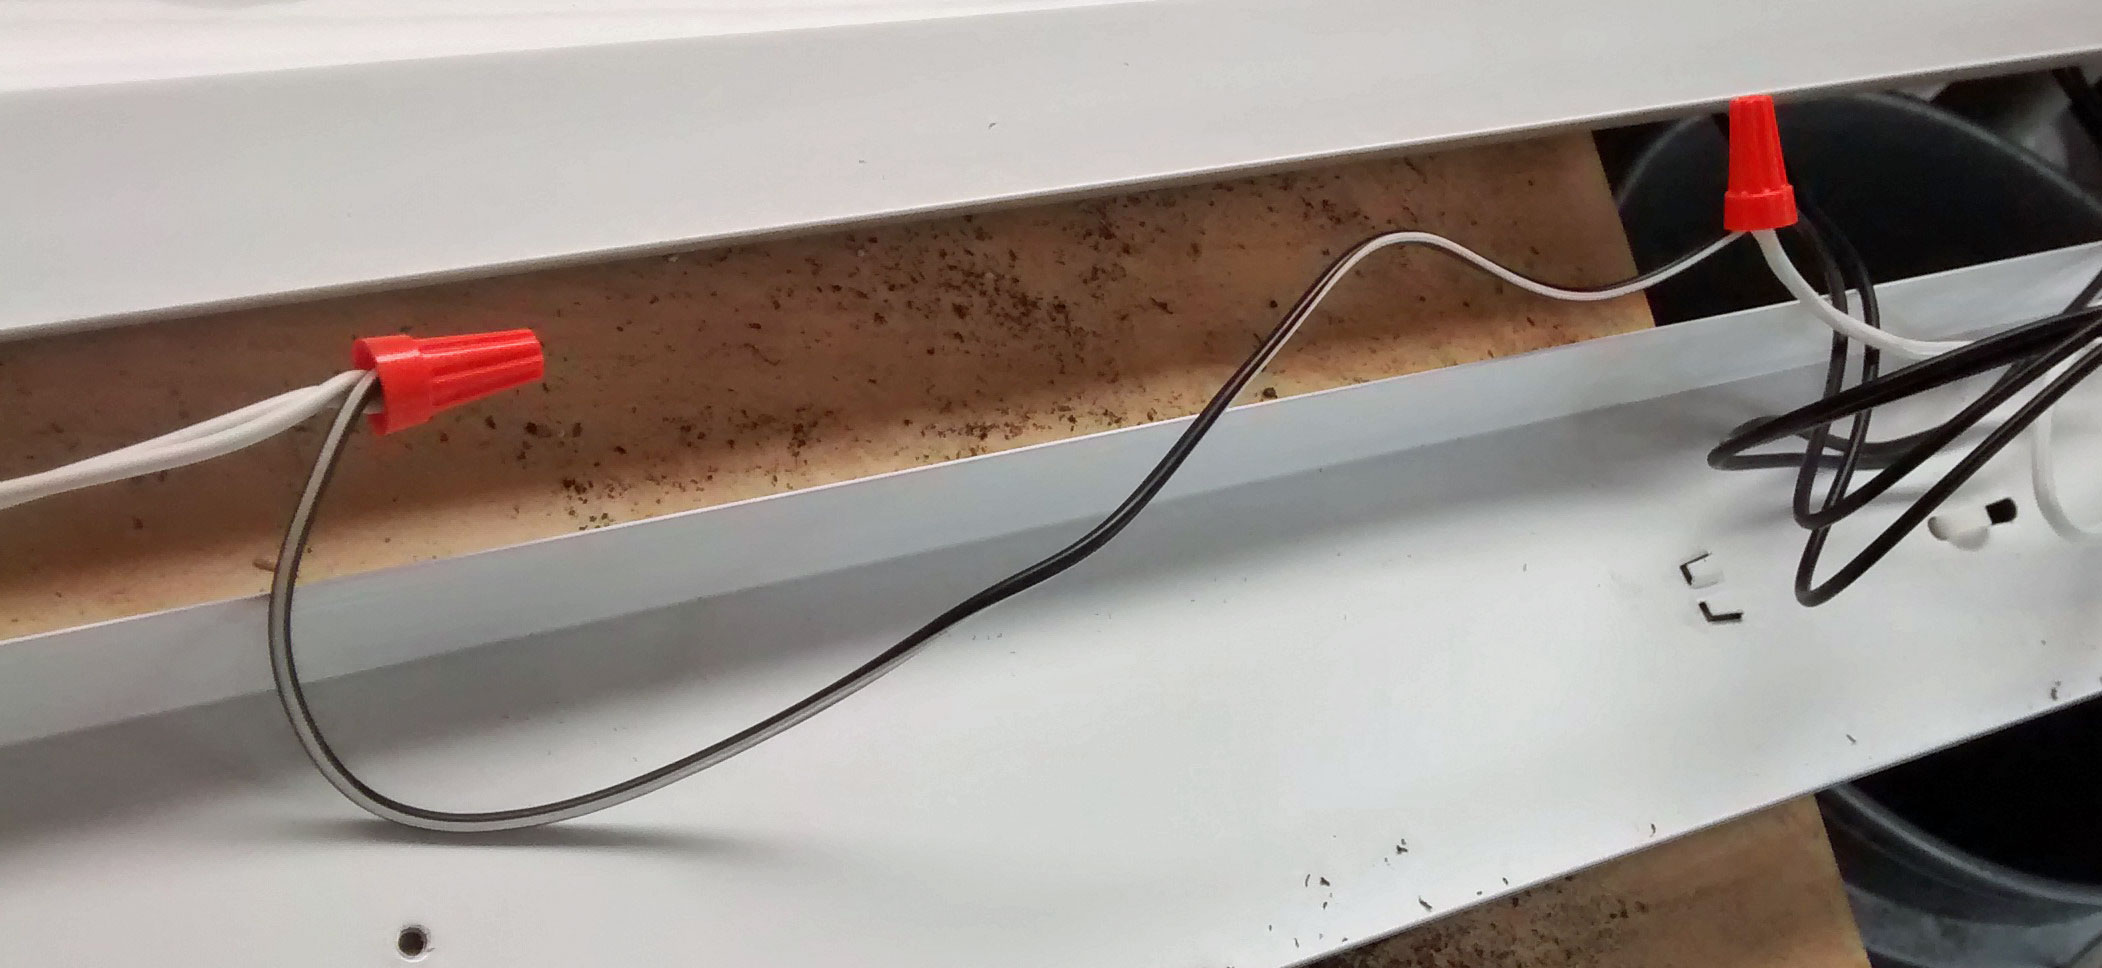
Instead, I decided to convert to LED replacement bulbs. I ended up ordering these: https://www.amazon.com/JESLED-Dual-..._feature_seventeen_browse-bin:9692445011&th=1. They are dual end powered and I'll need to bypass the ballast in the existing fixtures. As I searched around, I found single end powered LED bulbs output between 1800 and 2300 lumens or there about. I found dual end powered run only about $1 or so more per bulb, so I decided to go that route.

When they come in, I'll update this thread on how easy or hard it was to rewire as well as how I think they perform.

If anyone else is converting to LED, feel free to chime in with your experience, what bulbs you chose and why.

Thanks,

Jack
 
I did this last year with 2 of my old school fluorescent lights. Bought a 4 pack of the dual end Hyperion brand LEDs for $11 a bulb. I watched a YouTube video to learn how and there really nothing to it. Cut the ballast out and rewire it up per instructions that will come with your bulbs.

TIP OF THE DAY: REMOVE the old bulbs IMMEDIATELY to avoid having them fall out while you are messing with the light fixture.... if you don’t they can easily flip out and you have yourself 10,000 pieces of sharp pieces of glass everywhere. You’ve been warned..... it’s no fun cleaning that mess up!
 
Good tip!
 
Did you guys buy the Grow bulb replacements? These are made especially for plant growth and have the right light spectrum to give plants the ability to grow much better.
 
Did you guys buy the Grow bulb replacements? These are made especially for plant growth and have the right light spectrum to give plants the ability to grow much better.

Nope. They are not worth the cost for starting trees indoors. Plants utilize different wavelengths at different stages. The most important factor is how much light hits the seedling tree, not the particular spectrum of life. Remember, when we start trees indoors under lights in the winter, much of the energy is coming from the nut anyway, so photosynthesis and nutrient extraction is not a major factor for several weeks. They are indoors under lights for a tiny fraction of their life before they go outdoors and get sun. Most of the special plant lights are hot (this is changing with LEDs). The light energy diminishes with the distance from the plants squared. They are also generally configured to be kept a fixed far distance from your plants (again changes with some LEDs).

If you are growing pot indoors or some other thing where the entire lifecycle of the plant is under lights, it is a very different story. But for starting trees indoors, spectrum is probably a 3rd order factor. There are lots of things to spend money on that will improve your results more than grow bulbs.

As far as lighting for growing trees indoors goes, the primary factors is how many lumens you can output and how close those lights can be hung to the trees without heat from the bulb having a negative impact on the tree.

Thanks,

Jack
I use my grow lights for growing vegetables primarily but I believe it would help trees grown from seed as well. My grow lights are not hot and can be touched even when on for hours. They are not much more expensive than a normal fluorescent bulb
 
its Easy to to. Most kits require a new ballast (for led it’s actually a driver not a ballast) or they bypass the current ballast completely and your gonna make a splice into the existing wires that run to the end contacts (half moons where the pins on the current flo. Bulbs are). When I bought the house I changed everything over. The savings while not huge are evident
 
I use my grow lights for growing vegetables primarily but I believe it would help trees grown from seed as well. My grow lights are not hot and can be touched even when on for hours. They are not much more expensive than a normal fluorescent bulb
It makes more sense to me for vegies, but I tried it in the early years. It made no difference in my trees, but it did help my back a bit. It made the wallet a bit lighter to carry in my back pocket. :emoji_grinning:

Thanks,

Jack
 
its Easy to to. Most kits require a new ballast (for led it’s actually a driver not a ballast) or they bypass the current ballast completely and your gonna make a splice into the existing wires that run to the end contacts (half moons where the pins on the current flo. Bulbs are). When I bought the house I changed everything over. The savings while not huge are evident

Most of the ones I just looked at come with the drivers in the bulbs themselves. For me the energy savings are a side benefit. It is more lumens without more heat in the same form factor I'm using.

Thanks,

Jack
 
The bulbs arrived today. I'm very happy with them. I removed the ballasts and rewired 3 fixtures this afternoon. It was smooth as silk. The only thing I needed as wirenuts and a small amount of extra wire. My existing ballasts were electronic which made rewiring even easier. I needed to add 1 wire per light about the length of the existing ballast per fixture.

They are visibly brighter than the fluorescent bulbs. They seem even cooler to the touch to me. Since LEDs last so long and I like these so well, I will convert a couple more fixtures to use all of the LEDs I got. I'm saving the fluorescent bulbs to replace others as they burn out, but I won't be buying any more fluorescent bulbs.

I'll take some pictures as I convert the next few.

Thanks,

Jack
 
Here is one of the cheap fixtures I'm using from Lowes. I think the brand is utilitech. They are the cheapest I could find at Lowes.

d8e177a9-ffbd-43a7-ba11-37d8470758e0.jpg


The three screws shown need to be removed to open the fixture. (Other brands and models may open differently).

8b485938-f717-4fb9-a855-72cd2f75819d.jpg

This is the fixture opened up. You can see the ballast in the fixture and the wiring. This is an electronic ballast. If you have a magnetic ballast they wiring may be different. There are two white wires and 4 black wires coming out of the lower end of the ballast in the picture. The white wires go to the negative bulb holders at the bottom of the picture and the 4 black wires go to the bulb holders at the top of the picture.

592c8306-b0e8-427f-a7b8-b66ef3b65a78.jpg

This is a blow up of the ballast. (NOTE: This picture is upside down compared to the ballast in the previous picture.) The lower end of the ballast in this picture has two wires, one labeled L (positive) and the other N (neutral). There is a spot a ground wire (G) but nothing is connected.

db38daf6-df37-452d-8f89-3ab15ab7af21.jpg

This picture is back to the original orientation of the fixture. The first thing I did was clip all of the wires (4 black and 2 white) coming from the bottom of the ballast and the one wire labeled L (Hot) from the top of the ballast. Both wires going into L and N are white and I didn't want to mix them up so I only clipped one of them.

c9994b09-2df8-44f9-887e-5c7dfd53518e.jpg

Next I stripped all 4 black wires and the white wire I just clipped and connected all of them with a wire nut. It was a lot of wires for the wire nut size I used, so I added a little electrical tape to be safe. This step run hot to both lamp holders at the top of the fixture.

35876ea1-d3cd-4abf-98f3-58a19737e281.jpg

This next step requires a jumper wire. I clipped the last white wire (neutral) from the top of the ballast. I then removed the screw holding the ballast in place and removed the ballast from the fixture completely. I connected this neutral wire to a piece of jumper wire and the other end of the jumper wire to the two white wires going to the bulb holders at the other end of the fixture. This completes the wiring.

83f9a685-a1ee-454c-ad61-33f62c007836.jpg

Installing the bulb will complete the circuit.

36187e08-bdca-4414-a19b-936f7b5021af.jpg

I reinstalled the fixtures on their hangers with prussic knots. Here are 4 that I've converted.

There are general wiring instructions that come with the bulbs, but sometimes it is nice to see some pictures. Depending on your bulbs and fixtures your setup might be slightly different, but I hope this helps folks considering converting.

Thanks,

Jack
 
I finished the last couple today. I got 10 LED bulbs, enough to do 5 fixtures. After the first couple. I'd estimate it took me about 5 minutes per fixture including the time to remove it from the hangers and replace it. None of the LED bulbs were bad and I had no issues at all. I had to mark each fixture with a sharpie to I know the ballast has been removed and I can only put LED bulbs in it. I would estimate these fixtures are now putting out roughly 40% more light per fixture. Part of that come from the fact that each LED bulb is outputting more lumens than each fluorescent bulb. The other part is that the LED bulbs are directional and fluorescent bulbs are not. The light from the led bulb is emitted in 360 degrees and half of it has to be reflected by the fixture downward toward the seedlings. The LEDs on the LED bulbs are all on the lower side directing all the light roughly downward. These LED bulbs are also much lighter than fluorescent bulbs.

This experience has me thinking about something new to try. Reasonable cost configurations for indoor lighting can compete with the intensity of summer sunlight. The summer sun starts at a low intensity in the morning from the side of the plant (because of the angle through the atmosphere), spends most of the day at high intensity overhead, and then moves to lower intensity and the opposite side angle in the evening.

When I use overhead lighting (because it was the most practical and cost effective) and start seedlings indoors in the winter, I mitigate the effects of the lower intensity by running the lights for 15 hours per day. However one effect is that fast growing seedlings like chestnuts often become lanky. They grow so tall so fast (reaching for the sun) that they often need additional support until they harden.

For this reason, lots of grow boxes are mylar lined to get as much of the reflected light coming from the sides as they can. Some even have side lighting. The problem is cost. I believe these LED bulbs might make it practical to add effective side lighting to a grow box. You can buy the lamp holders for fluorescent bulbs inexpensively. The wiring for these is pretty simple and they are directional. I think I could construct my own fixture for side lighting pretty easily.

I smell another project in the works! I have very little in my grow boxes this year, just those few seguins and I'll transplant them soon into 1 gal RB2s. So, even if I build something, I won't be able to test it this year.

Thanks,

Jack
 
Jack, 2 things, to go even cheaper, just buy led strip light tape, you can put where ever you would like, dim it, coil it, you can make it in a bowl shape and put it over the plants.

The other thing is, as led does last longer, they lose their intensity as they age. So after a couple thousand hours you will see a noticeable difference then a new one.

The key for me is lumens with low heat. I haven't seen tape that produces the same intensity. It is probably worth looking into though. As for losing intensity loss, that is true of fluorescent bulbs as well.

Thanks,

Jack
 
Well technically the lights you posted are just enclosed strips.
 
Well technically the lights you posted are just enclosed strips.

Yes, you are right! I'm not suggesting the flexible tape wouldn't work. I simply have not run across any that will provide 3,000 lumens across 4' for just over 7 bucks a tube. It may be out there. I'm not sure I see the value in the flexible stuff for this application but their may be some. The T8 form factor seems to be a good fit. There may be a better way to do it so I'm open to ideas at this point. Replacing bulbs with this form factor seems easy, and a single bulb style works for both overhead and side lighting. Which lets you buy bulbs in quantity reducing the cost further.

Thanks,

jack
 
You can buy the whole light for 13.00 at walmart
 
They were on sale at the store saturday regular price 16.00 their website doesn't show what they sell in store,I think they were either 3000 or 3200 lumens
 
They were on sale at the store saturday regular price 16.00 their website doesn't show what they sell in store,I think they were either 3000 or 3200 lumens

That pricing doesn't surprise me. The bulbs I got were $7 something per bulb. The drivers are inside the bulbs. So, when you buy the whole light, there is not much being added. Since LED bulbs are more directional, they don't need a reflector like fluorescents. The only thing added is something to hold the bulb plus wiring and a plug. So twice that price for the whole light is not that high.

If I were starting from scratch, I would probably look to see what fixtures are out there. One could certainly get much closer spacing with these bulbs than I have with my fluorescent fixtures. I don't think I'd buy a fixture with a single bulb. That would be a lot of fixtures to rig if one used closer spacing. In my case the fixtures are already rigged up. In my case the fixtures are already rigged.

I did buy some tombstone bulb holders. It is too late in the indoor growing season to mess with it this year, but I may try to rig up some side lighting in one of my grow boxes for next year.

Thanks,

Jack
 
Top