I spent about 4 hours today sighting in the Oracle X. I made one pass, quickly going through the process of sighting in without much precision just to familiarize myself with it. I then repeated it with care. Here is the process in general:
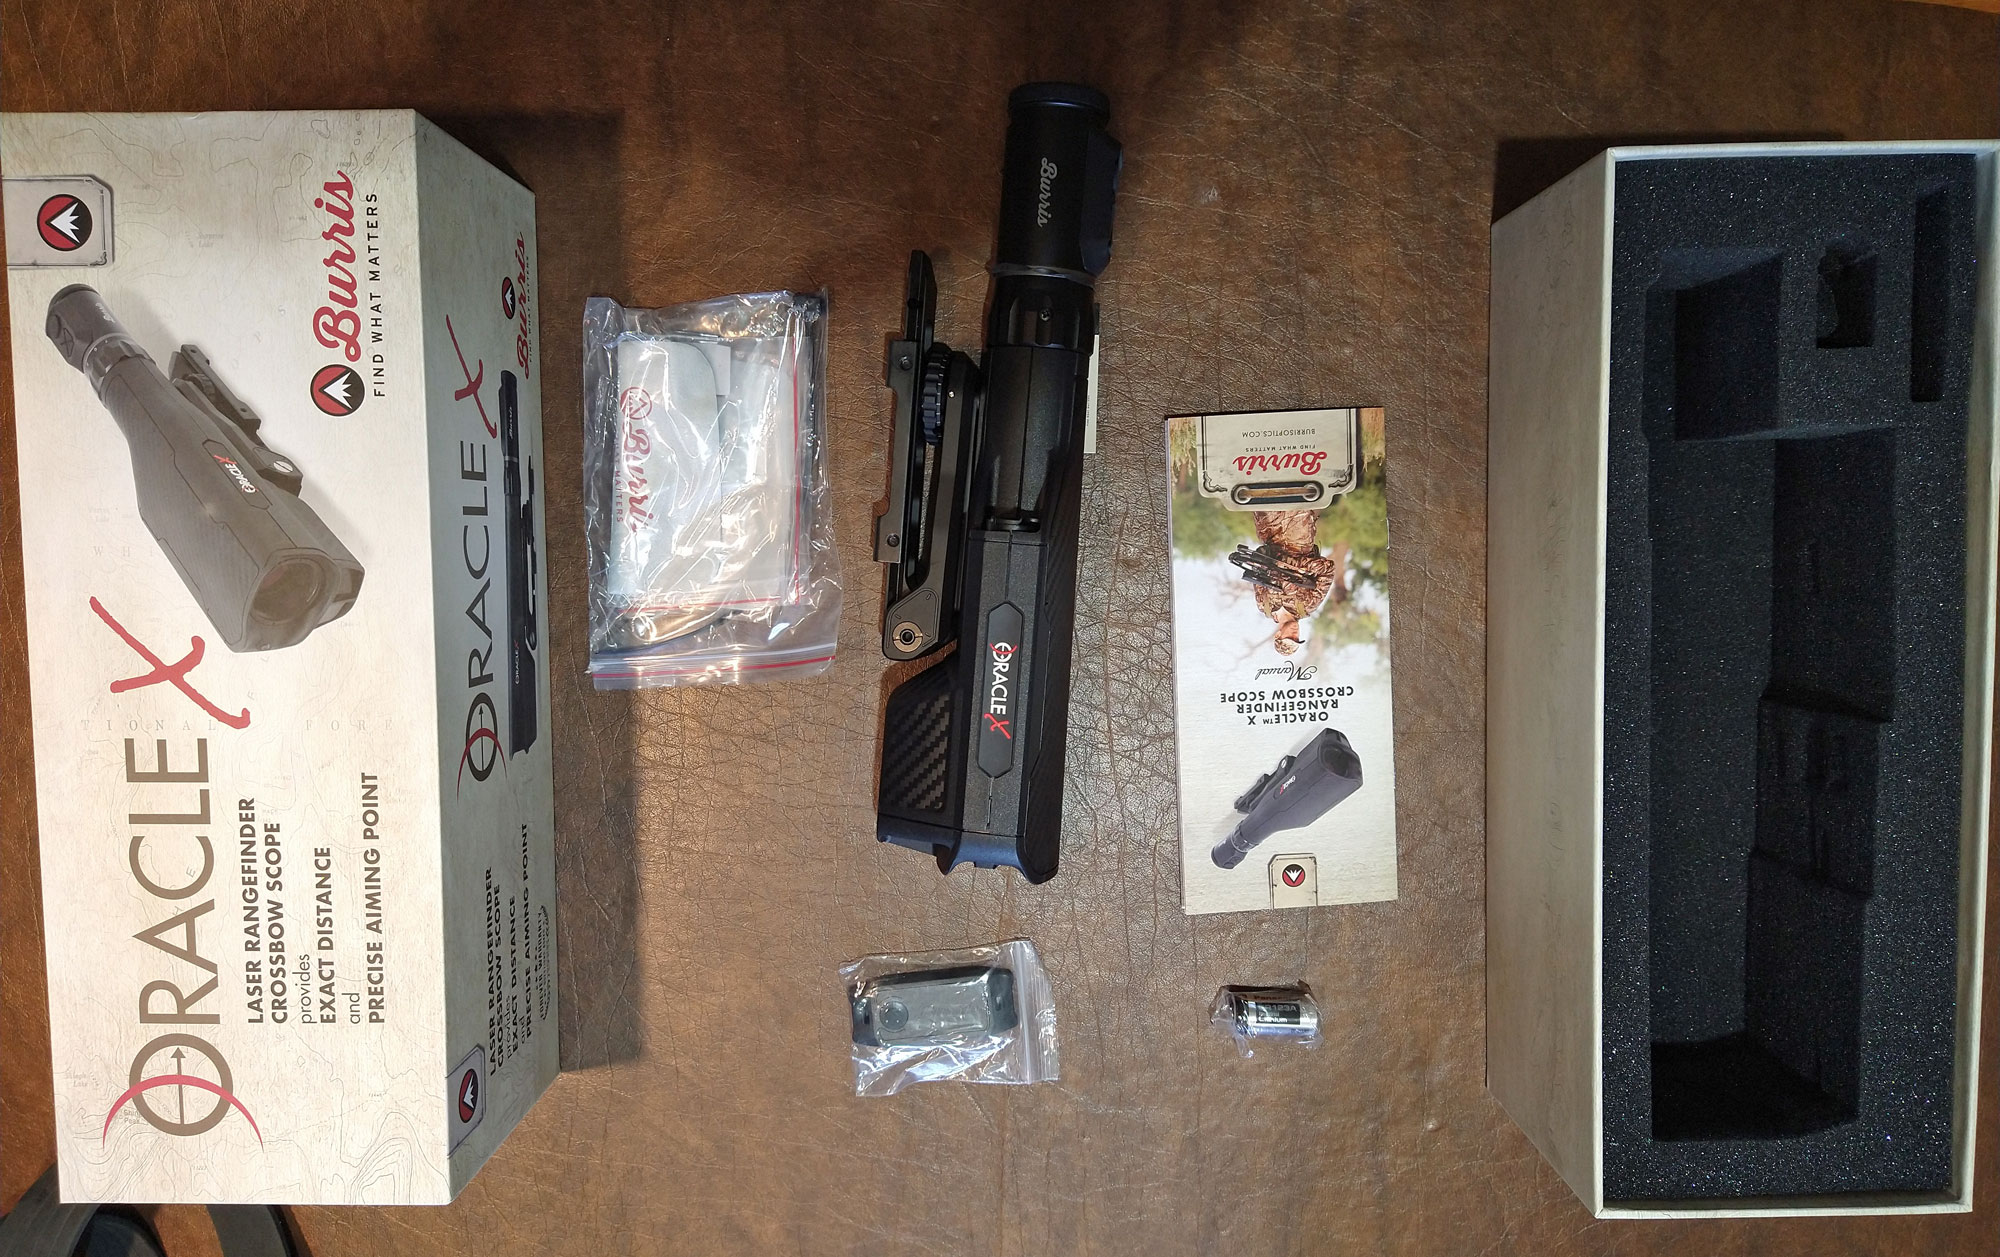
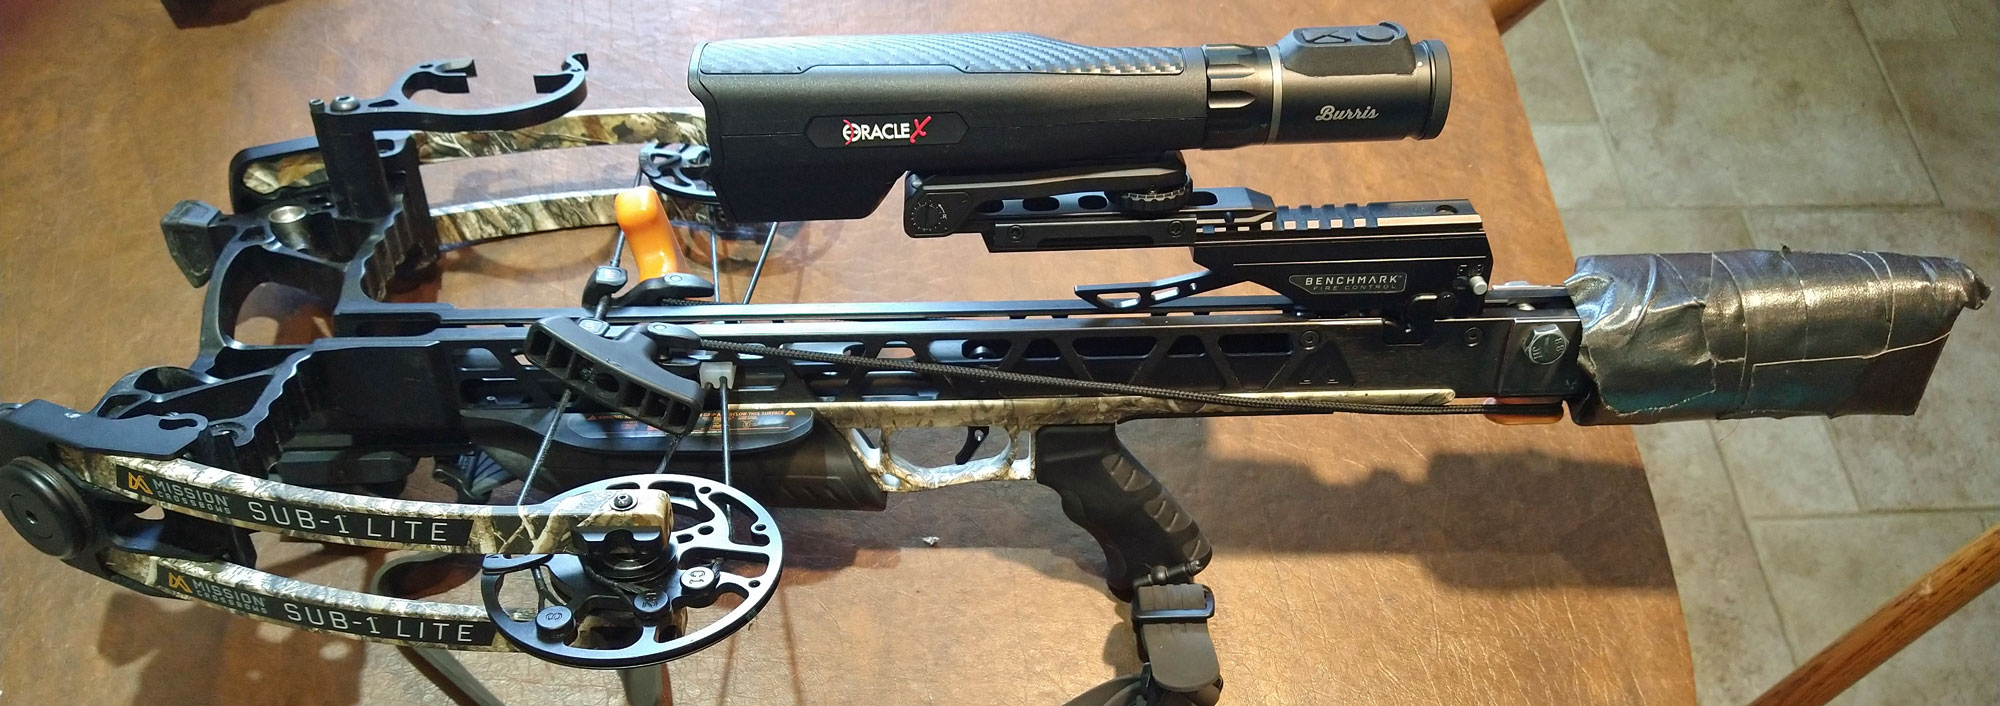
The scope has a crosshair reticle. The first step is to sight that reticle in at 20 yards. If you look at the picture of the integrated mount on the scope in the previous post, you will see a dial type knob on near the rear. This is the vertical adjustment. I was surprised how little adjustment was necessary to get on target at 20 yards. I only made a slight vertical adjustment. The horizontal adjustment is the screw head near the front of the integrated mount. There is a locking set screw on the front to lock the horizontal screw.
Once the crossbow is sighted in at 20 yards, you then begin to record points for a ballistic curve that is stored in the computer in the scope. It comes with a factory set curve that gets you in the ball park.
In order to do this, you go to your first set point distance. It can be whatever distance you want 30 yards or beyond. I'm a short distance hunter so I chose 30 yards. You then use an integrated menu in the scope to select the mode for sighting in and then select the first set point. With that set point active, when you hit the fire button, it ranges the target and illuminates a dot below the horizontal and on the vertical crosshair. This point is an estimate based on the distance it measured and the factory stored ballistic curve. I then fired 3 arrows from a bench using that dot as my aim point.
The next step is to adjust the set point to match the ballistics of your crossbow and arrow combination. In order to do this, you press a button (up or down depending on if you are high or low). Another dot on top of the existing dot begins to flash. The next time you press the up or down button, the dot moves up or down. By holding the original dot on your aim point, you move the new dot up or down to the center of your arrow group. You then save this new set point which is associated with the distance measured by the laser ranger in the scope. You then move the target back and continue to adjust set points. You can set up to 4 set points. This defines a new ballistic curve for your specific bow/arrow combination. You can save two different ballistic curves in case you want to shoot a heavier bolt for larger game. This lets you go back and forth between two different arrow configurations.
Although 30 yards is a long shot for me with a crossbow, I put set points as 30, 40, and 50 yards. I did not use the last one. I may tighten the curve later using all 4 set points by trying 30, 35, 40, and 45 yards. While these are longer ranges than I'll shoot, I think it may help the scope to calculate the ballistic curve more accurately at shorter distances.
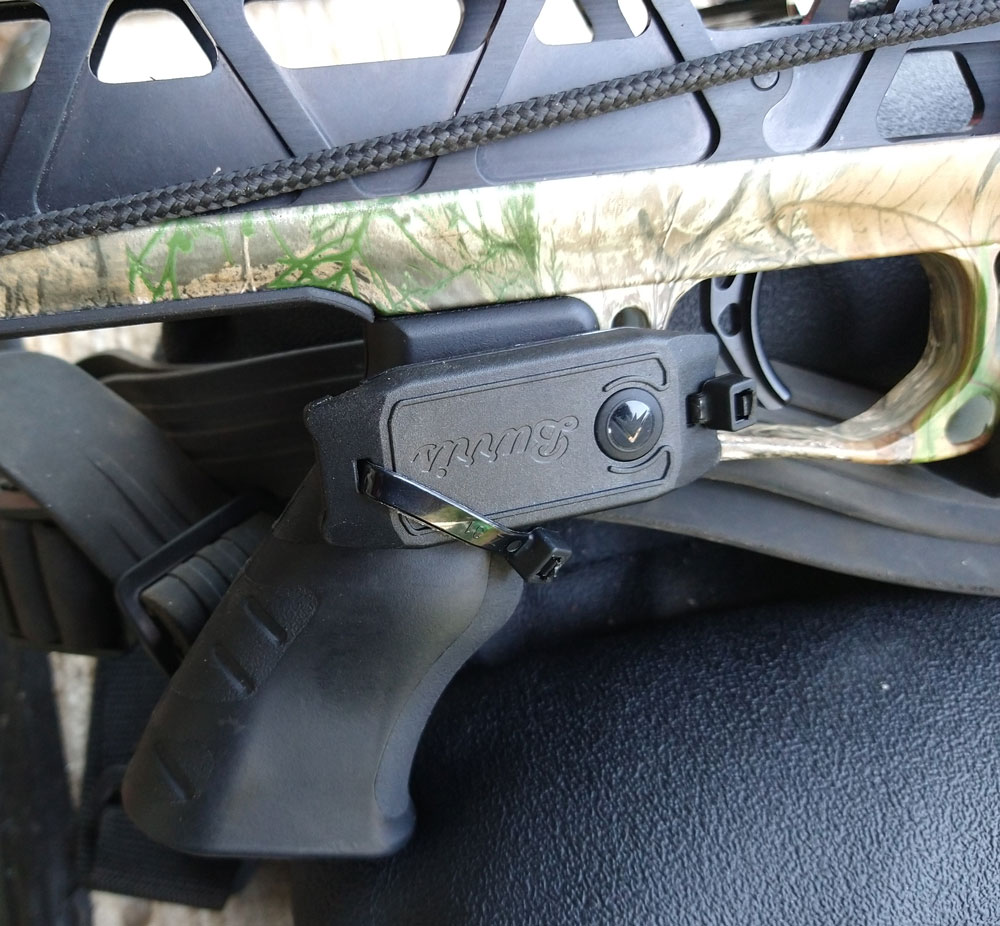
After sighting in, you are ready to use the scope in normal mode. Next, I used the supplied cable ties to tie the remote to my crossbow:
In order to use it, you point the crosshairs at the target and hit the button. The scope ranges the target and then lights a dot on the vertical crosshair according to your stored ballistic curve. You simply put that dot on your aim point and fire.
On my first pass through sighting in the bow, I noticed that at longer distances, horizontal error was more apparent. So, on my second pass, I adjusted the horizontal adjustment screw. Surprisingly this affected my vertical and I had to adjust the vertical again back at 20 yards.
I found the adjustments to be plenty fine enough for a crossbow. They are analog adjustments but with markings. A single mark change is about 1/4 inch at 20 yards for the horizontal. When creating your custom ballistic curve, the center dot moves very little with each click of the up or down buttons for fine vertical adjustment.
I need to use this more to get a real good feel for it, but so far, I really like it.
Thanks,
Jack