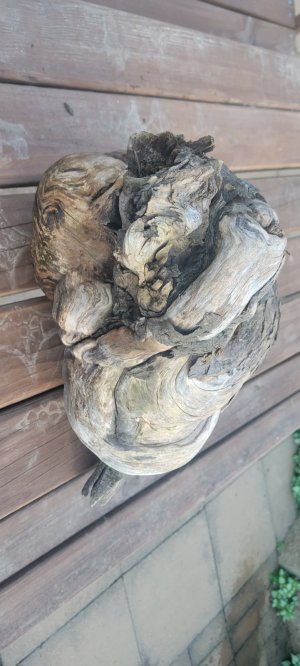
I didn't take and pics or do a video of cutting it up. I can tell you it was a PITA and will explain how I went about it. First of all with it being such a goofy shape I tried to figure the best spot to get a flat side. Looking at it I could tell where there maybe voids so I took that into consideration. I have a 10" compound miter saw and the burl was larger than what the saw would cut in one pass. Since there was no way to clamp the burl down I positioned it and held by hand making the cut very slowly. Once I got a flat edge it was easier to hold in place but I still couldn't get a complete cut. So I'd cut off a 3/8" slab as far as I could. Then it was a hand saw to finish the cut. Let me tell you, that was a workout as this thing was hard. Again holding by hand as there was not way to gt an edge to clamp onto. It was then the same process for the next slab. When I hit a void I'd study it again and try to come up with the best spot to get as many usable pieces as possible. Just about every piece had to be finish cut with a hand saw. I bet I have 4 hours cutting this thing up. Here's what was salvageable. All these will be made into kitchen knives for my wife.