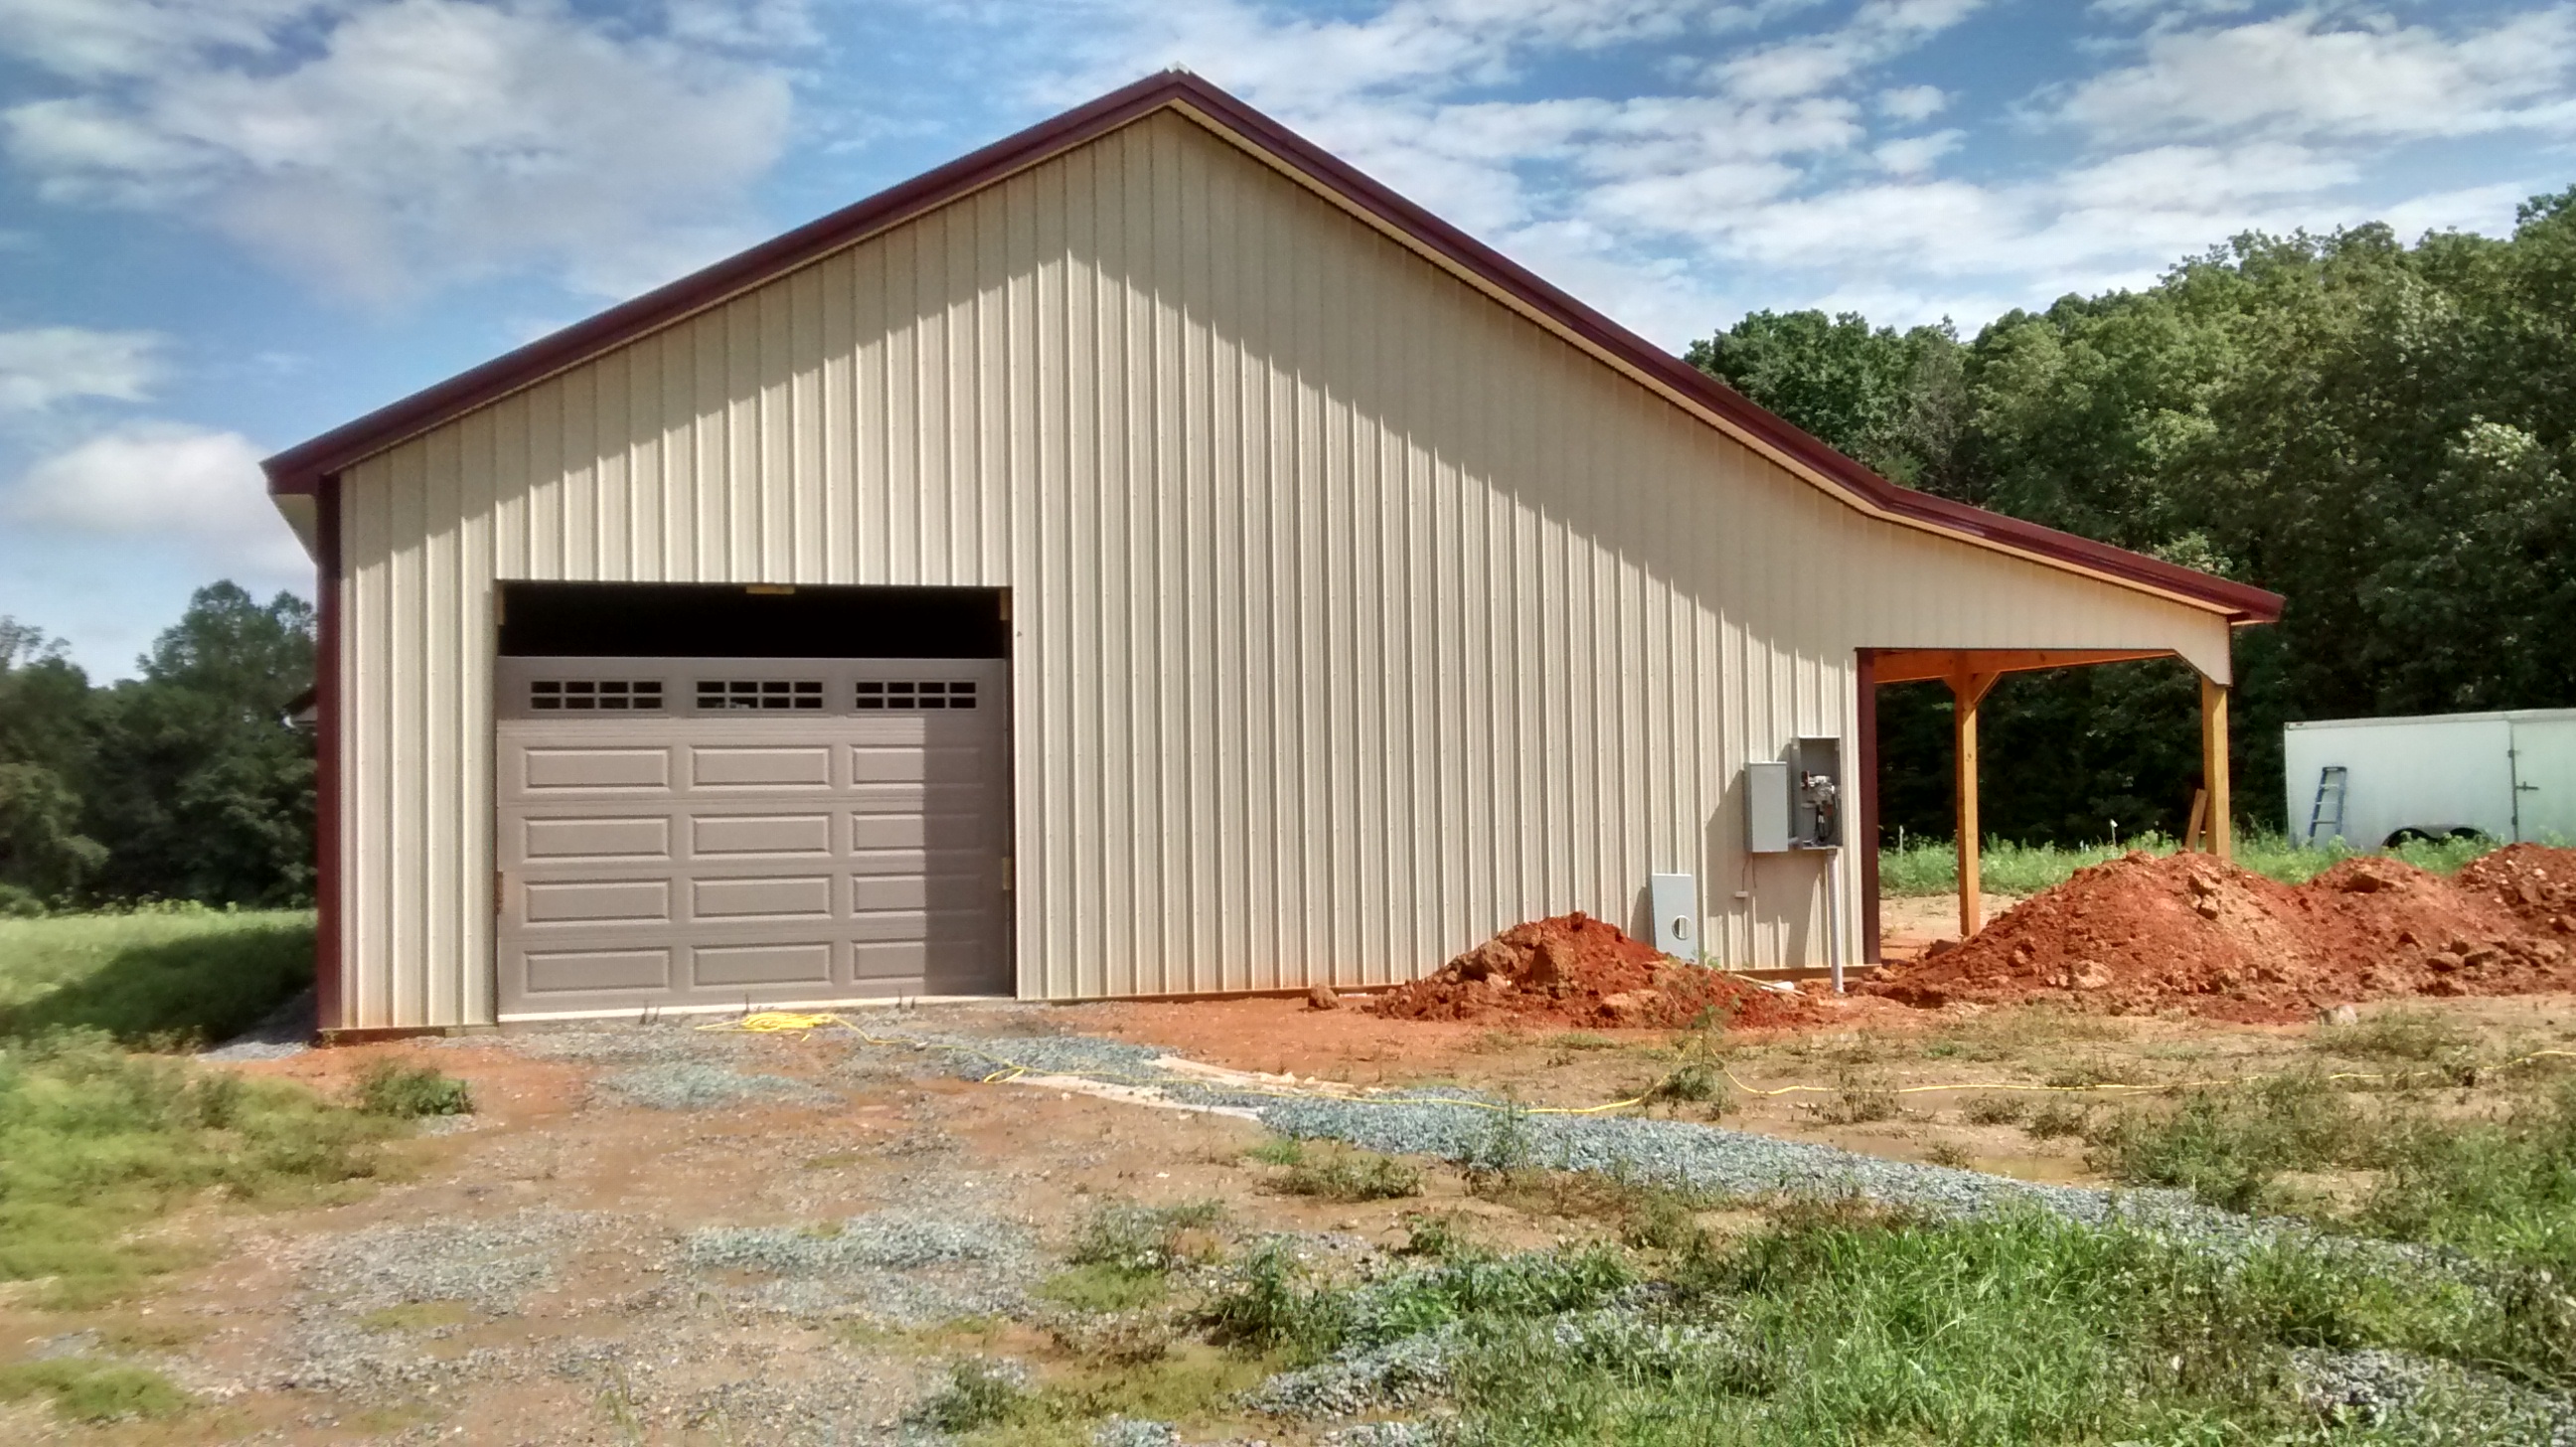
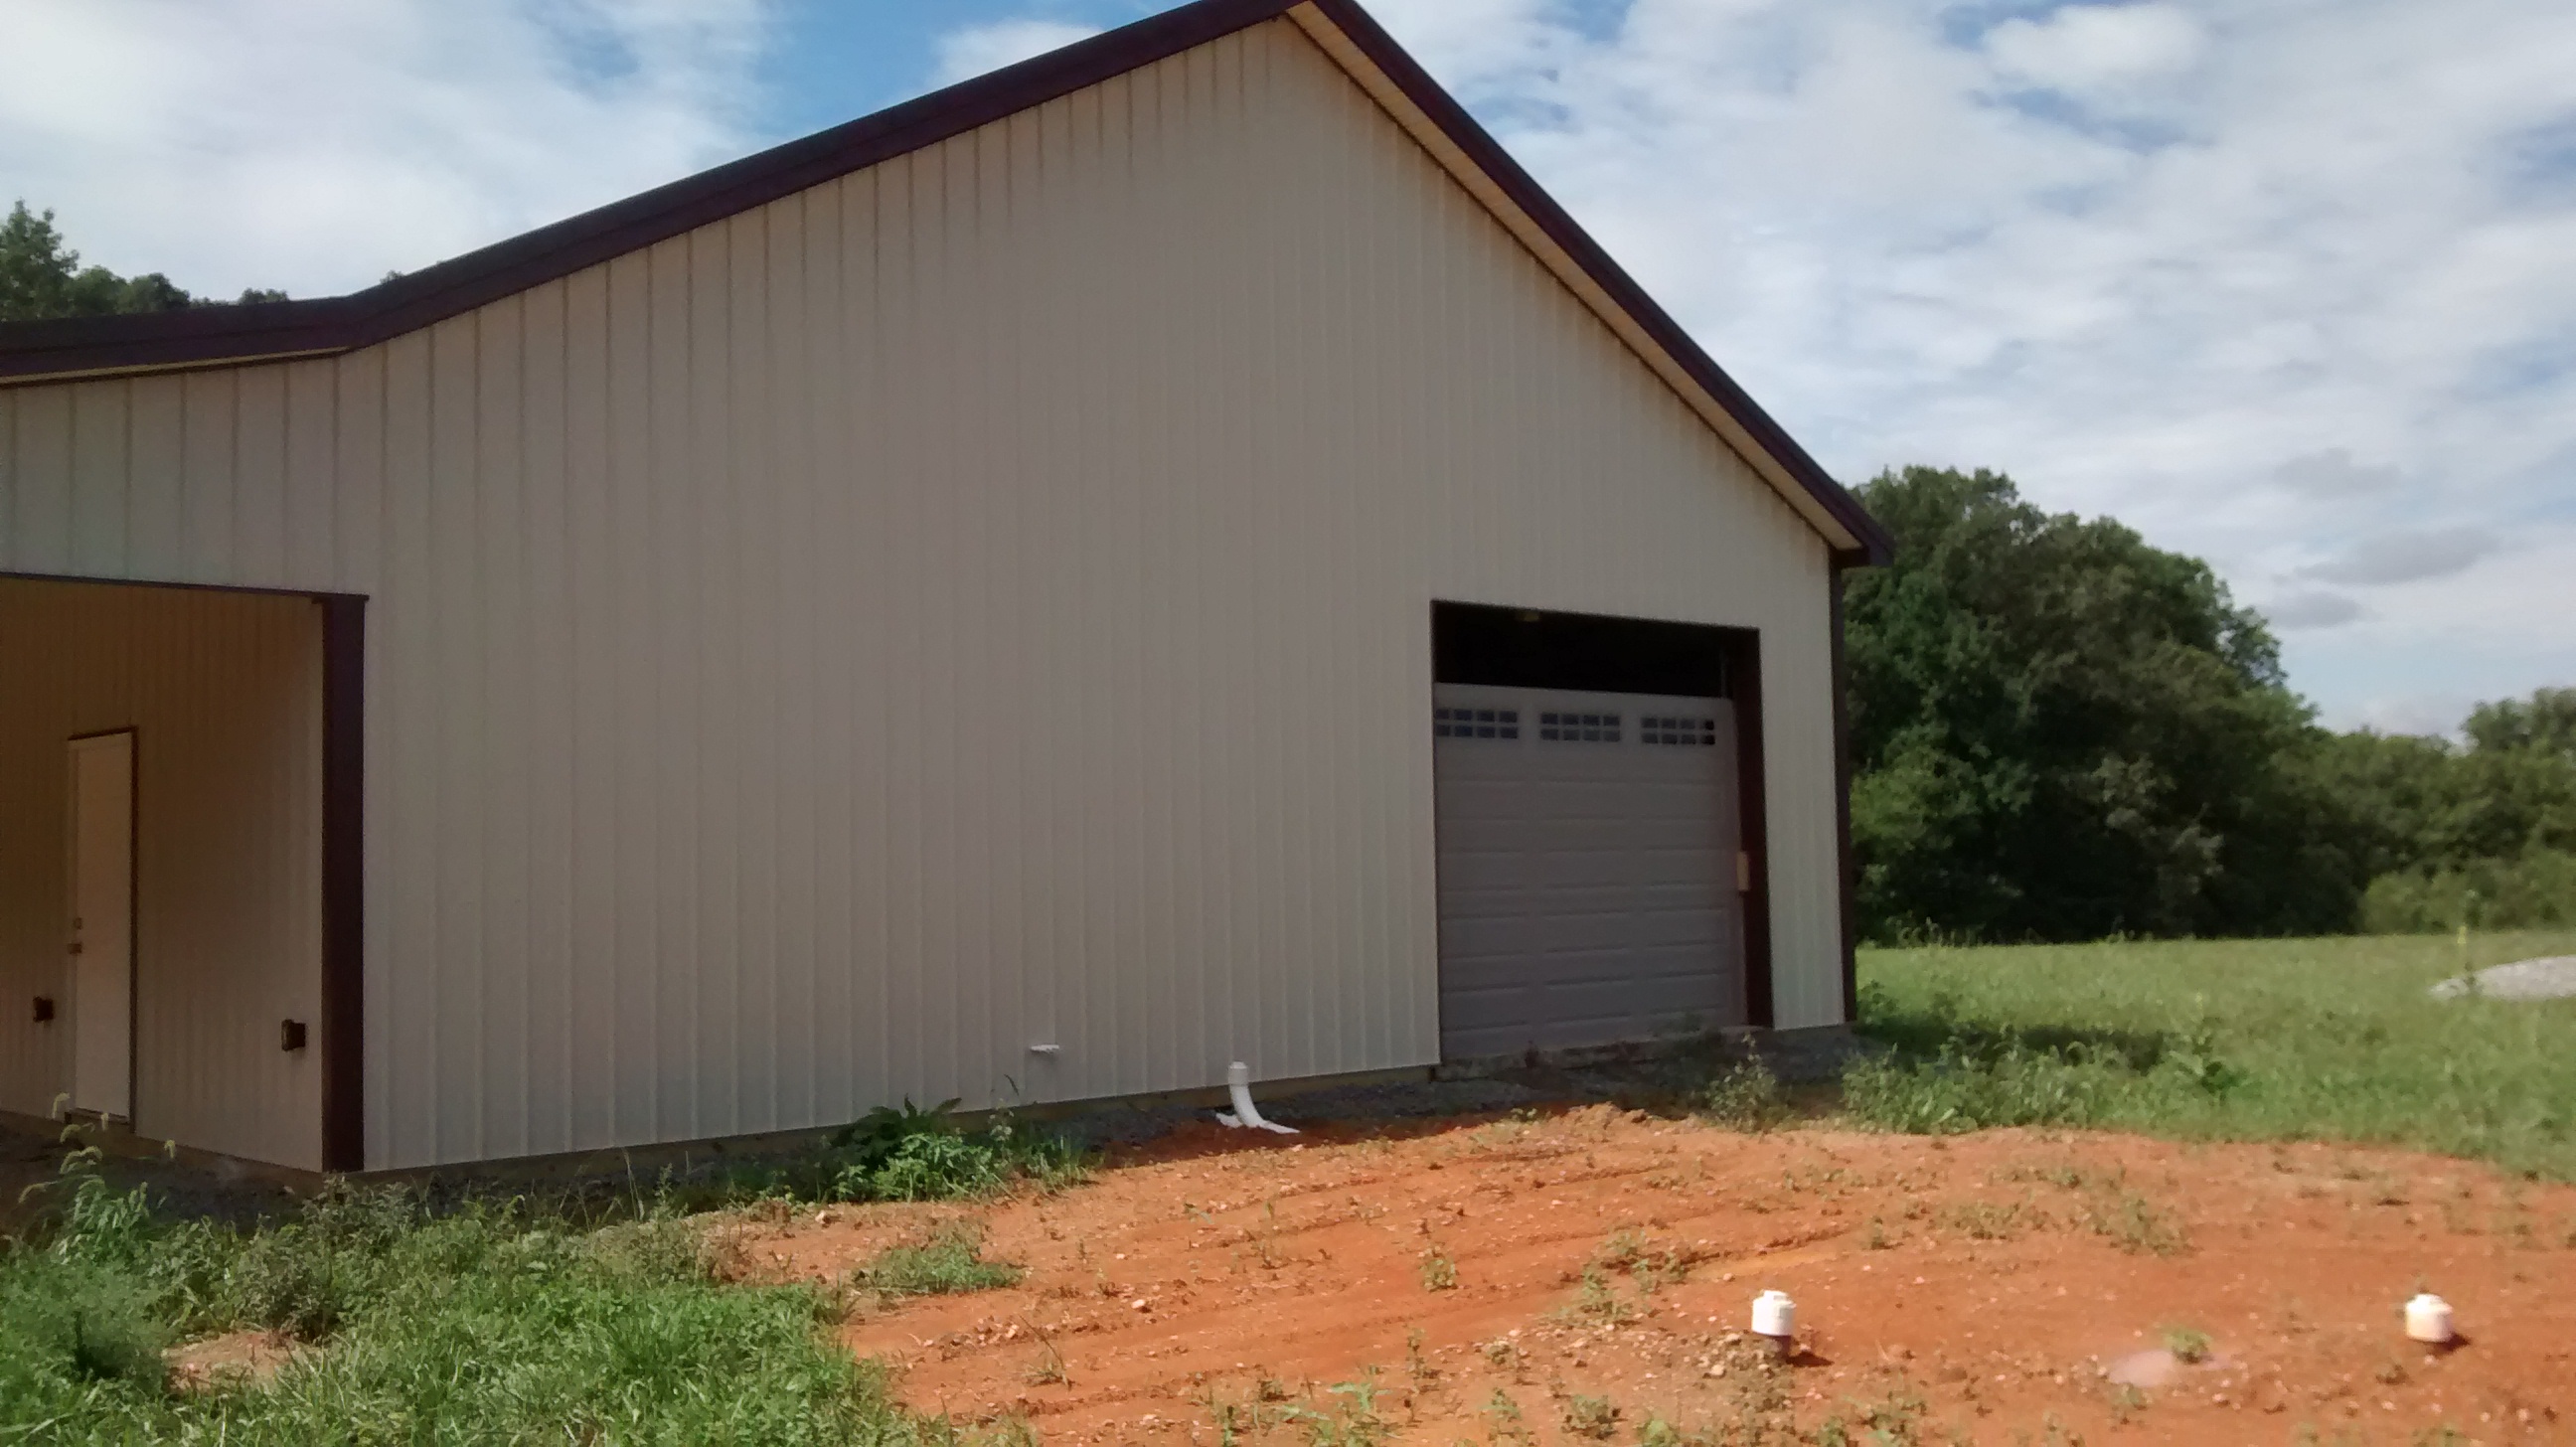
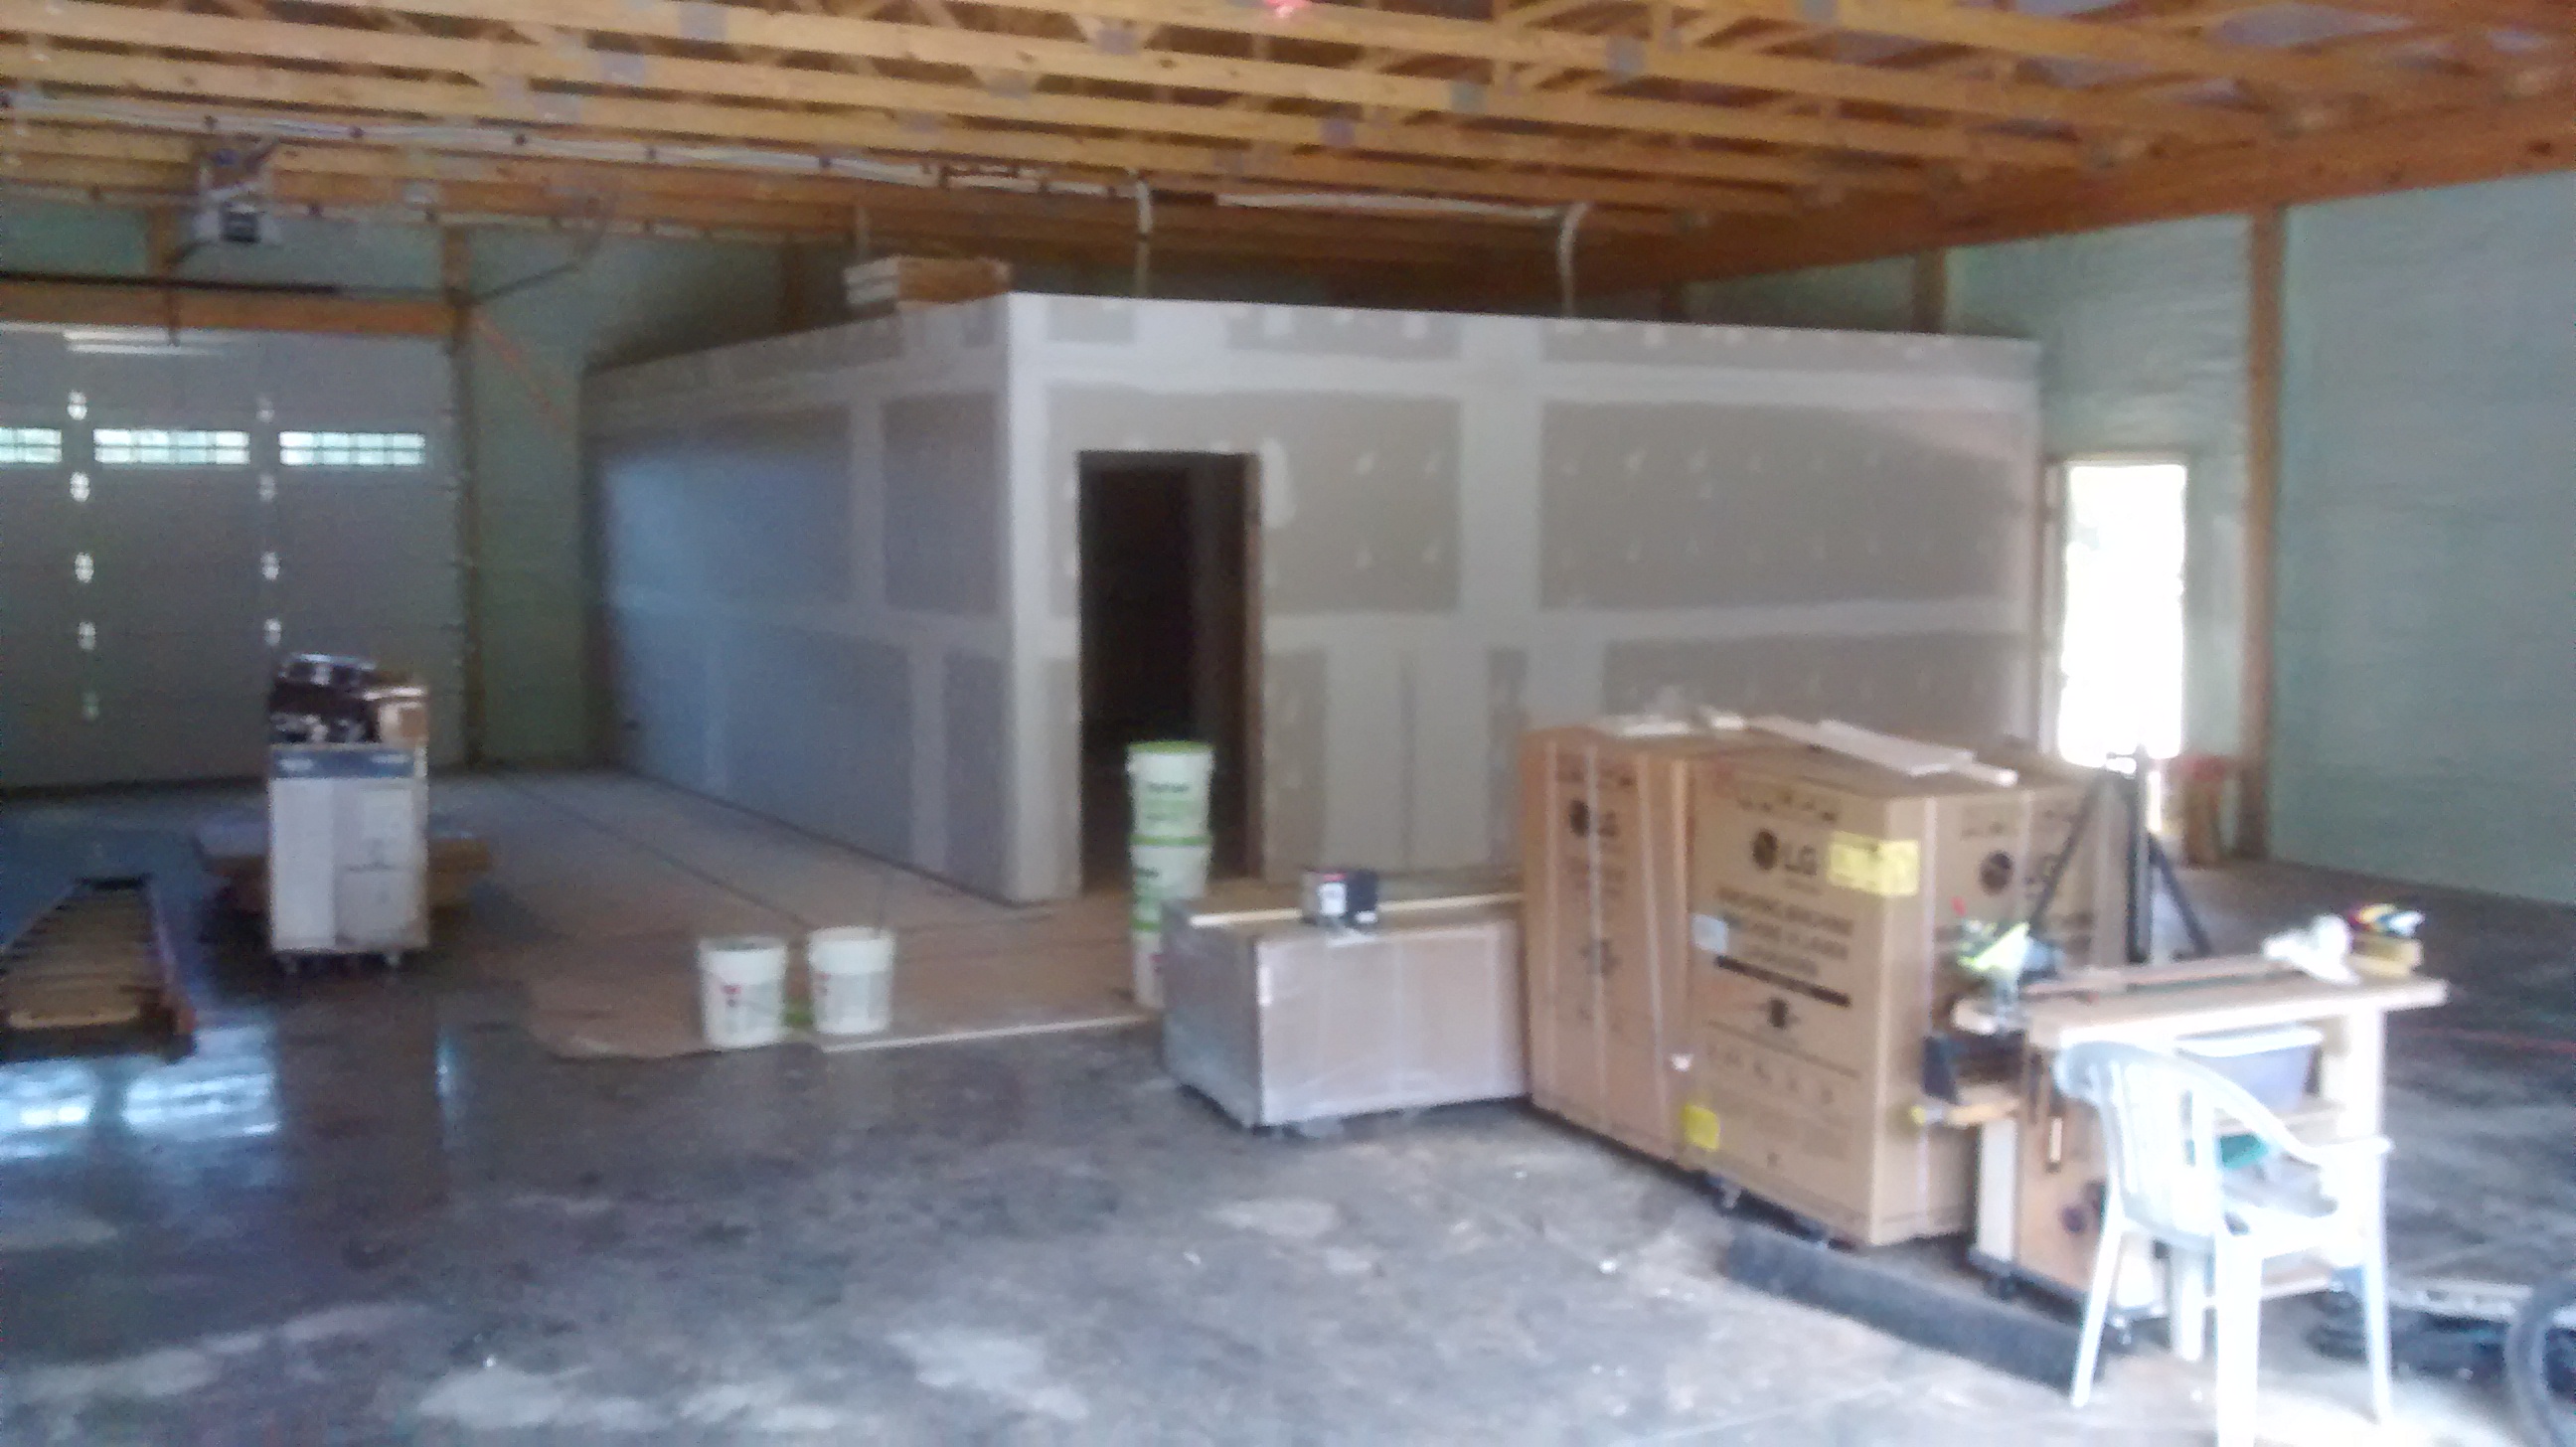
New barn

I'm taking notes from you each step of the way! Thanks for sharing your progress!

Lots of folks on here as well as others have helped me work my way through it. Whatever insights you get from me, be sure to adjust based on your location. One big difference is HVAC. Lots of folks suggested in-cement pex, and that probably makes sense further north. I could not justify the expense given my location. Cooling is more important here. I'm also trying to keep the cost as low as practical as added costs here will detract from our future house. Notice the colors I chose for the metal. The roof is arctic white because it has the highest reflectivity factor. The siding is also light stone which has a fairly high reflectivity factor. One thing I found interesting is how much this matters. They had metal staged as they were building it. The trim in burgundy was quite warm to the touch and the arctic white was quite cool. The barn at our pine farm is forest green and you can feel the heat when get get close to the metal on the sunny side.

Zoning and building regulation as well as local policies come into play. My initial plan was to simply improve the site with well, septic, and power and then get a bridge loan to build the new house and barn together. It turned out that because of county regulations, I could not get permits to improve the site. I also would have had to pay for the wire from the power company.

By putting a small living space in a larger than originally planned barn, the county considers it a dwelling unit which opens the door for all the permits. I can build this barn with very basic and tiny (550 sq ft) living space out of savings. This approach allows me to completely avoid the high interest of a construction loan and there is less schedule pressure since there will be no carrying cost. We will sell our current home and move into the living space in the barn. This will give us the cash up-front to build the new house. It will also let us know exactly how much we will have to spend on the new house.

I'm learning a lot as I go.

Thanks,

Jack
 
Well, we will be retiring in the upcoming years and we are starting to prepare. So far, we have acquired a pair of 8 acre lots. We are planning to put up a barn with a small mother-in-law suite first. Our plan is to then sell our house and move in to the small mother-in-law suite in the barn for a year while we build our retirement home. We just spoke with a barn builder this week. My plan is to use the barn as a workshop and for my ag equipment. I eventually hope to buy a tractor with a cab in the 65-70 hp class that can handle a batwing for mowing. Roughly 8 acres is open pasture (where we plan to build) and the other 8 acres is a mature oak wood lot.

Since land is not an issue, after talking to a few barn builders, building out is less expensive than putting living quarters in a loft. The barn at our pine farm is 30x48x10 or 1440 sq. ft. I used that to sort of estimate how much space I want for a shop and ag equipment in the barn along with the tractor. My first ballpark was about 36x60x12. The living quarters we are planning for will be about 550 sq. ft. That leaves abut 1600 sq ft of barn space. I plan to have it as drive through with rollup doors on each end with an entry door on each side. After asking the barn builder some questions, it seems like dimensions that are multiples of 8' are the most cost efficient. I'm now considering 40 x 64 x 12. It will have a 4" concrete slab. It will also have a 12' lean too on one side.

Right now I'm looking for "I wish I had...when I built my barn..." thoughts. What am I forgetting about? What is important? I'd like to think this thru and would appreciate any and all ideas to consider. I'm in zone 7A if that matters.

Thanks,

Jack
I did a similar build and we lived in the barn while the house was built. I would put insulation under the living area at least. I built a 30x80x12 and have a 10' overhang along the entire side. I wish I had made the overhang area 12' because some implements are longer than that (Bushhog). I wish I would have made it with a wider garage door. I have a T5-120 tractor and it always seems tight when I drive in the barn with a bucket on the loader. Probably more because the limited visibility with the bucket on. I keep on telling people I wish I had made it bigger. The guy who built the barn for me said he hears that all the time about a year after the barns are done that people wished it was bigger. Take what you think you need and go 25-50% bigger. It wont cost that much to make it bigger except for the concrete cost but you will be thankful later. I would also put a drain in the floor and put a electric winch (Harbor freight has them cheap) above that. Have the concrete slope to the drain at least 10' each direction. I did that and field dress my deer in the barn. Put a small kiddie pool or garbage can below the deer to catch the guts and then you can rinse it out with a garden hose in the barn. Makes field dressing much nicer when it is really cold outside.
 
I did a similar build and we lived in the barn while the house was built. I would put insulation under the living area at least. I built a 30x80x12 and have a 10' overhang along the entire side. I wish I had made the overhang area 12' because some implements are longer than that (Bushhog). I wish I would have made it with a wider garage door. I have a T5-120 tractor and it always seems tight when I drive in the barn with a bucket on the loader. Probably more because the limited visibility with the bucket on. I keep on telling people I wish I had made it bigger. The guy who built the barn for me said he hears that all the time about a year after the barns are done that people wished it was bigger. Take what you think you need and go 25-50% bigger. It wont cost that much to make it bigger except for the concrete cost but you will be thankful later. I would also put a drain in the floor and put a electric winch (Harbor freight has them cheap) above that. Have the concrete slope to the drain at least 10' each direction. I did that and field dress my deer in the barn. Put a small kiddie pool or garbage can below the deer to catch the guts and then you can rinse it out with a garden hose in the barn. Makes field dressing much nicer when it is really cold outside.

I'm right with you. They put insulation under the entire slab. I'm part owner in a pine farm that is 15 minutes away. That is where I do my hunting and my habitat work. I have that setup with a roof over one of the aprons with a harbor freight winch for dressing deer. I now wish we had doubled the size of that barn. I should have fewer implements and stuff at this retirement property but I made the barn so that when you subtract the living space, it is still more square footage than the barn at the pine farm. I hope I made it large enough, but time will tell. I considered a floor drain, but ran into a problem. The local regulation require any PVC leaving the structure to go into the septic tank and I did not want that. I'm having metal wainscoting put around the living area so I can wash down the floor with a hose. I had the floor sealed. At the other barn, I just spry it out the doors.

Thanks,

Jack
 
We began trenching for power this weekend. My new neighbor at the retirement property has a class A contractors license and he has a big CAT backhoe. I think it is an older 420. We spent most of yesterday working on the backhoe. He had removed and rebuilt one of the swing cylinders and had to reinstall it and do some welding. We got started about 1530. He had to cut the roots and push over one nice white oak, but I think that was the only one I lost. We got about 50' done by 1730 and called it a day. I had to deal with some medical testing today but I stopped over after that. It had been raining on and off over there all day, but he had most of the 800' through the woods done! We still have some more trenching to do to get the the neighbor's transformer and then from my transformer location to the barn. We will probably do that sometime next week. Things are moving forward!
 
Well, here is another update. We have been working at the trenching in between all the rain we have been having. There is over 1,000 feet of trench in total. We completed the trenching and ran the high voltage conduit yesterday. That was an experience. The conduit was about 1600 lbs and came on a large steel spool. It is 4" diameter with 1/4" thick walls and it is heavy. We ended up rigging up something with bars and chains and lifting the wheel off the ground with the backhoe boom. We then drilled a 1" hole through the conduit and ran a bar through it. Going through the woods was dicey. There was limited room along the trench. With one guy on each end of the bar, we ran it along the trench as far as we could. At that point, we hooked it to my Kawasaki Prairie 650 ATV. I used that to drag it the rest of the way. I came close to falling into the ditch several times. It was OK going straight, but much tougher when we had to make a turn.

We then put in the 3" hard conduit from the transformer location to the barn. The power company came out today and pulled the wire and installed the transformer enclosures. Tomorrow, we begin backfilling the trenches. Once the county inspects the electrical in the barn, the power company will light it up!

One of the subcontractors began installing the overhead barn doors today. The top panels had not yet been installed when I took these pictures:

4de7c771-e5c7-48ec-9b4c-1c3c06076e45.jpg


03c5d3f1-48b4-4b26-82d4-4eafb88b434a.jpg


Thanks,

Jack
 
Just read through this thread. Quite the adventure and I know you will be happy with it!
 
This is a cool thread, hopefully I can put a small barn up in next couple of years.
 
It has been a long time coming. I backfilled the trench this morning. There was no approval sticker on the service so I called the electrician. Evident the county wanted a few minor changes, but it should not be long before we have power.
 
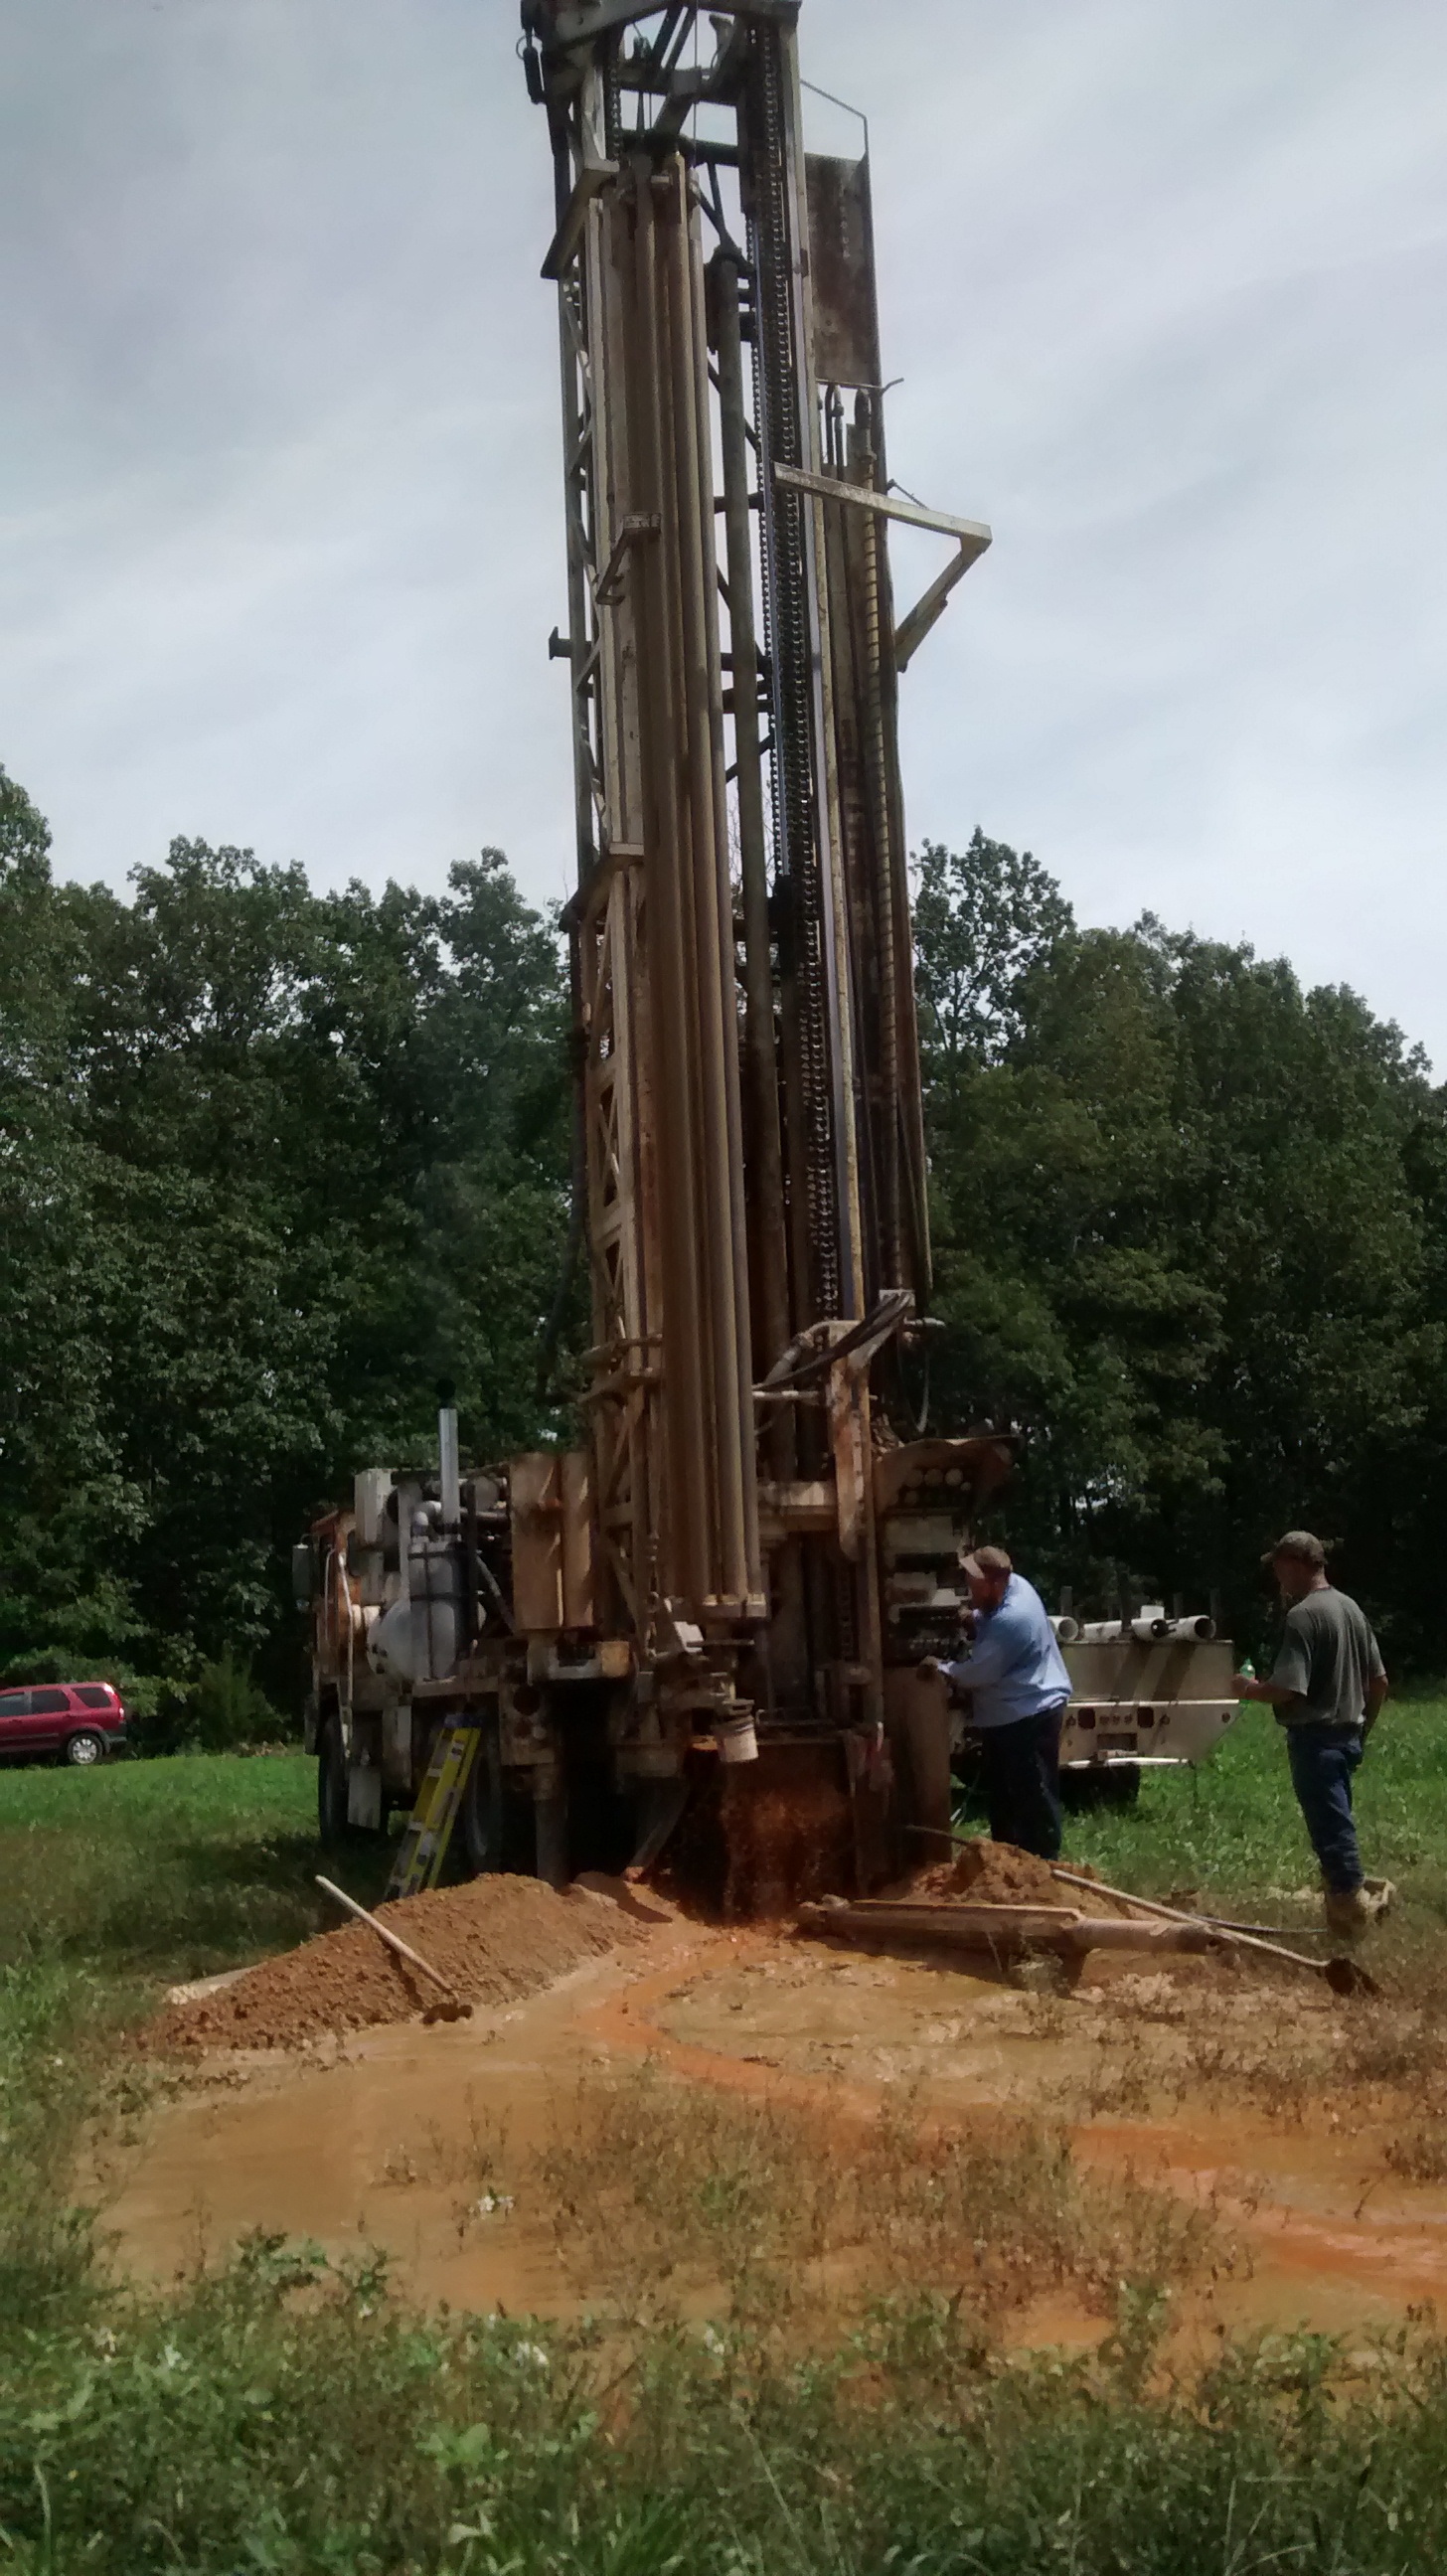
I spent the morning mowing clover at the farm and got a call from the barn builder. He said the well driller was on his way with the rig, so I headed to the retirement property. I watched them set up the derrick which was pretty neat. They plan to do the actually drilling on Monday. I hoped to chat about well pumps, hydrant locations, and pressure tank options but they were just the drilling crew and said I'd need to talk to the pump crew when they came out. At any rate, I was able to position the well head where I wanted it so it was good I went out. While I was watching them set up, the inspector came and gave me the thumbs up. They approved both the electrical service as well as the interior wiring. That puts it back in the hands of the power company for service hookup. It also allow the contractor to begin installing dry wall.

Thanks,

Jack

That's got to be a great feeling Jack...water and power! Drywall is good too.
 
That's got to be a great feeling Jack...water and power! Drywall is good too.

Yes! The structure itself seemed to go up very quickly with lots of visible progress; structure, floor, windows and doors, framing.... We were making lots of decisions on details and it almost felt like things were moving so quickly that I couldn't keep up with everything. Then there was a big lull where things seemed to go very slowly. They did install part of the HVAC and then I'd see a guy working the the electrical. I was focused on trying to get easements from neighbors and coordinating with and waiting on the power company. Jumping through the hoops and getting all of the work done for power access was slow but since i was on the work crew and participating it was satisfying.

I think once power is installed, things will be moving much more quickly.

Thanks,

Jack
 
They drilled the well today. 120' of casing and they hit water at about 125'. At 150' they had a 15.5 flow rate. I left at that point. I'm not sure if they went deeper.

784c5caa-d838-4cdb-943d-493734ac5c0d.jpg


Thanks,

Jack
 
I was back at the barn site the next morning to put in a food plot. The well drillers were back and fueling the rig for their next job. I asked what they ended up doing. They said they ended up drilling to 180' and had a flow rate of just over 20 gpm when they capped it.

Later last week, I headed back over to spray the plot. I noticed a meter was installed on the service panel, so I assume we now have power in the barn! I headed back home to work over the weekend but I hope to head back down tomorrow.

Thanks,

Jack
 
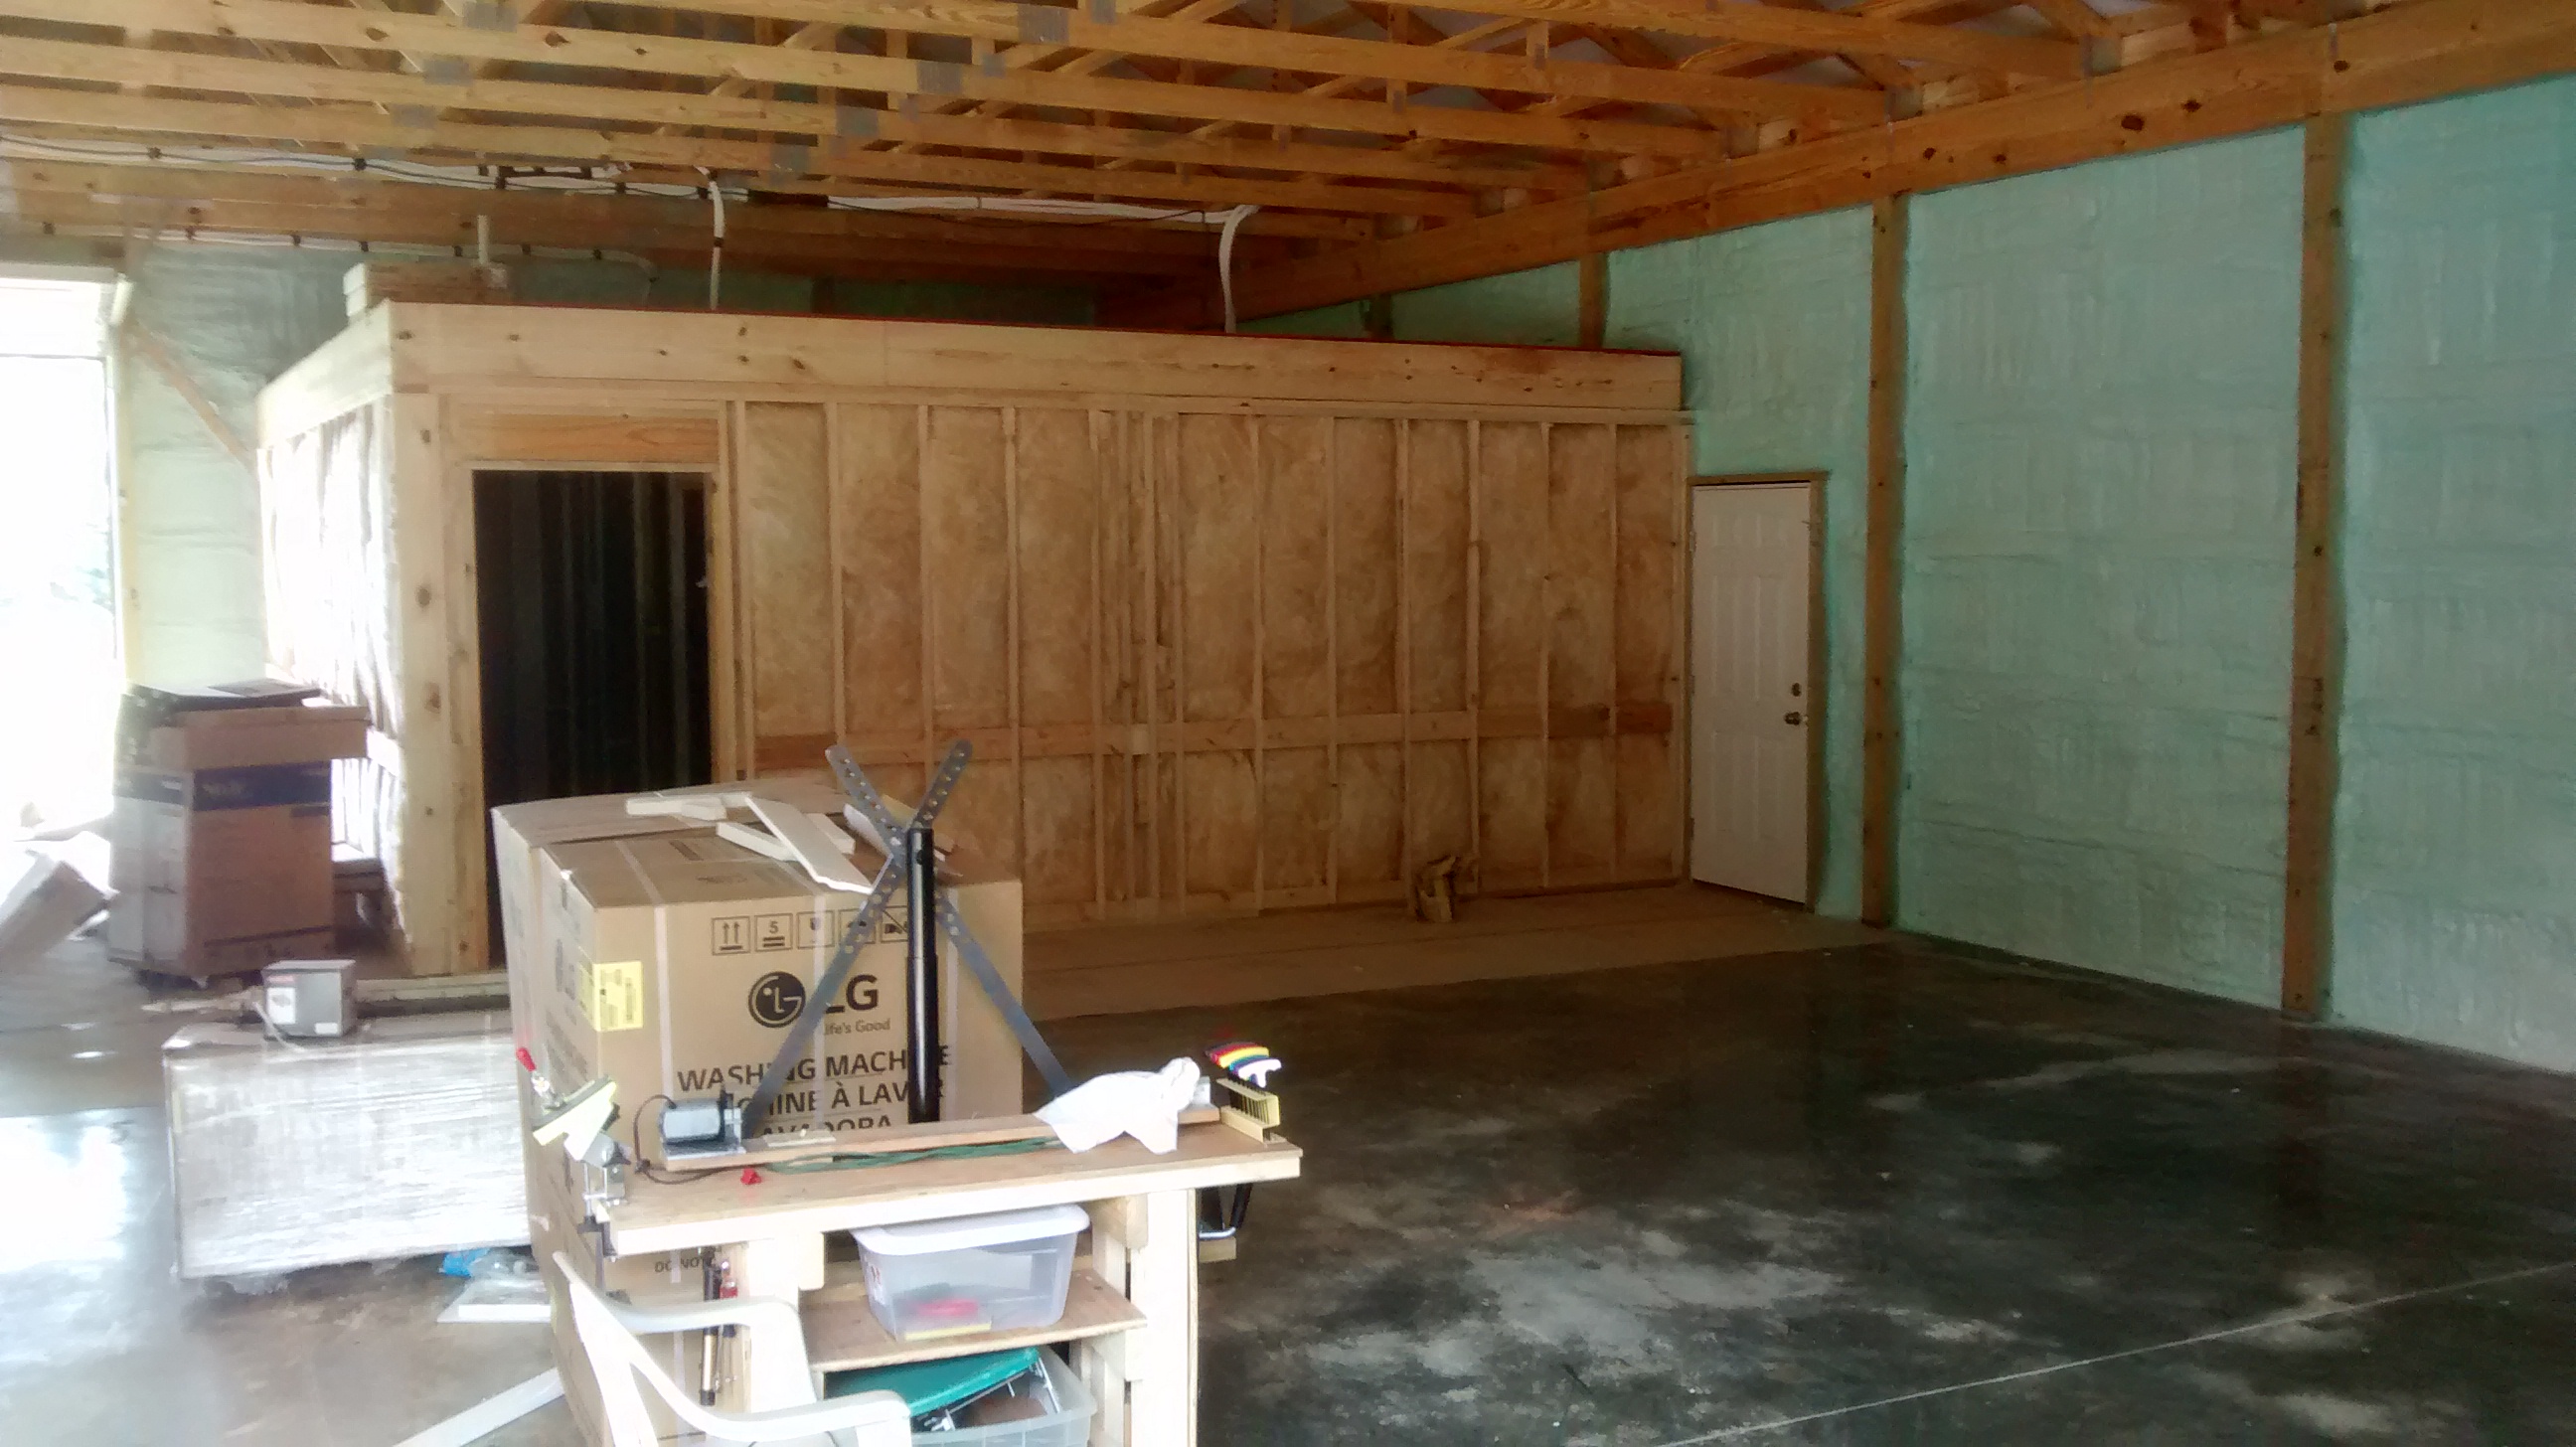
I visited the barn today. They have finished the plumbing rough-in and inspection of that. They have completed the blow-in insulation (Sea Green) as well as the bat insulation in the framing in the living area.

48e00648-30cf-48f0-80fe-0cb64e355b67.jpg


Thakns,

Jack
 
That is awesome Jack!! I am so very happy for you friend.
 
That is awesome Jack!! I am so very happy for you friend.

Thanks. Things aren't moving fast, but they are moving. I'm in no rush. Youth weekend starts tomorrow so I'm inviting one of the new neighbor boys and his dad out to the farm to hunt tomorrow. Our archery season starts next Saturday, so I'll be focusing on hunting and checking in on it as the contractors make progress.

Thanks,

Jack
 
They have put up the drywall in the living area. I was going to post a picture, but I'm having some trouble posting picture links right now. On another note, I got a letter from the power company today saying there workers will be dong make-ready work for fiber soon. It sounds like they will have service available some time during CY2021. Since our current plan is to retire at the end of 2021, that timing should be perfect.

I'll update as soon as we get the linked picture posting problem solved. http://www.yotechs.com/YotechsPhoto...7122/11f9a1b7-41ad-44ff-ac98-bc5c01b6e4ed.jpg

11f9a1b7-41ad-44ff-ac98-bc5c01b6e4ed.jpg


Thanks,

jack11f9a1b7-41ad-44ff-ac98-bc5c01b6e4ed[1].jpg
 
Last edited:
I had been waiting for John to get the the picture problem solved before updating this thread, but things have moved forward so I'll just do an update in words.

The interior living space has been finished and all the fixtures have been installed. I have one issue with venting the stackable dryer to resolve. Last week, the pump crew came in and we trenched and installed the hydrants and pressure tank. I took some measurements so I know exactly where the lines are. We set it up to tee off easily for the future house. We temporarily hooked up the pressure tank to power to test it but did not connect it to the indoor plumbing. The pump worked and we got water from the hydrants. The permitting calls for a "3b" well which means they need to grout the pump. That still has not been done, but it does not affect water use.

Yesterday, the plumber came in and did the hookup to the indoor plumbing and tested everything. I went over to check things out this morning and things are looking good. I finally got the operators manual for the HVAC system. I played around with that and found some issues. I emailed the HVAC installer and they plan to send someone out to look at the programming. Evidently there are things the installer can do that the normal user can't in the programming. However, the mini-split system does appear to be working, at least in heat mode.

One caution for folks considering mini-splits that I just learned. It makes sense now that I think about it, but it wasn't something I had considered. My unit is a Mitsubishi, so the specifics of how the system operates may vary with other mini-splits, but the basic concept holds. If you install a mini-split with a single heat-pump (outdoor unit) and multiple indoor zones, you can't really use auto mode. You must select heating or cooling. The thermostats don't really communicate with each other. They each operate their respective indoor units independently. The problem is when they talk to the heat pump. If one is calling for heat and another calling for cooling, the heat pump doesn't know what to do. Perhaps other systems operate differently, but with the Mitsubishi, it puts the thermostats in "standby" mode. This can happen if you put the thermostats in auto mode rather than heat or cool. Depending on temps, one unit could go into heat while another goes into cool mode.

We just had or first wintery mix storm that dumped a bunch of rain and ice. It is far too wet for cement trucks. The pouring the apron, patio, and finishing the well require the heavy trucks, so they are on hold for now.

Thanks,

Jack
 
Sounds like it's coming along Jack. Great feeling! Thanks for the update.
 
They make the mini split heat pumps now with a third line so that you can have Units running in heat mode and cool mode at the same time. This works well for instance if you have sunny south facing rooms that get real warm and north shady rooms that need a few degrees of warm And want to keep the whole house the same temp. However this luxury comes at a much higher price.
 
Top