Giant gaping hole in my shipping container...

Jim Timber

5 year old buck +
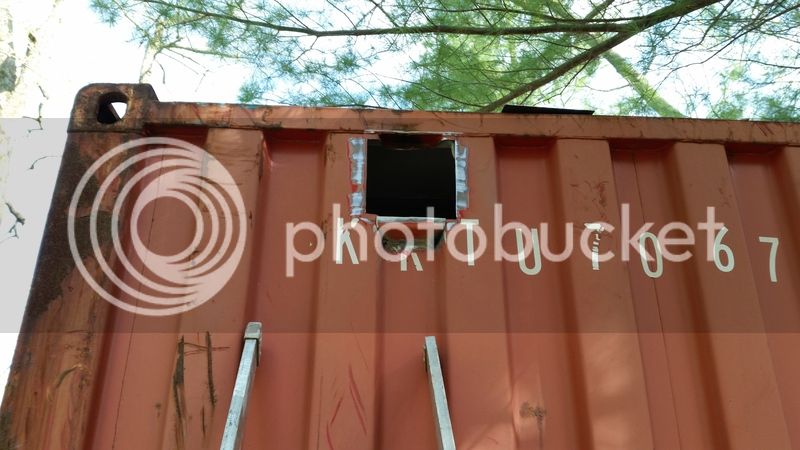
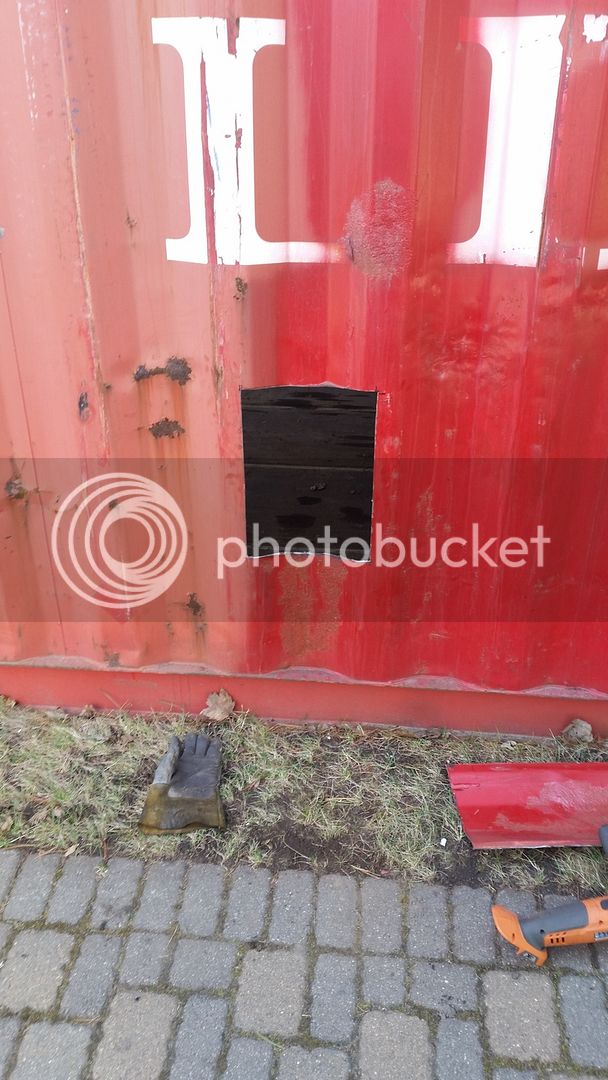
Well, I put it there for ventilation. :p

20150425_153809.jpg


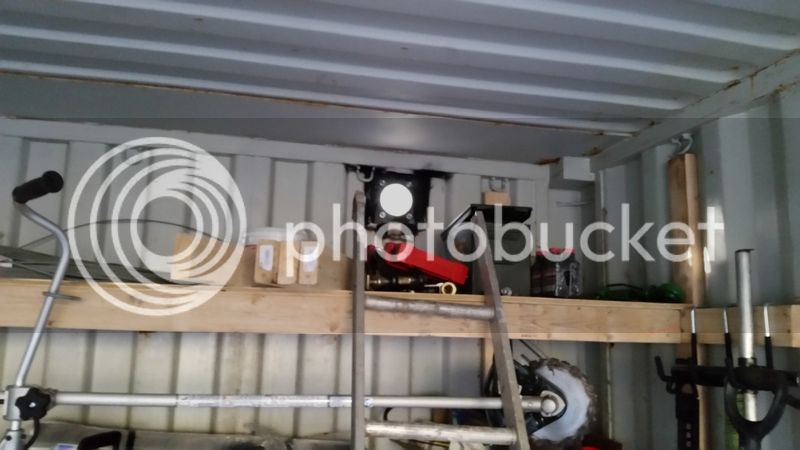
Then stuffed this sucker in it using a buddies 115v flux core welder (ugh! I miss my Miller Invision back at the shop):

20150425_194109.jpg


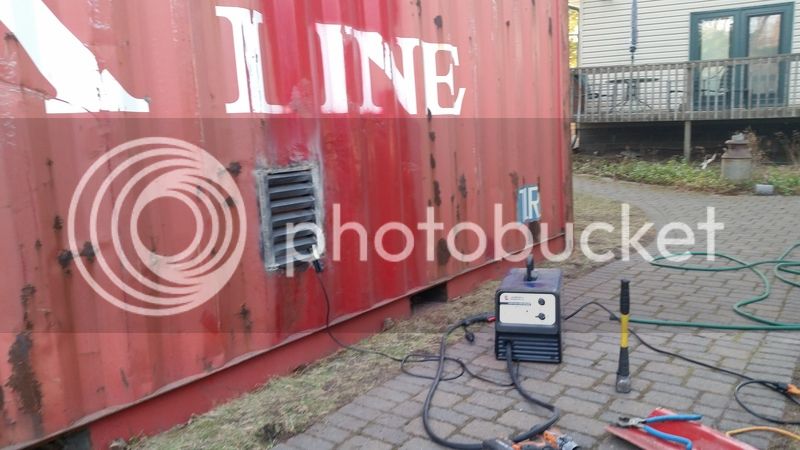
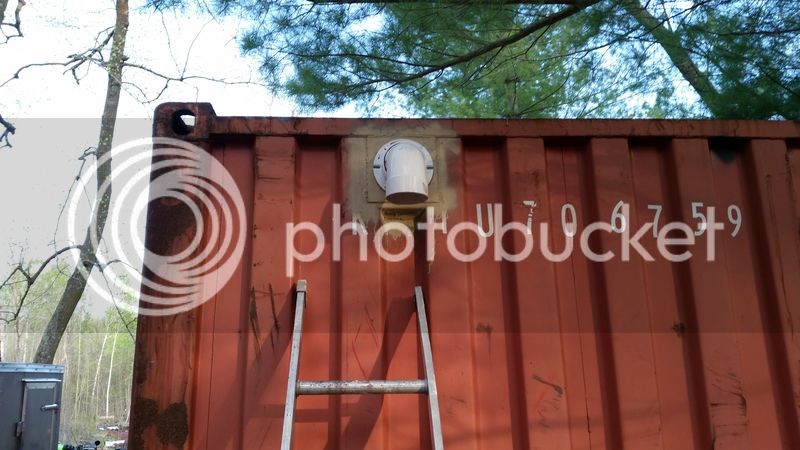
And painted it with the first can of Krylon I grabbed. :D

20150425_201021.jpg


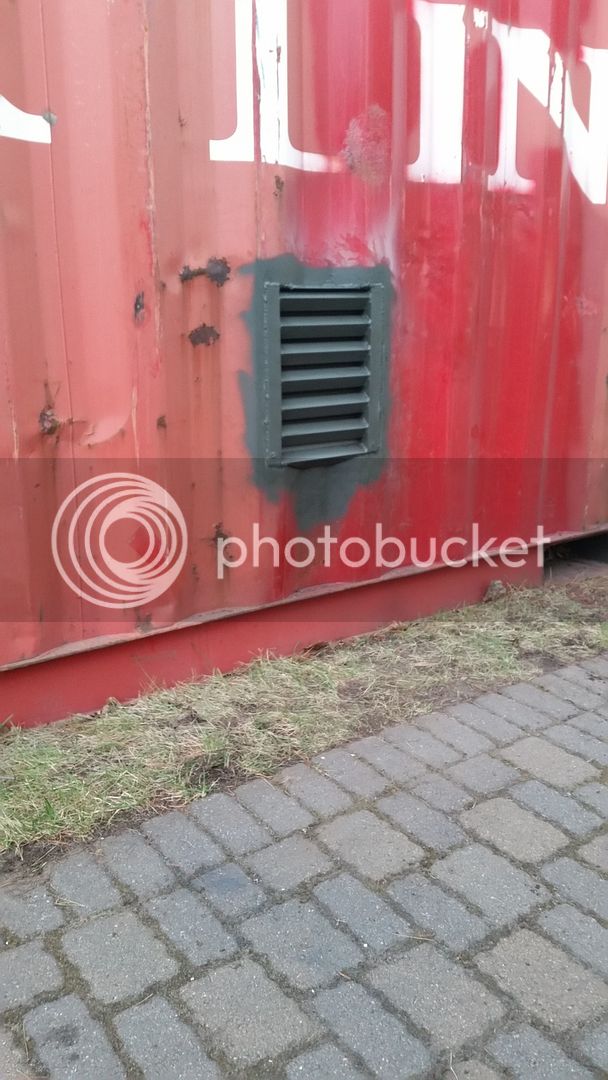
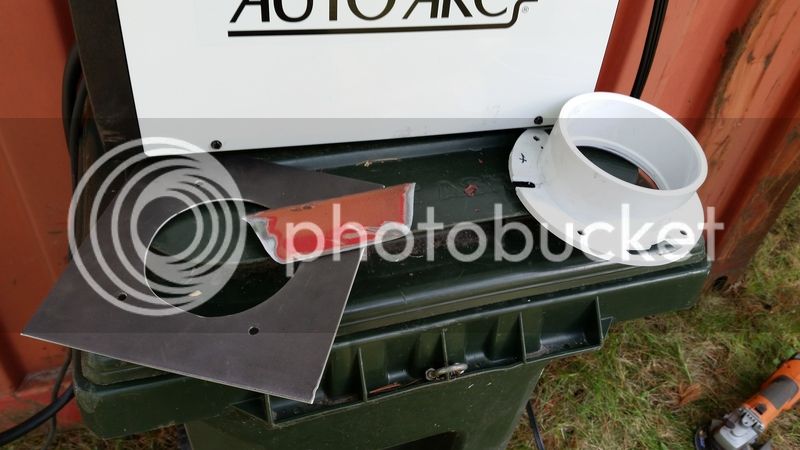
The design is a prototype I came up with that sheds water forward of the next louver down. All the angles are overlapping the one below (front and back courses), so that any drips fall outward rather than in.

I still need to add window screen to the inside for bugs and probably mice, but nothing larger than 1/2" can get in.

I also need to add some top vents for the heat to escape in the summer. I think I'm just going to flange mount some PVC elbows for those up under the roof line.
 
Looks good! This gonna be a shed or a cabin? I got some ideas for these things!!
 
Looking good Jim. Gotta do a bunch of driveway work this summer so I can get one of those trucked in to my place. I'll be watching your progress for ideas. Thanks
 
Thanks guys!

This is a temporary shed for the tractor to live in until I get a garage/shack built in the next year - I hope to be building that by next spring.

Once the trapping shack is done, then I'll move this over to the rifle range and it'll become a shed/shack where I'll have some reloading equipment (single stage press for load development) and any other supplies for the range. I'll also put the shooting platform up top for the long range shooting, so everyone will be shooting downward for the longer distances. That'll also double as a deer stand.

Condensation was terrible with it sealed up, so it needed some air. I might put a couple cheap windows in it before it gets moved up the hill (I need my road finished first too. :) But that's going to happen in a few weeks when the road restrictions are lifted.) and am contemplating a service door. If I do more welding on it, I'll be using my machines. I'm used to a Ferrari, not a pinto in the MIG department. :D
 
No vents at all.

I wanted the bottom vent high enough that snow drifting wouldn't likely be a problem, and also make the mice work for it to climb the side (if they can). I'm still baiting with poison just to be safe.

I've thought about doing that wind turbine vent, but want the top to stay clear for when I put the deck over it. I've also thought about putting a 4" computer fan on a solar panel through my PVC.
 
When I saw the title of this tread, I thought the worst JT. I thought your shipping container had been broken into!:eek: A friend of mine had his broken into on his land in northern Sawyer Co. A couple quick torch cuts around the hinges and they tore the doors right off with a pickup and log chain. They got away with 2 Polaris quads and a RZR SxS.
 
My cordless grinder made that hole on a single battery partial charge. It did end up getting the battery too hot (cutting takes a lot of torque) which slowed me down, but only because I only keep one battery up there (was kicking myself for not grabbing a couple others - knowing this was on the schedule this trip). I could cut the locking bars in 1/10th the time, or if someone welded on a nice padlock enclosure, it might take 5 minutes to breech.

Nothing is going to stop a determined thief - which is why I have insurance with low deductibles on everything. The container keeps the smash and grab types honest, but if you wanted something, you'd find a way to get it. I mainly went this route because of the mice.
 
When I saw the title of this tread, I thought the worst JT. I thought your shipping container had been broken into!:eek: A friend of mine had his broken into on his land in northern Sawyer Co. A couple quick torch cuts around the hinges and they tore the doors right off with a pickup and log chain. They got away with 2 Polaris quads and a RZR SxS.
Can't say they didn't earn it. Sounds like an inside job. Who'd go through that much not knowing if it isn't just full of crap. Lots of buildings full of crap out there.
 
Neighbors, someone in town - kinda hard to do things under the radar when you're making noise "playing."

I honestly wish I never had this thing along the road (where it sits). Now that it's there, everyone knows it. Thieves seem to prefer hitting garages in the area, so as long as there's something easier to gain access to with lighter contents, I think the tractor will be ok.
 
There's a half inch of water in the bucket I left out and not so much as a dribble inside the can.

I might have to use the hose to really test it. :)
 
We've had a bunch of rain lately, and no leaks. :)

Tonight after I was done spreading tailings I put the first of two top vents in. I would've done both, but running a 20 amp welder on 15 amp circuits is frustrating and slow - so I wrapped it up after one and will do the other in a day or two before the container makes it's way up the hill. Although, bringing my genset up would probably make for a more enjoyable install... So anyway.

Made some adapter plates, and used the drop out of the hole to make a couple filler pieces for under the plates (I made a cardboard template to match the contours).

20150512_173325.jpg


And of course, you need a hole:

20150512_173333.jpg


This paint burns really well. :D

20150512_190952.jpg


I cut window screen to match the diameter of the flange, then used sealant on the flange prior to assembling the screen sandwitched between the plastic, steel, and sealant. I put a good amount on there, so hopefully it doesn't leak.

Then I added an elbow, and prepared that joint as though it was a regular plumbing connection, so it's not going anywhere.

20150512_191921.jpg


I used 1/4-20 carriage bolts to hold the flange. I was able to start the first one through the hole, then used a hammer and drift to "set" the others in the flange so I could go inside the container and spin the nuts down without a helper.
 
When you move the container are you planning to skid it or put logs under and roll it along?
 
I'm going to call the tow truck again. :D $75 and they put it where I want it.
 
Just need to make that trip possible now. I reached high ground today. :D
 
High ground was true, but I'm not out of the soup just yet...

20150530_170306.jpg


More tailings will be needed before the container gets relocated.

I finally got the key to the main breaker panel (outside, and padlocked) from my FIL, so I could install a 20A 120v outlet for my little mig today. And got the second top vent in as well.

20150531_203447.jpg


The Hobart's duty cycle still sucks (I'm used to 100%, not 20), and it's incapable of running wire speed as fast as I'm used to, but when slowed down enough it does a pretty decent job on the thin steel.

I think my next change is going to be a window of some kind.
 
Do you think it's breathing better now?
 
Is this turning into your Malibu Barbie Beach House Jim?

:DJ/k. It's neat to see how you're customizing your container.
 
This is going to be the rifle range "hut" at some point. Not a beach house. :p

The first top vent helped immensely. Condensation was eliminated with the side vent, but smoke from starting or backing the tractor back in wouldn't dissipate very quickly so you still got fumigated if you needed to go back in for something. There was a noticeable breeze when I cut the first hole on the back wall. Two was just to make it work better and be closer to the surface area of the side vent. It was still smoky when I put the tractor away (to be expected), so I don't know if it's going to clear out faster or not. It's much improved over the side vent only.

And of course as summer rolls in, the natural convection should help keep it from turning into an oven. I want to get some rubber roof sealer in white to paint the top with to try to keep the temps inside down. I think I'm going to start looking for oops paint in light earth tones before long too. I won't spray it in the cabin yard though.
 
Top