IkemanTx
5 year old buck +
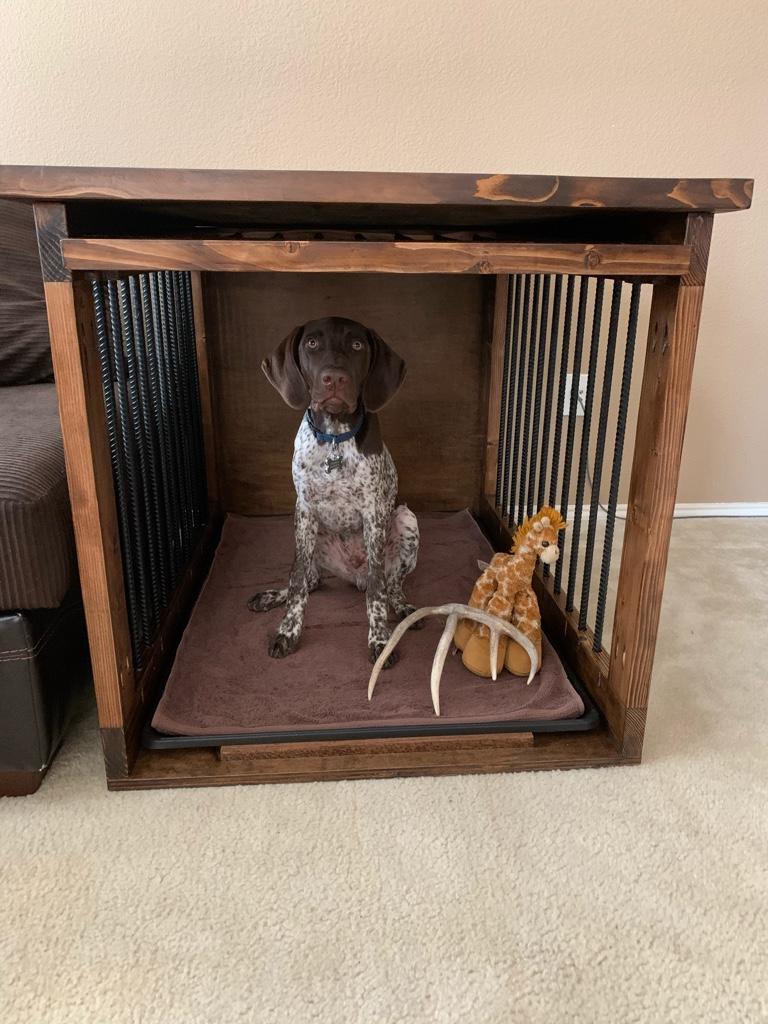
Well, I probably should have done this when the price of wood wasn’t so dang high, but the pup needs it now. He outgrew the last 2 crates and I didn’t want to buy a temporary one in his final size, as well as building one later.
Kiln dried hardwood lumber is through the roof right now, so I ended up buying premium fir 2X4 studs and planing them down instead. A lot more work, lower quality wood, but a one or two hundred bucks saved.
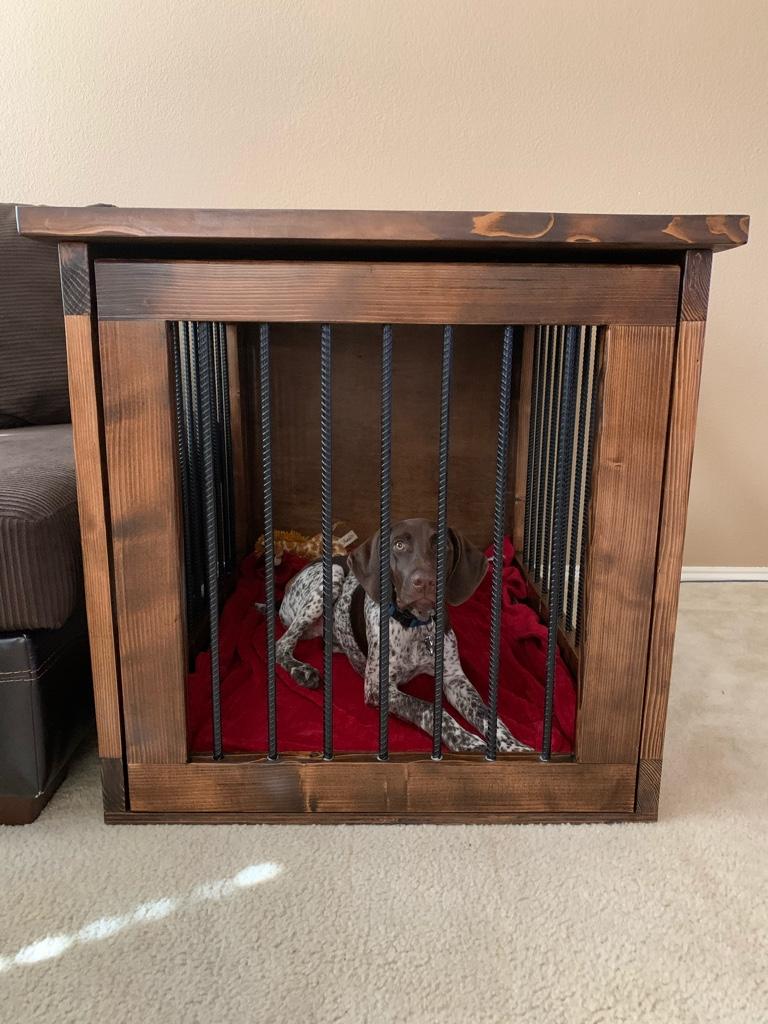
I based the design around a replaceable tray from a “large” wire crate. That way, we always have plastic in the bottom to protect from pee, vomit, or diarrhea. I designed it 30” tall on the interior because our male GSP will most likely be around 25” tall at maturity, and I need a few extra inches for the pocket design of the door.
The door opens from the bottom, and slides into the frame like a garage door. I did this because it is already a LARGE piece of furniture, and I couldn’t lose an extra 26-28 inches of floor space to an open kennel door.
I think it turned out pretty good, but if I ever decide to build another piece of furniture..... I will DEFINITELY buy an HVLP spray gun rather than brush applying 4+ coats of polyurethane.
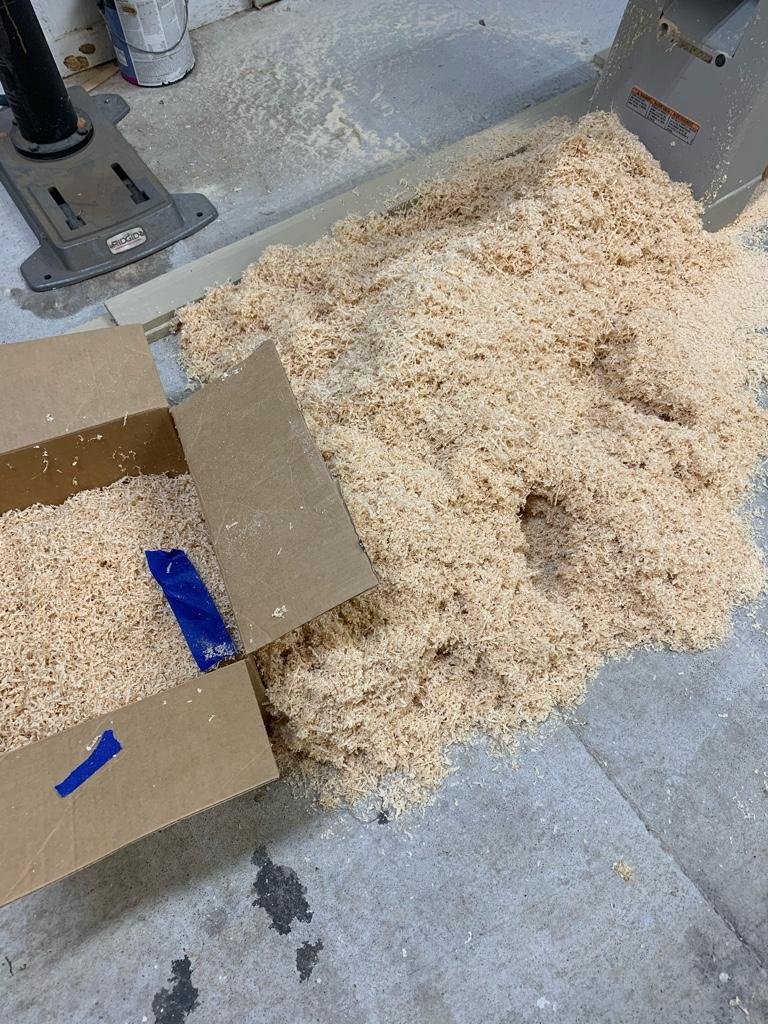
20 Gallons of sawdust from JUST the boards that went into the table top portion.
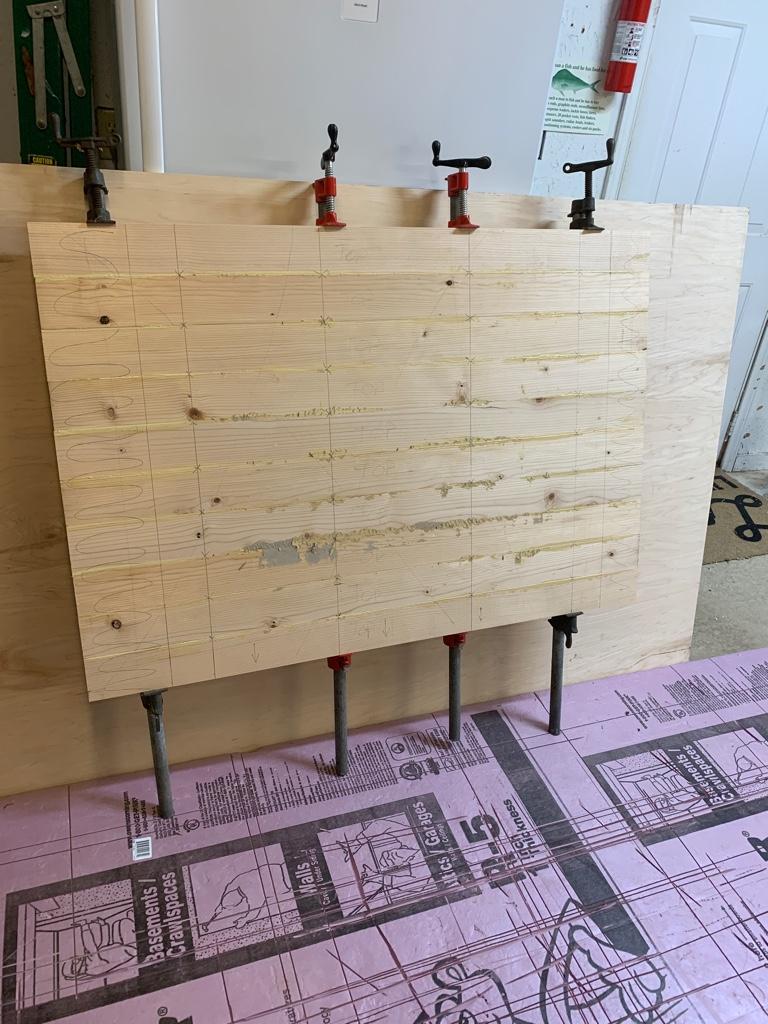
Gluing up the main top.
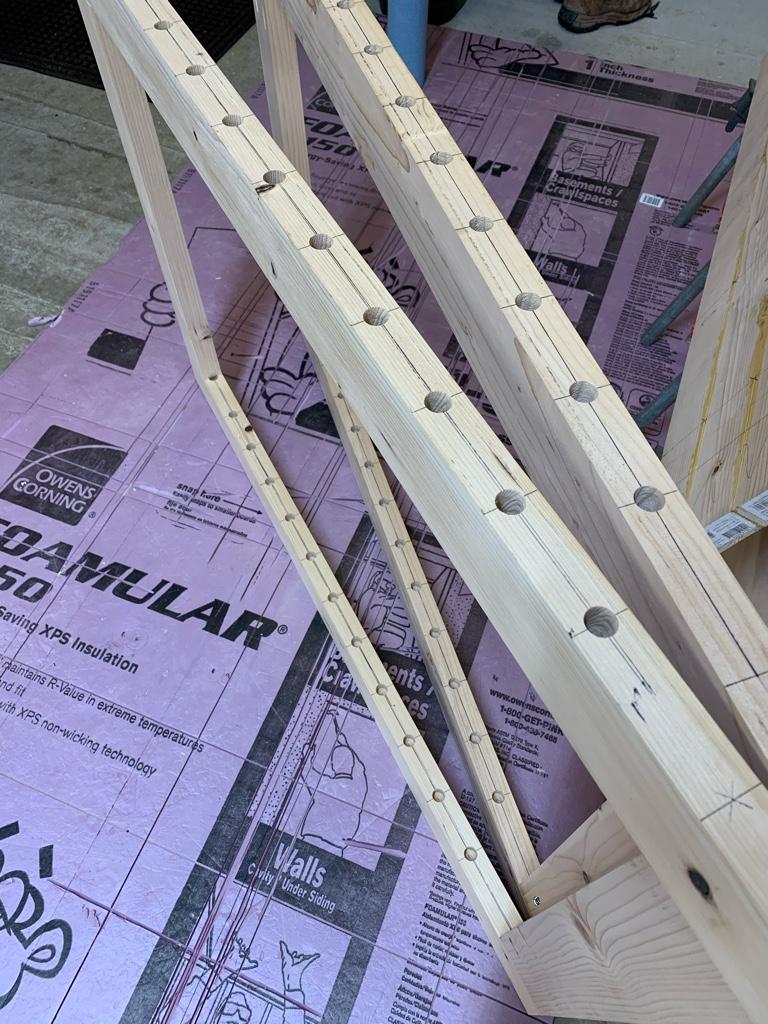
Beginning the side panels.
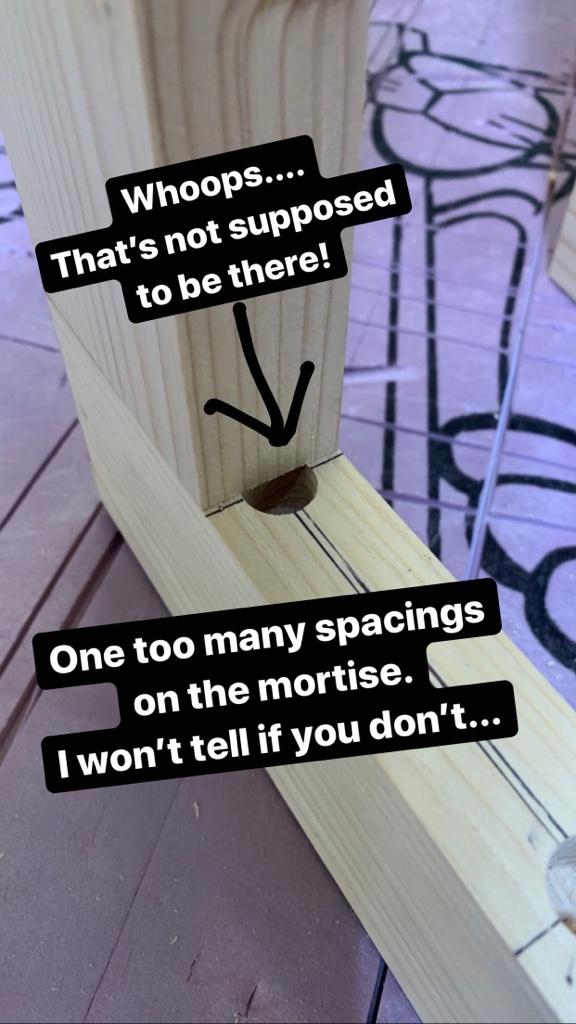
Oops....
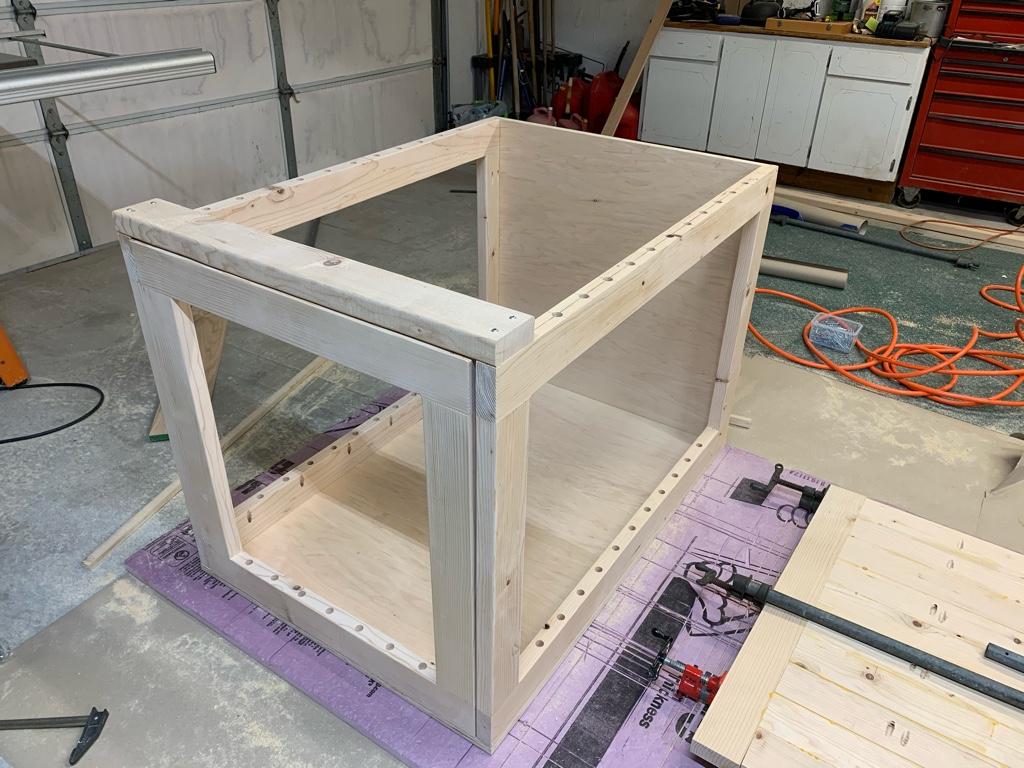
Beginning assembly
Door operation
Breadboard ends being glued onto the top.
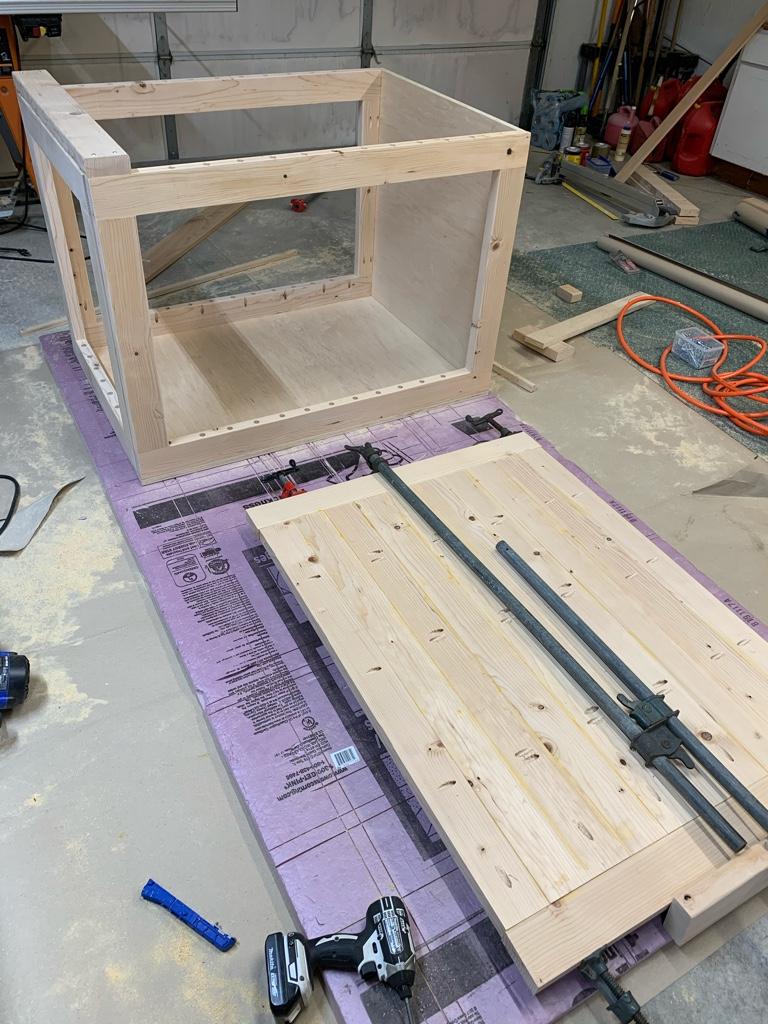
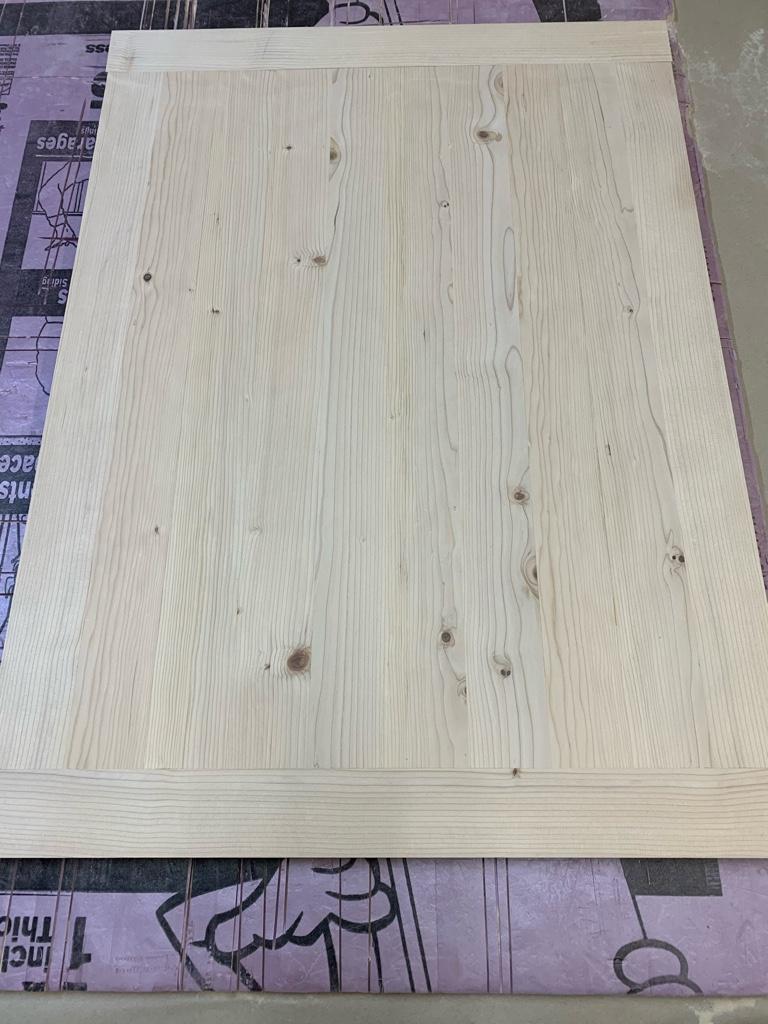
After LOTS of sanding. I never did get all the boards to the exact thickness thanks to the stud all being slightly different thicknesses.
Stain
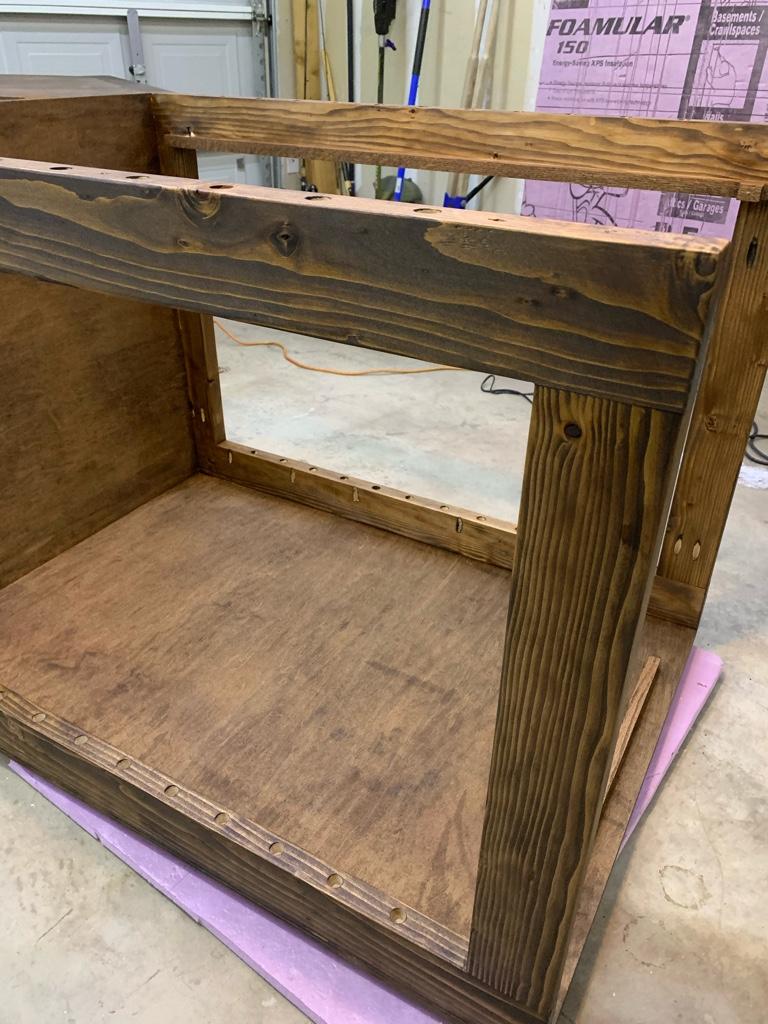
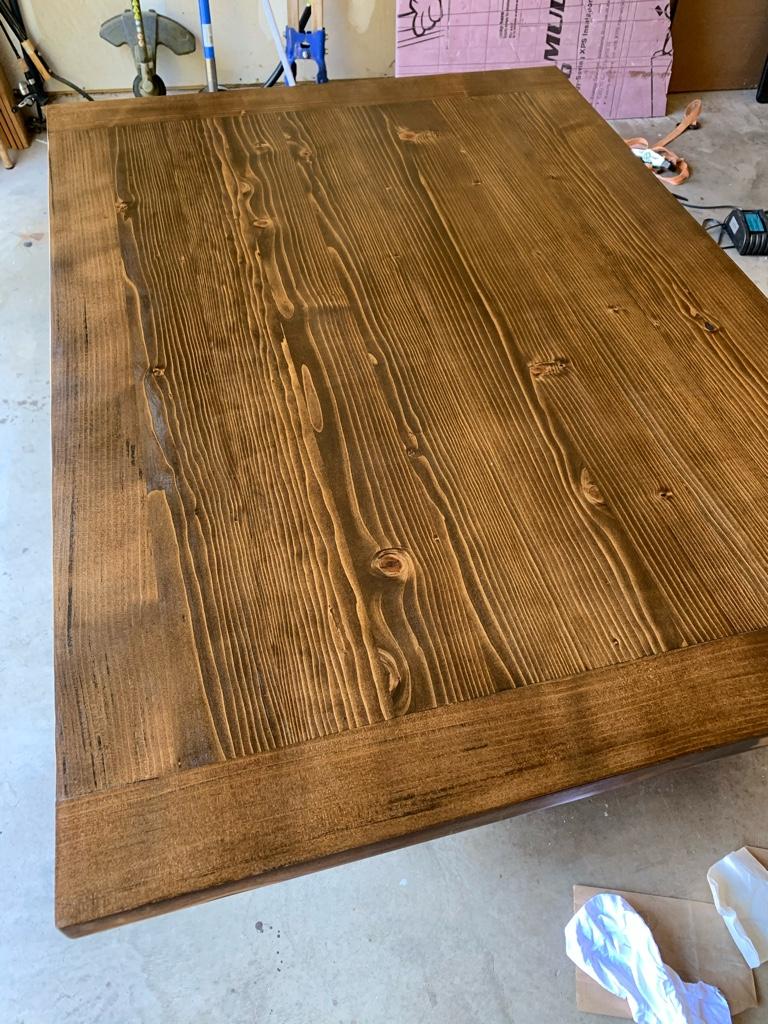
Final assembly after poly
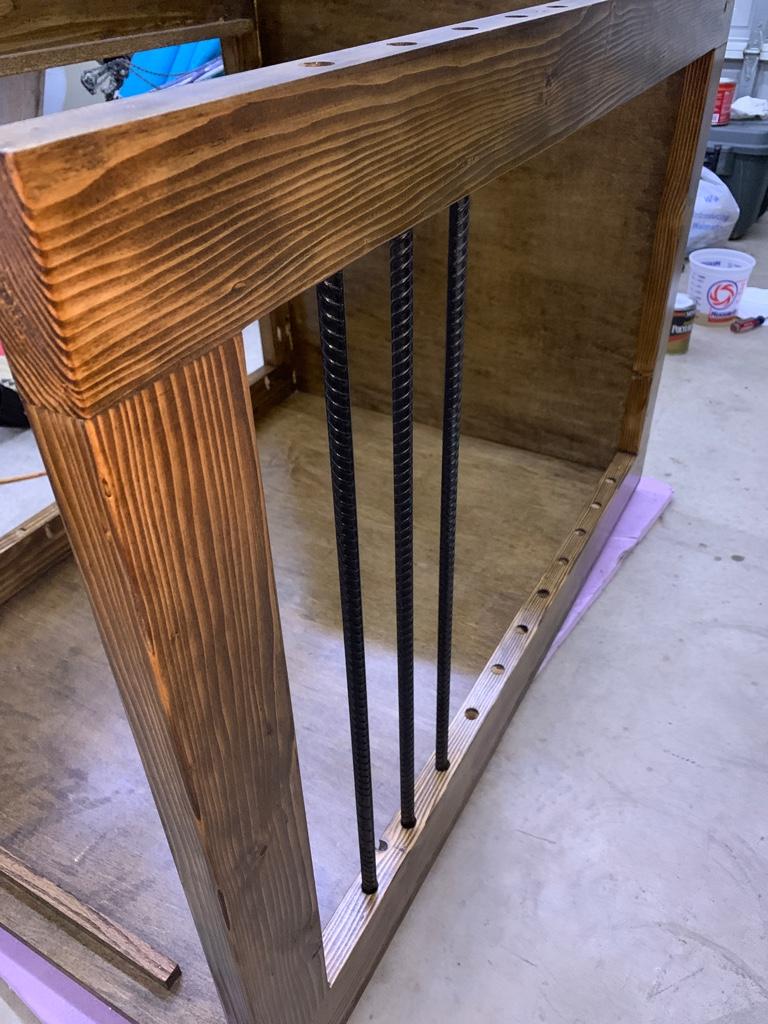
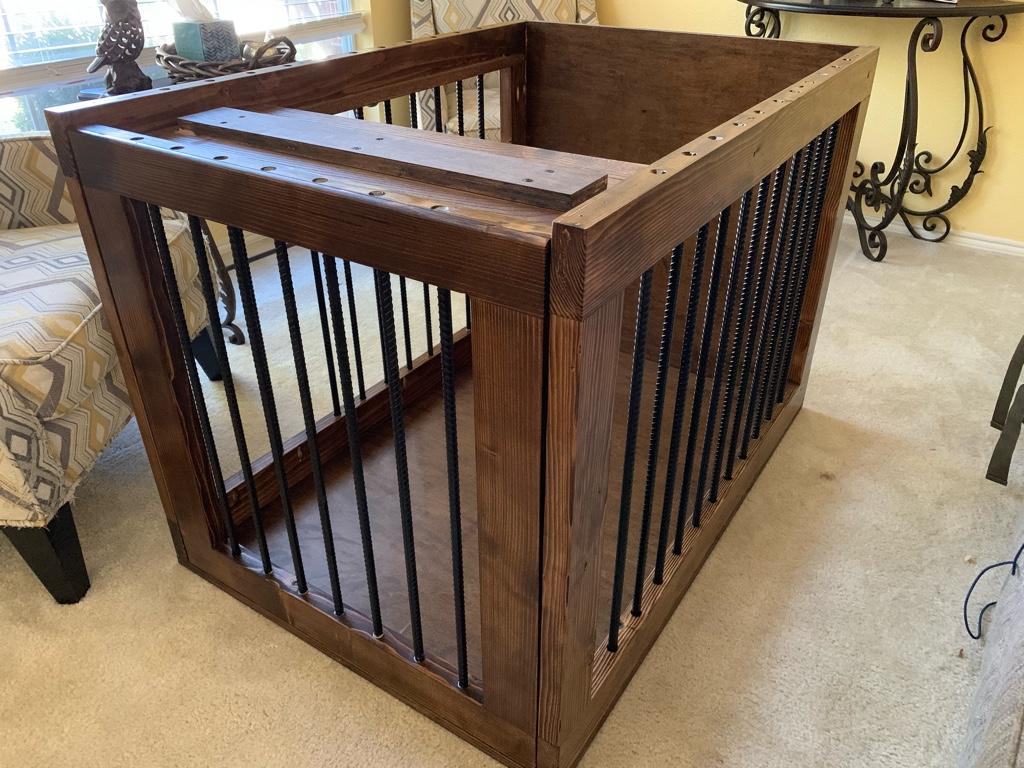
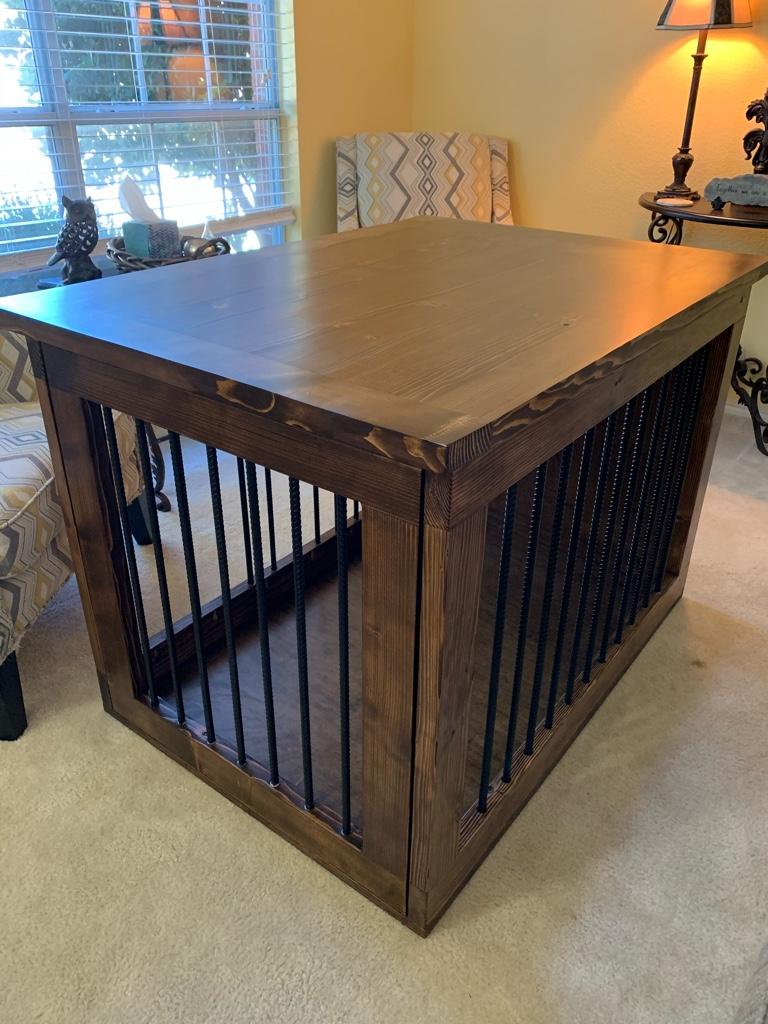
The final glue that holds the rebar in is curing for a full 24 hours before we move it into place and I can do a final video of the finished crate in action. The door will be held closed with a barrel bolt style latch on either side of the bottom.
Honestly, I had originally intended to do something much more rustic (with much less work put into it), but after spending 18 hours building the top alone, I decided to just go all out quality.
Sent from my iPhone using Tapatalk
Sent from my iPhone using Tapatalk
Kiln dried hardwood lumber is through the roof right now, so I ended up buying premium fir 2X4 studs and planing them down instead. A lot more work, lower quality wood, but a one or two hundred bucks saved.
I based the design around a replaceable tray from a “large” wire crate. That way, we always have plastic in the bottom to protect from pee, vomit, or diarrhea. I designed it 30” tall on the interior because our male GSP will most likely be around 25” tall at maturity, and I need a few extra inches for the pocket design of the door.
The door opens from the bottom, and slides into the frame like a garage door. I did this because it is already a LARGE piece of furniture, and I couldn’t lose an extra 26-28 inches of floor space to an open kennel door.
I think it turned out pretty good, but if I ever decide to build another piece of furniture..... I will DEFINITELY buy an HVLP spray gun rather than brush applying 4+ coats of polyurethane.
20 Gallons of sawdust from JUST the boards that went into the table top portion.

Gluing up the main top.

Beginning the side panels.

Oops....

Beginning assembly

Door operation
Breadboard ends being glued onto the top.

After LOTS of sanding. I never did get all the boards to the exact thickness thanks to the stud all being slightly different thicknesses.

Stain


Final assembly after poly


The final glue that holds the rebar in is curing for a full 24 hours before we move it into place and I can do a final video of the finished crate in action. The door will be held closed with a barrel bolt style latch on either side of the bottom.
Honestly, I had originally intended to do something much more rustic (with much less work put into it), but after spending 18 hours building the top alone, I decided to just go all out quality.
Sent from my iPhone using Tapatalk
Sent from my iPhone using Tapatalk

